It's easy to make Filipino ube ice cream at home using the Ninja CREAMi. This frozen treat delivers bold purple yam flavor and creamy texture with just a few simple ingredients.
Want to save this post?
Enter your email below and get it sent straight to your inbox. Plus, I'll send you the latest recipes and tips every week!
When I first started cutting back on dairy and sugar, I figured I'd have to say goodbye to creamy, satisfying treats for good. But that changed when I discovered how easy it was to make ice cream at home without the usual ingredients.
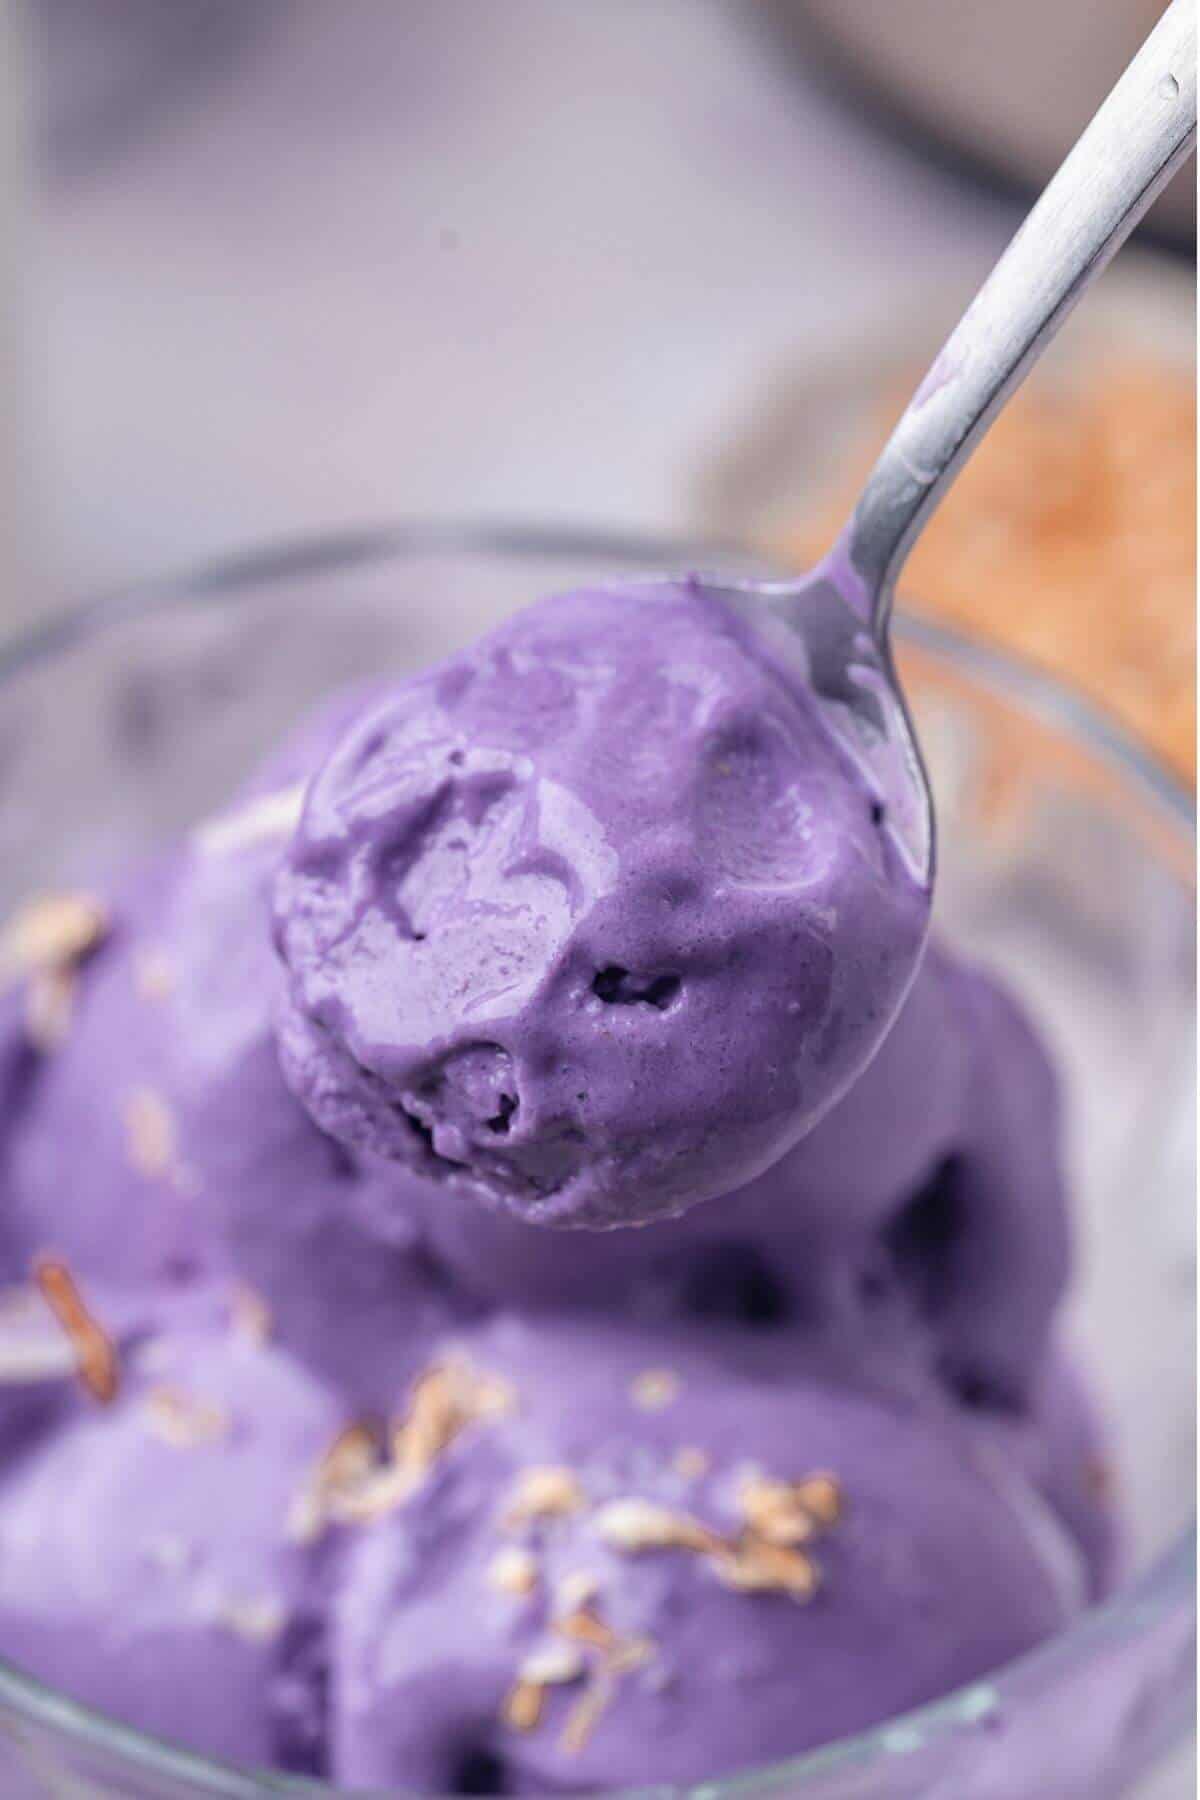
If you've never tried ube before, you're in for a treat. The flavor of this purple yam is unlike anything else. It gives the ice cream a beautiful purple color that makes it feel extra special. Trust me, once you make it, you'll want to keep a batch in your freezer year-round. You may even want to try making ube pancakes.
Ingredients
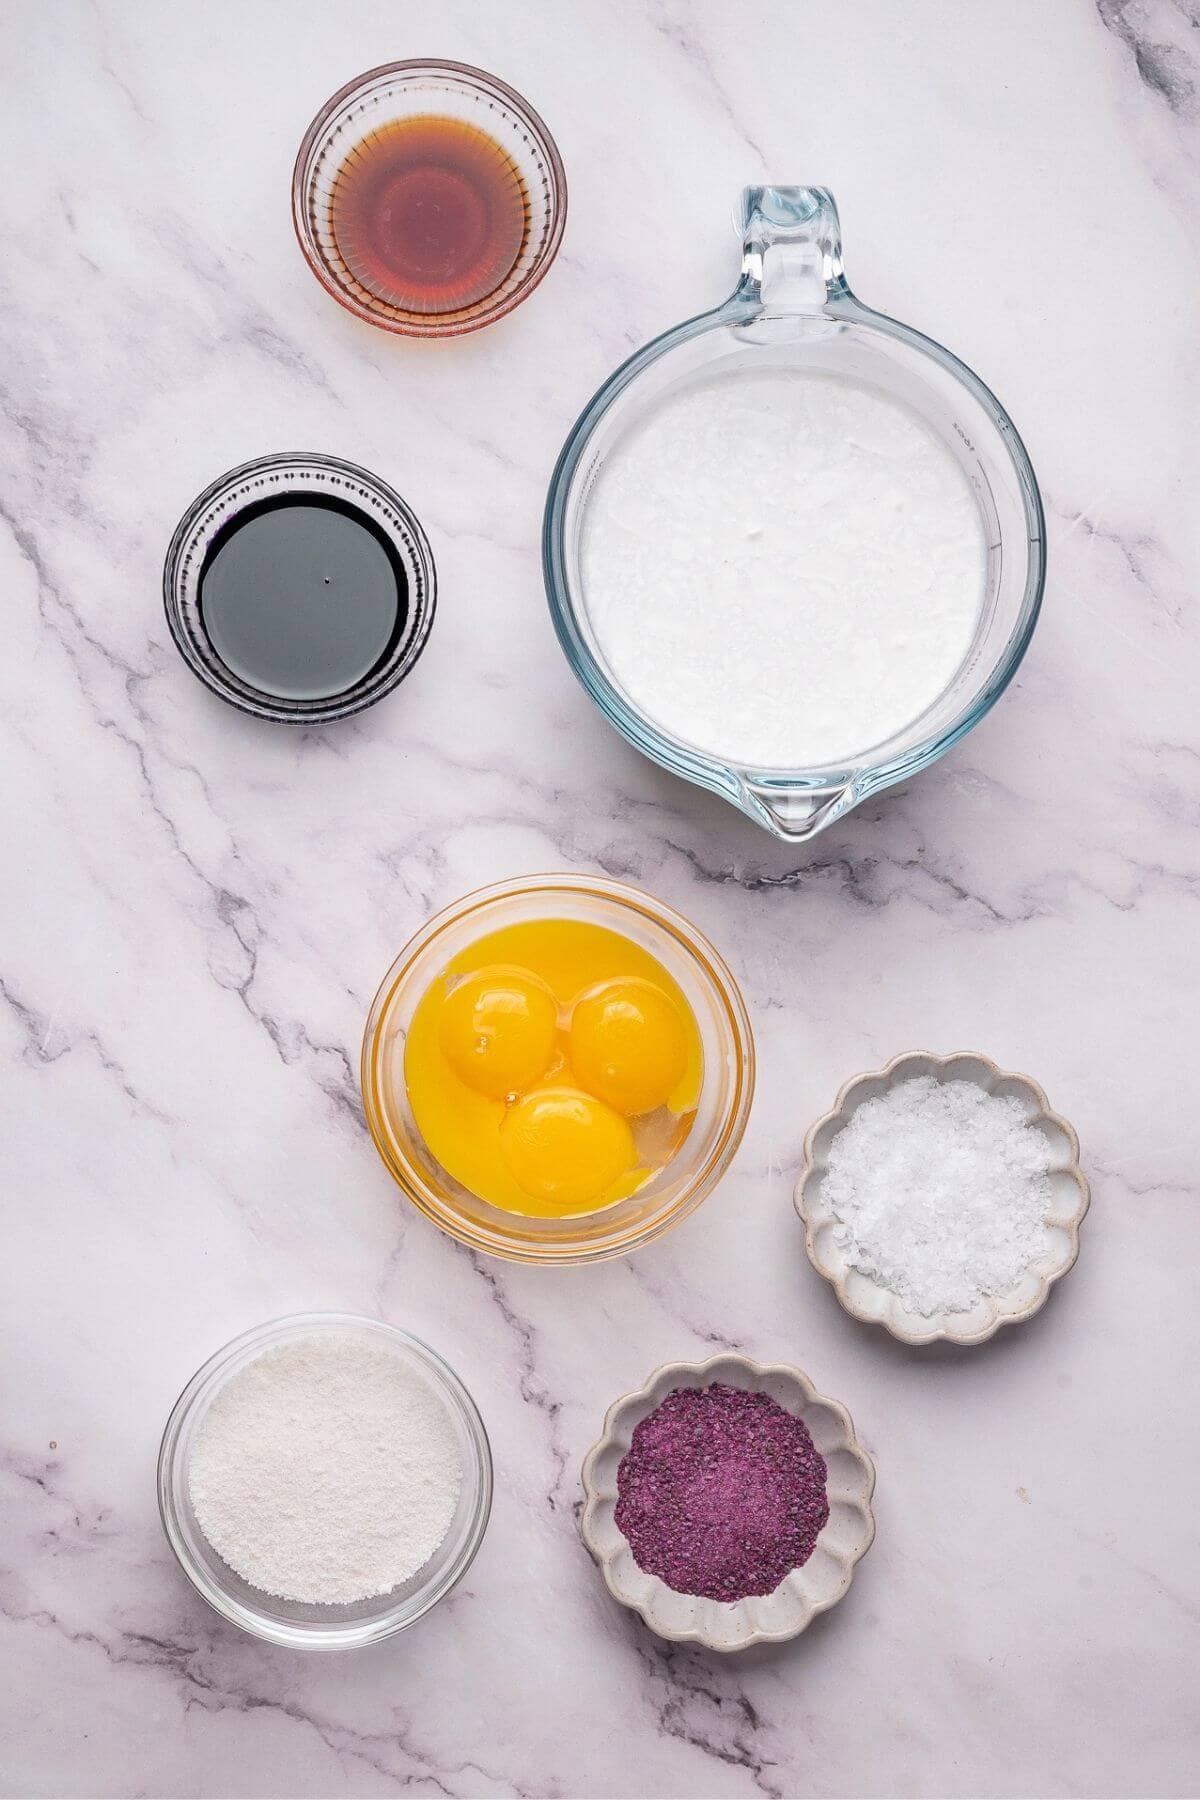
Here's what you'll need to make this popular Filipino ice cream:
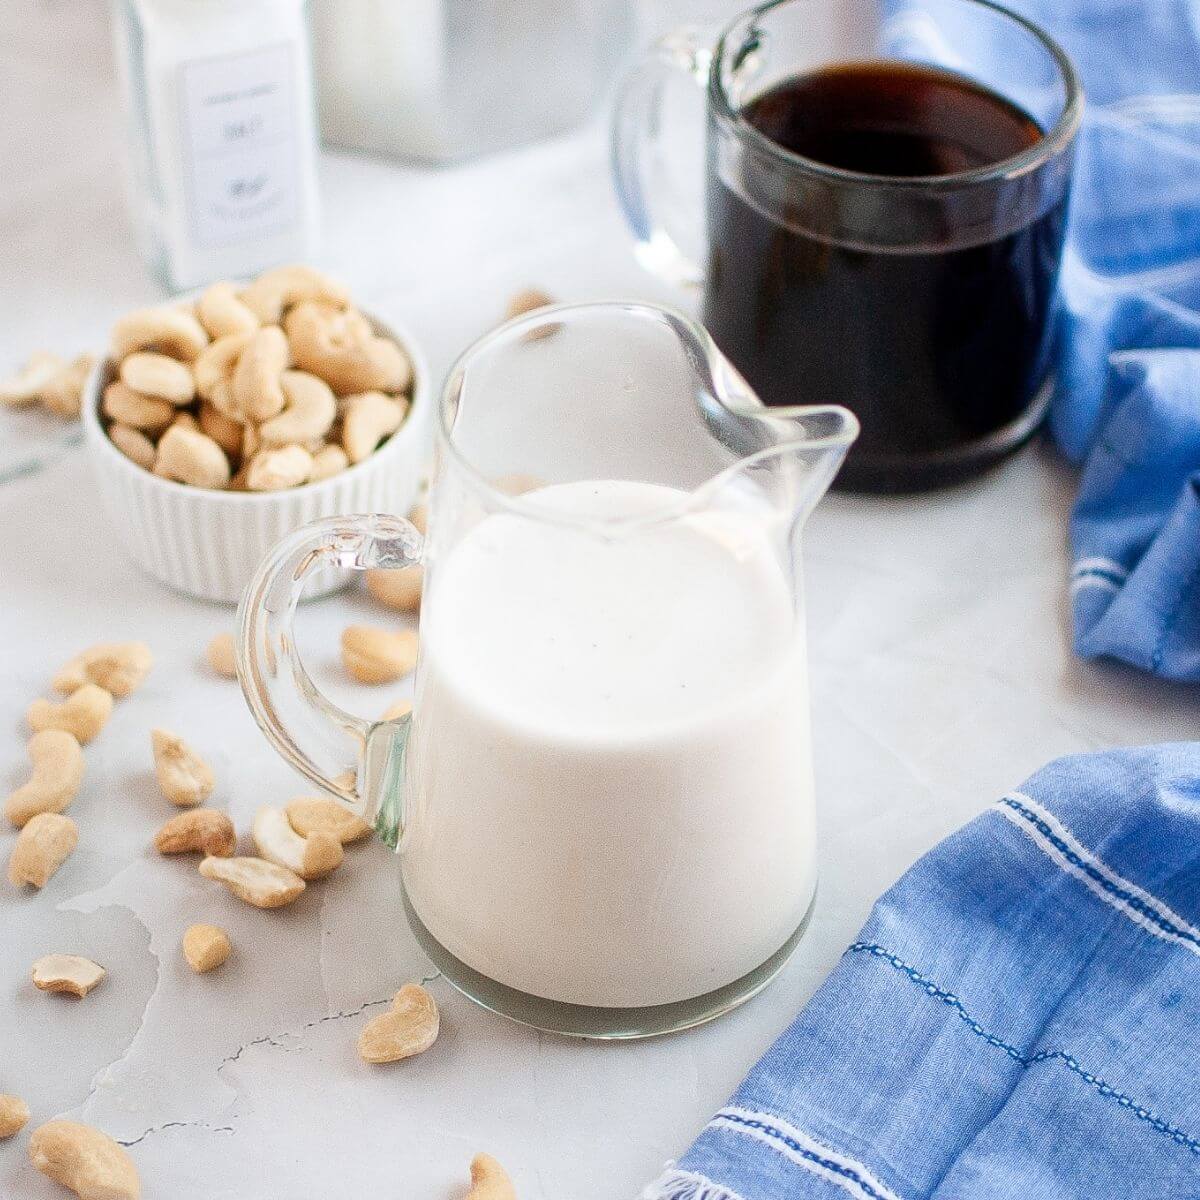
- Canned coconut milk or coconut cream: Provides a rich, creamy base without dairy, adding smooth texture and tropical flavor. If you aren't dairy-free, you can always use heavy cream or a mix of milk and heavy cream.
- Monkfruit Sweetener with Allulose: Adds sweetness without spiking blood sugar, ideal for sugar-free desserts. You can also use regular sugar or another sweetener to fit your own preference.
- Ube purple yam powder: Delivers authentic ube flavor and vibrant purple color.
- Vanilla extract: Enhances the overall flavor profile by adding warmth and depth to the ice cream.
- Ube extract (optional): Boosts the intensity of the ube flavor.
- Pinch of salt: Balances flavors and sharpens the sweetness for a more well-rounded taste.
- Egg yolks or liquid sunflower lecithin (for vegan): Acts as an emulsifier, helping bind fats and water for a smoother, scoopable texture.
Scroll down to the recipe card for quantities used.
Instructions
It's so easy to make ube ice cream in a Ninja CREAMi by following these easy directions. You can also process the mixture in regular ice cream machine that can handle a pint sized batch or double the recipe for larger.
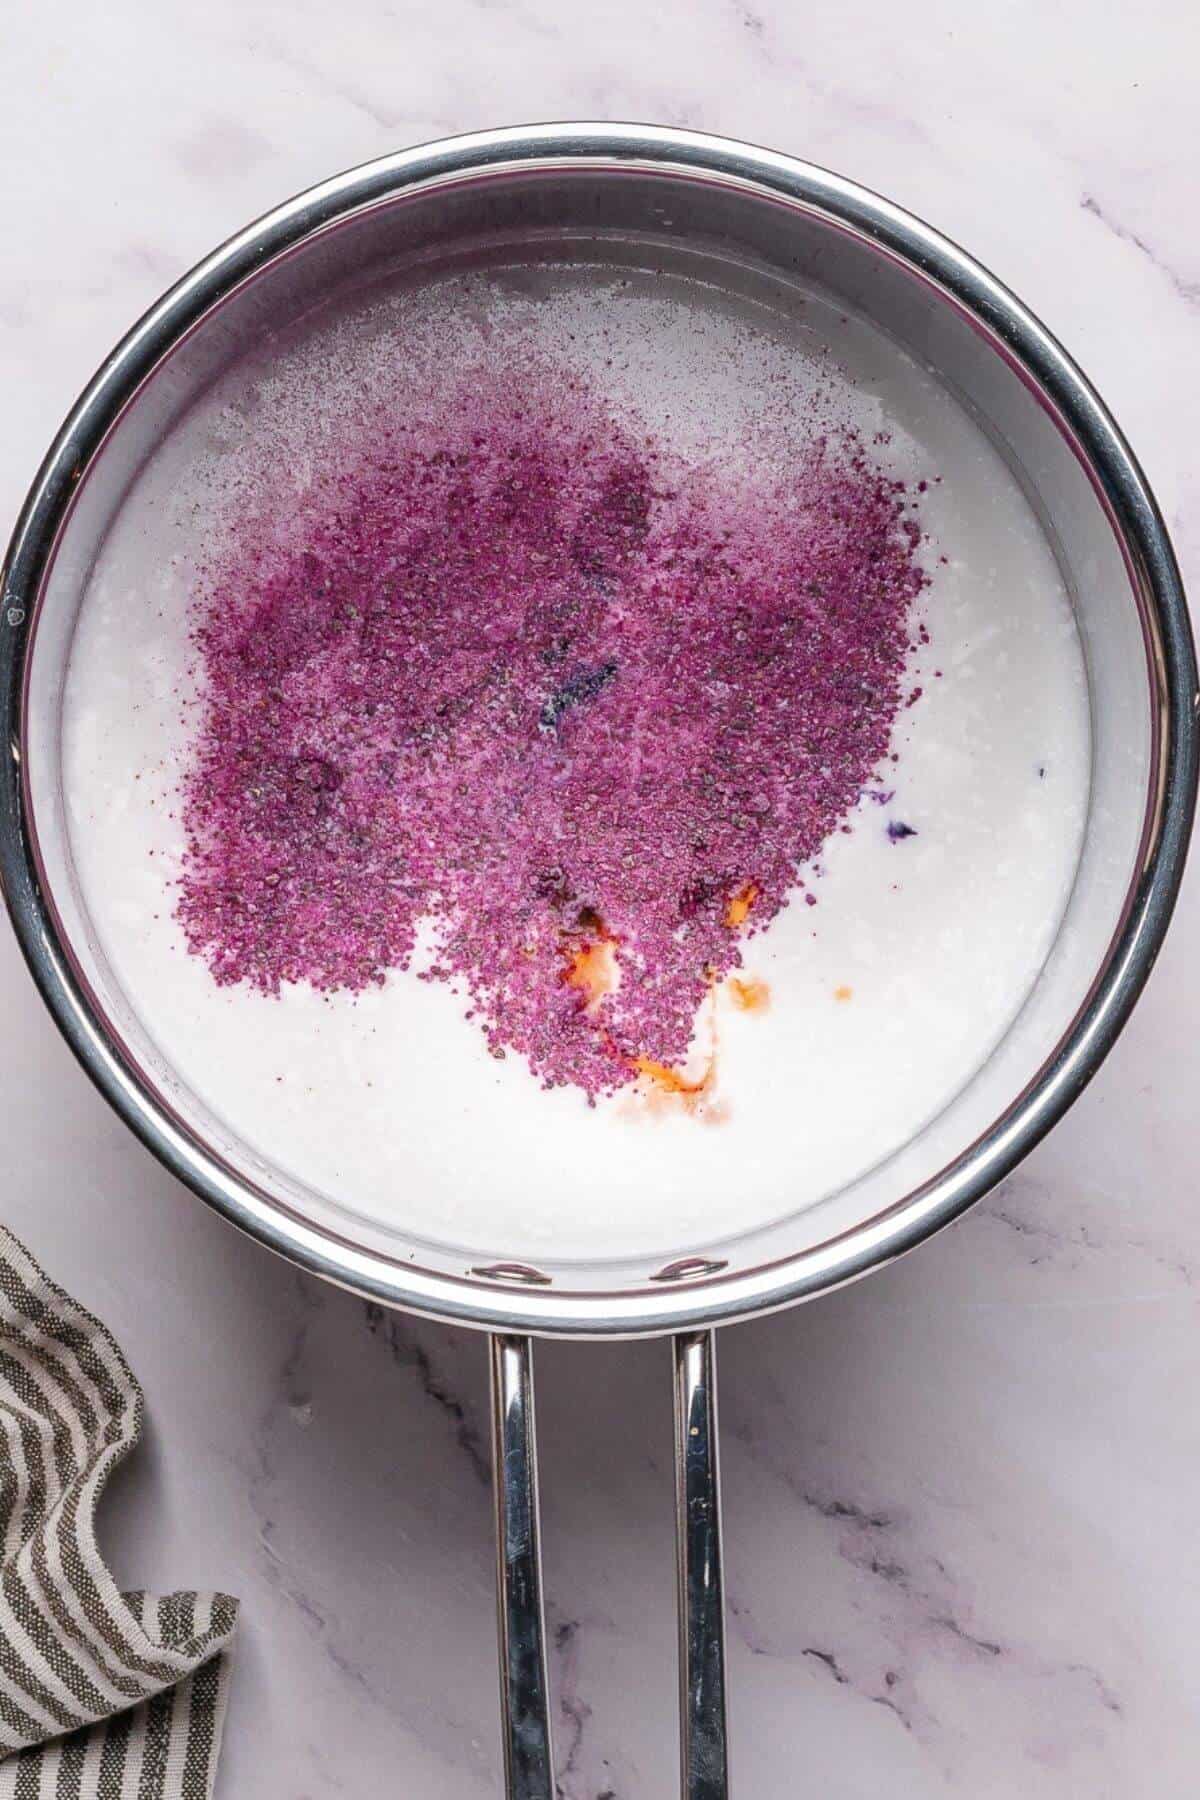
In a small saucepan, combine the coconut milk, sweetener, purple yam powder, ube extract, vanilla extract, and salt.
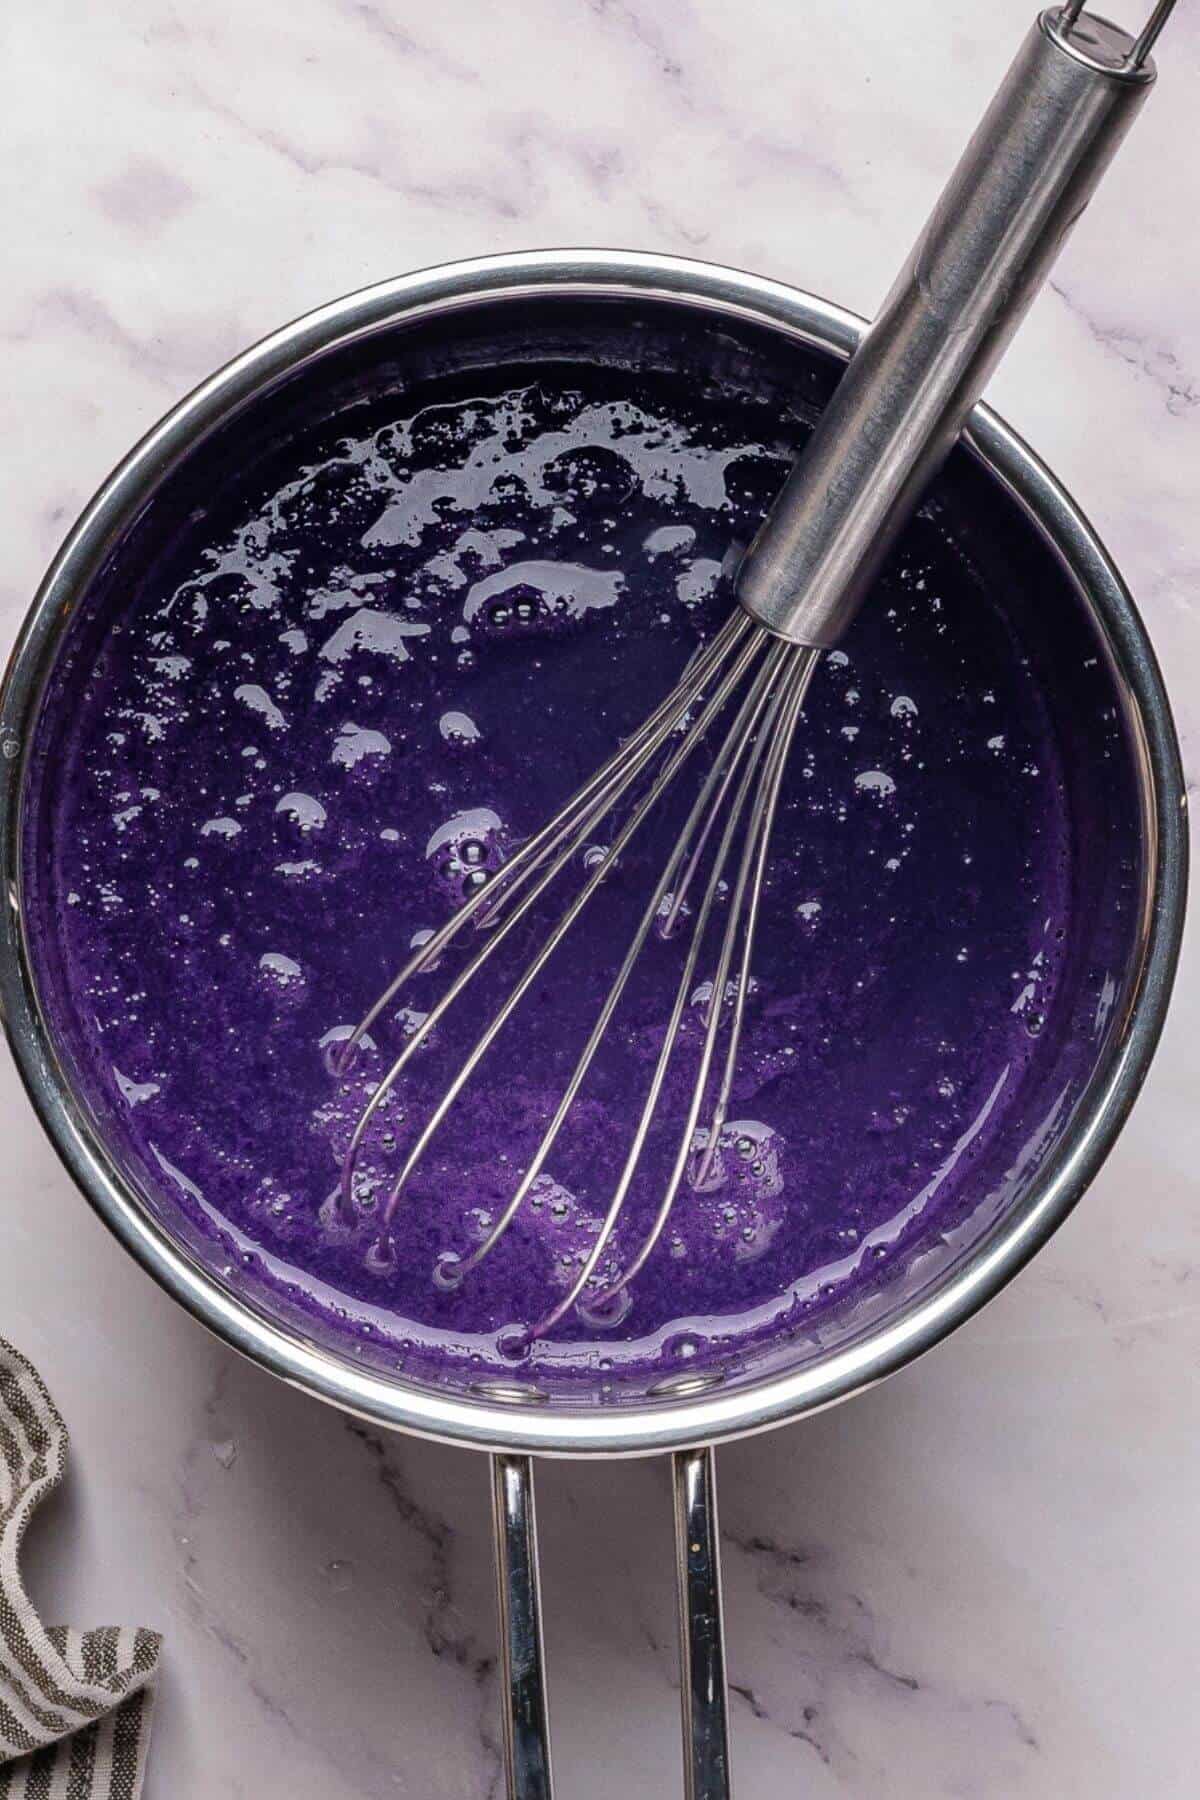
Heat the mixture over medium-low heat, stirring constantly, until it begins to steam. Do not boil.
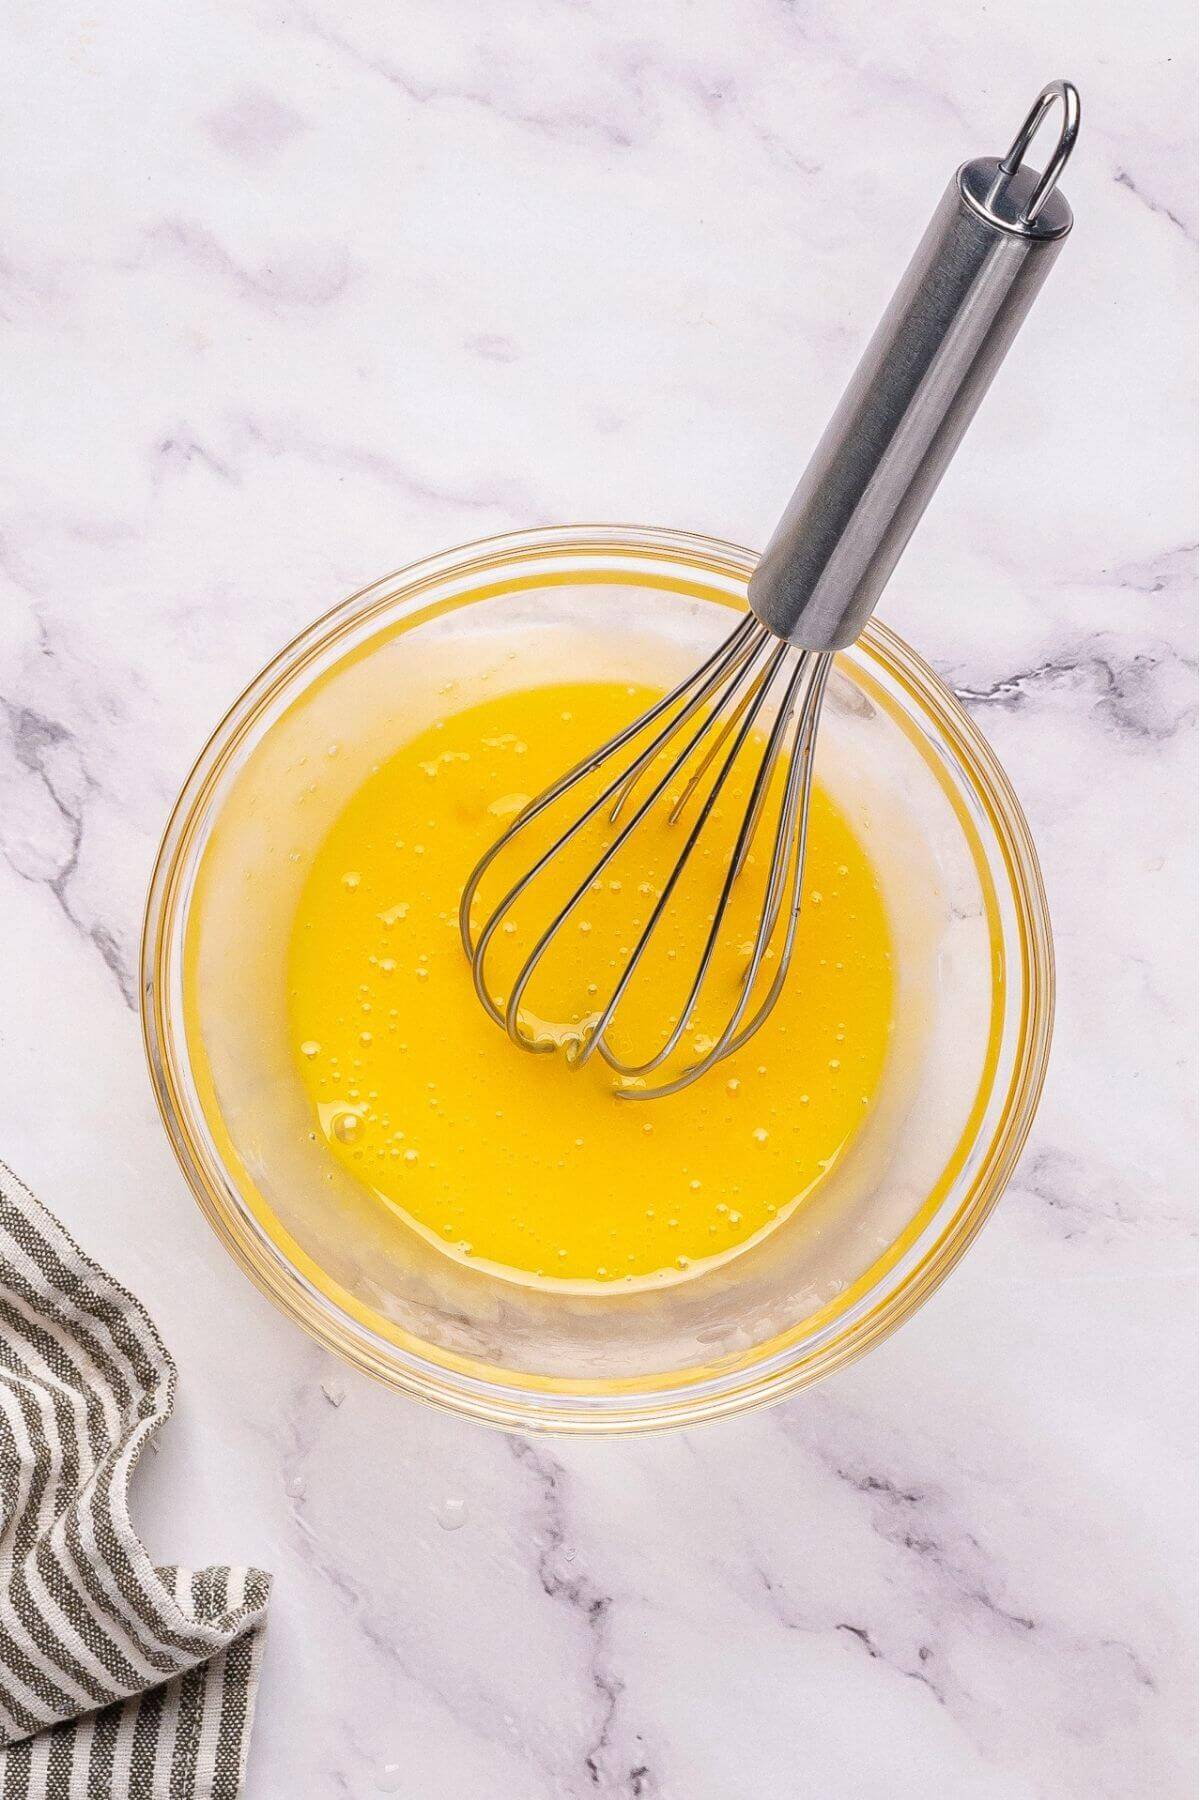
In a small bowl, whisk the egg yolks until smooth.
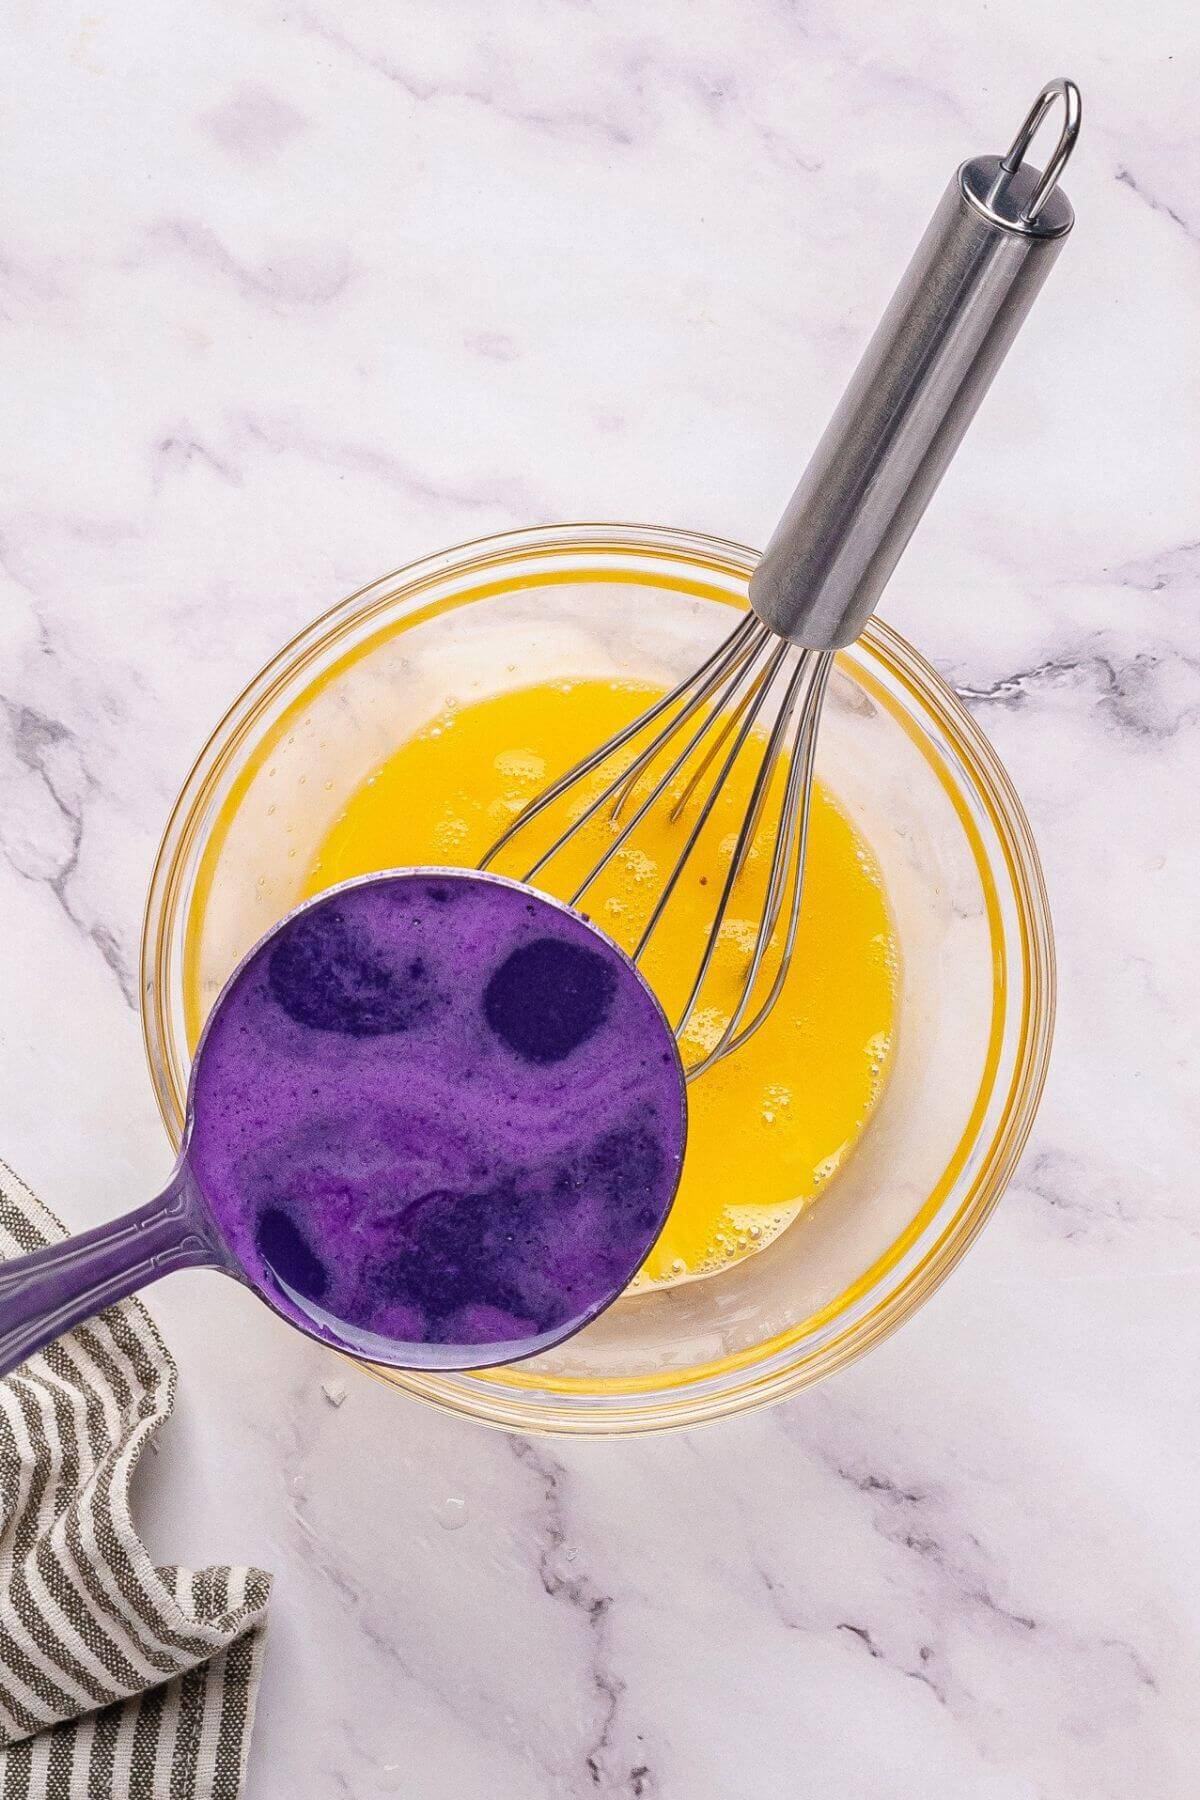
Gradually add a few ladles of the coconut milk mixture into the egg yolks. whisking constantly, to temper the egg. Slowly pour the tempered egg yolk mixture into the saucepan with the remaining hot cream mixture.
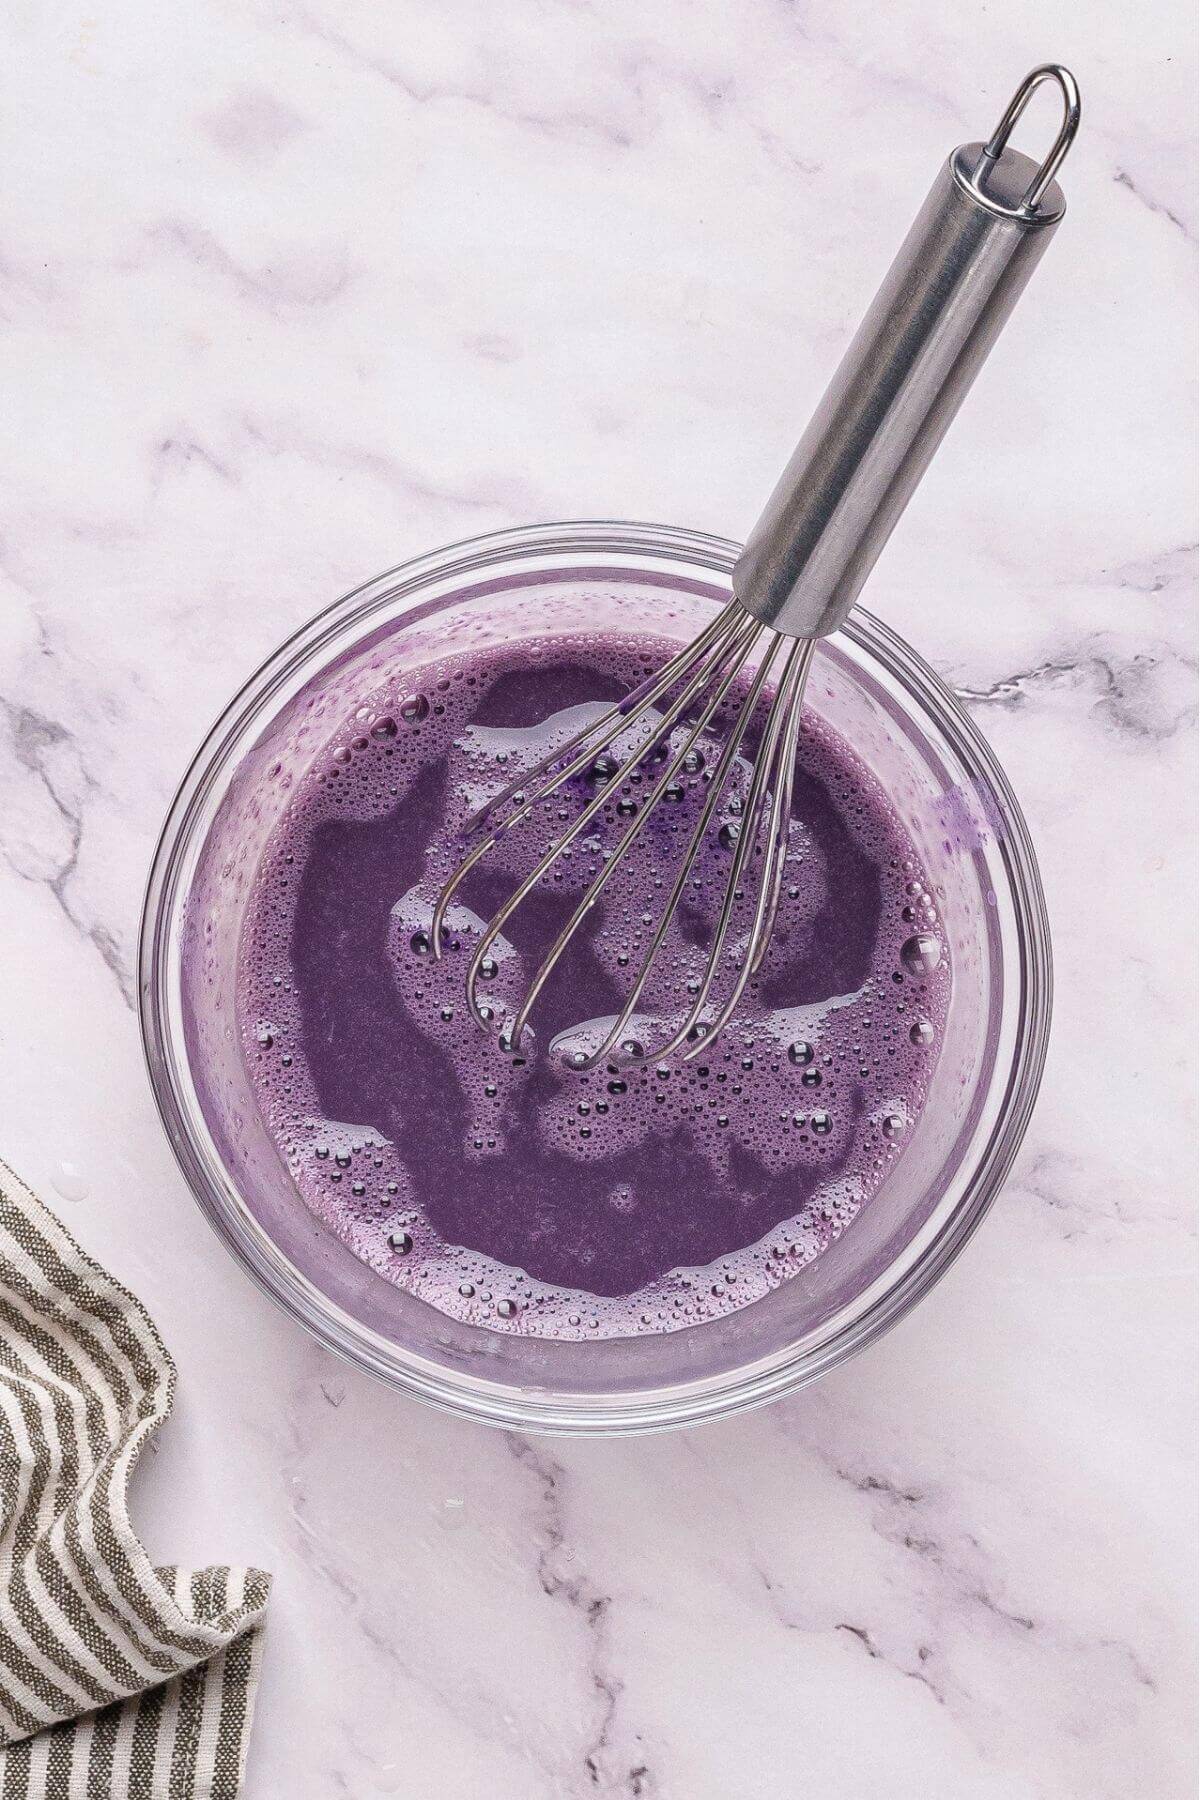
Whisk constantly, to temper the egg. Slowly pour the tempered egg yolk mixture into the saucepan with the remaining hot cream mixture. Continue to simmer over low heat, stirring constantly, until the mixture thickens.
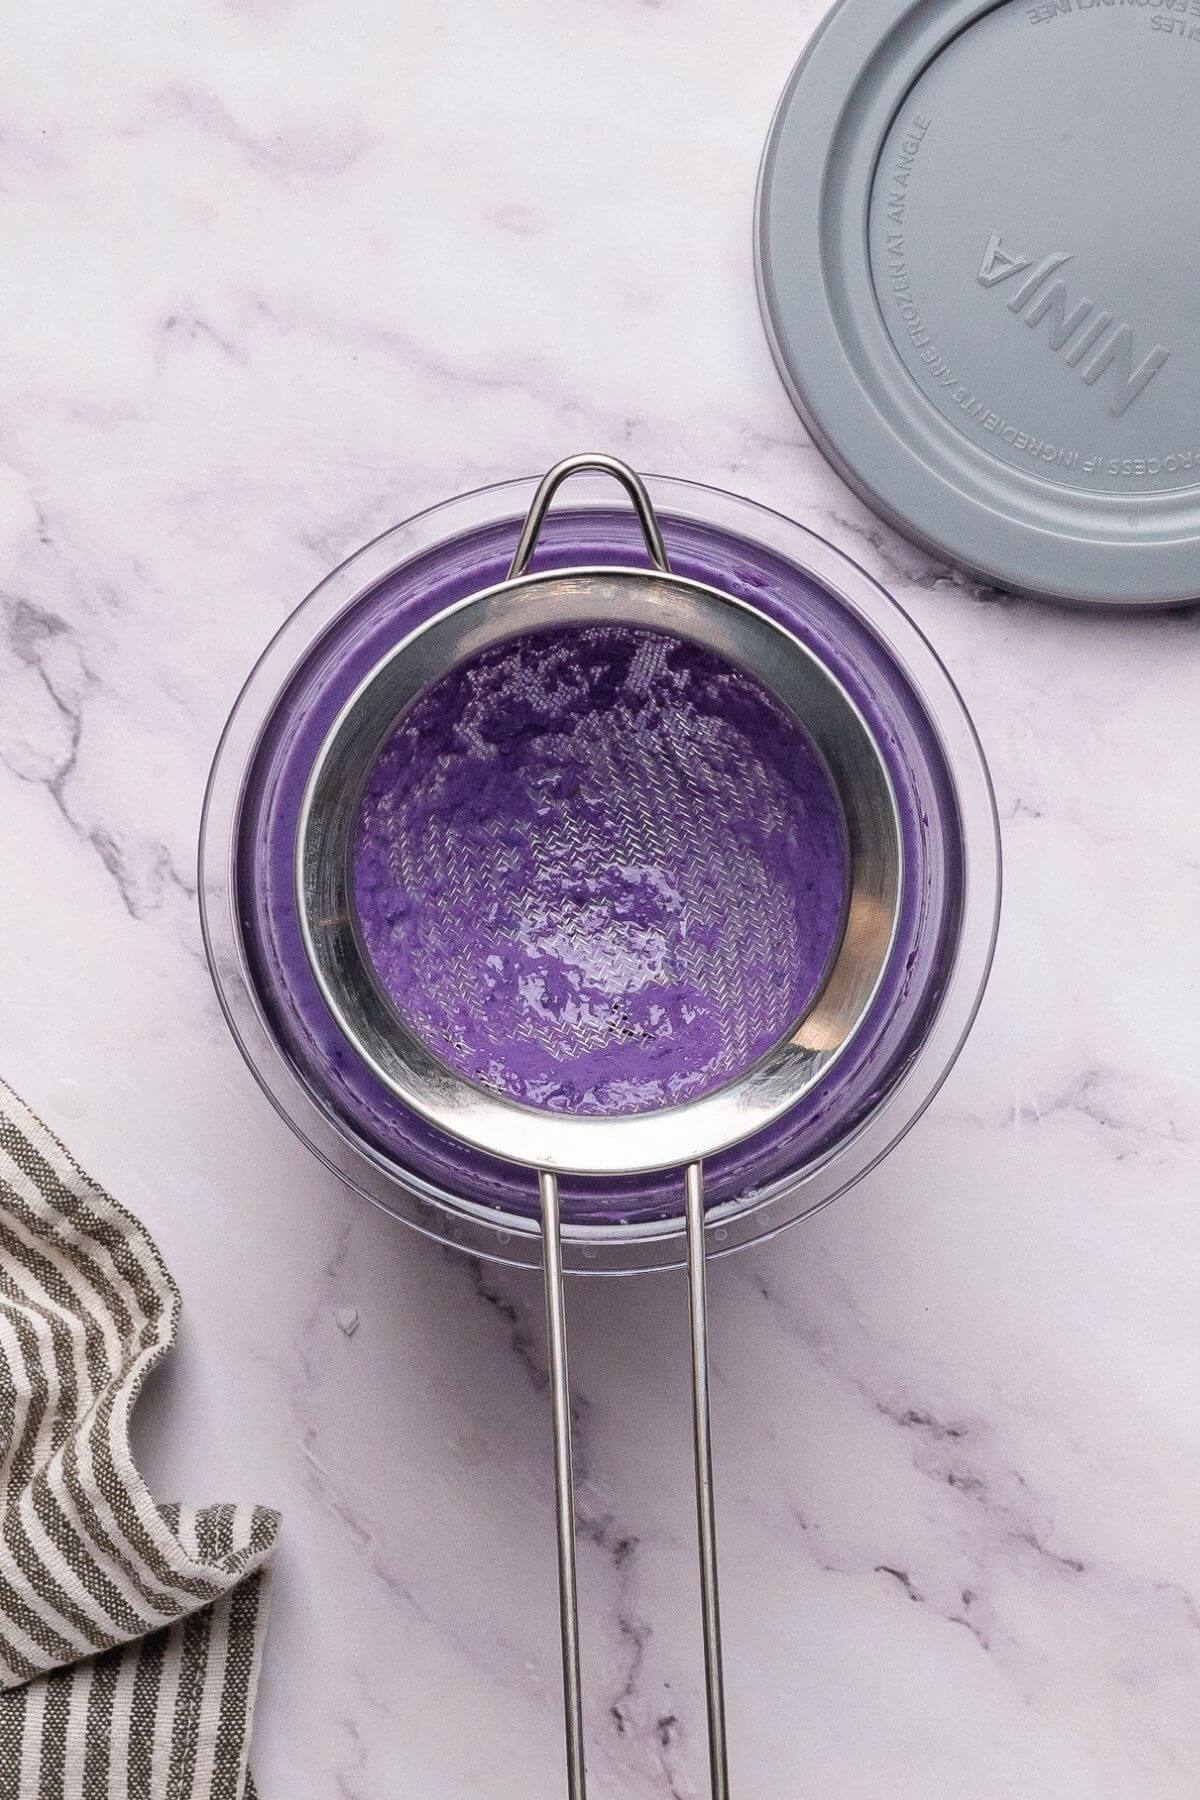
Strain the mixture through a fine-mesh sieve into the CREAMi container to remove any cooked egg bits.
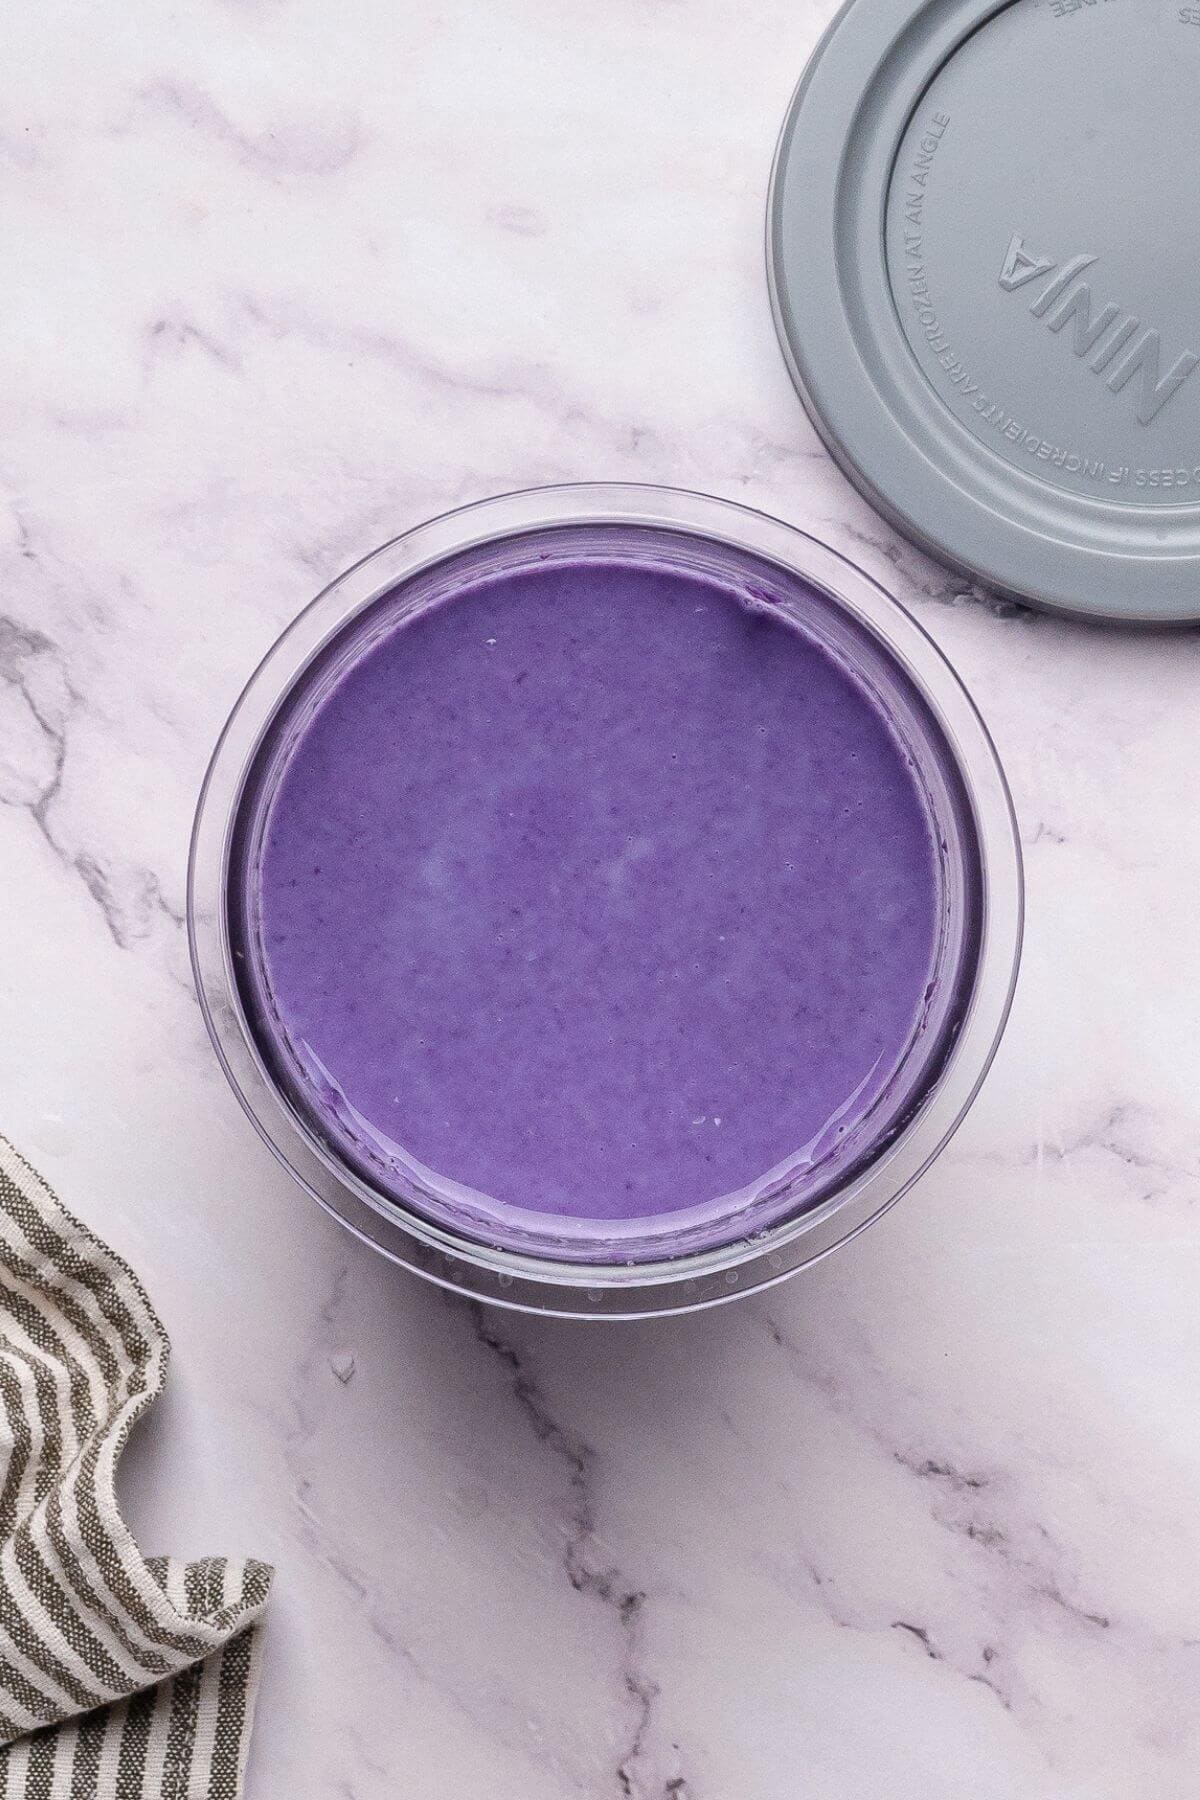
Freeze on level surface for about 24 hours.
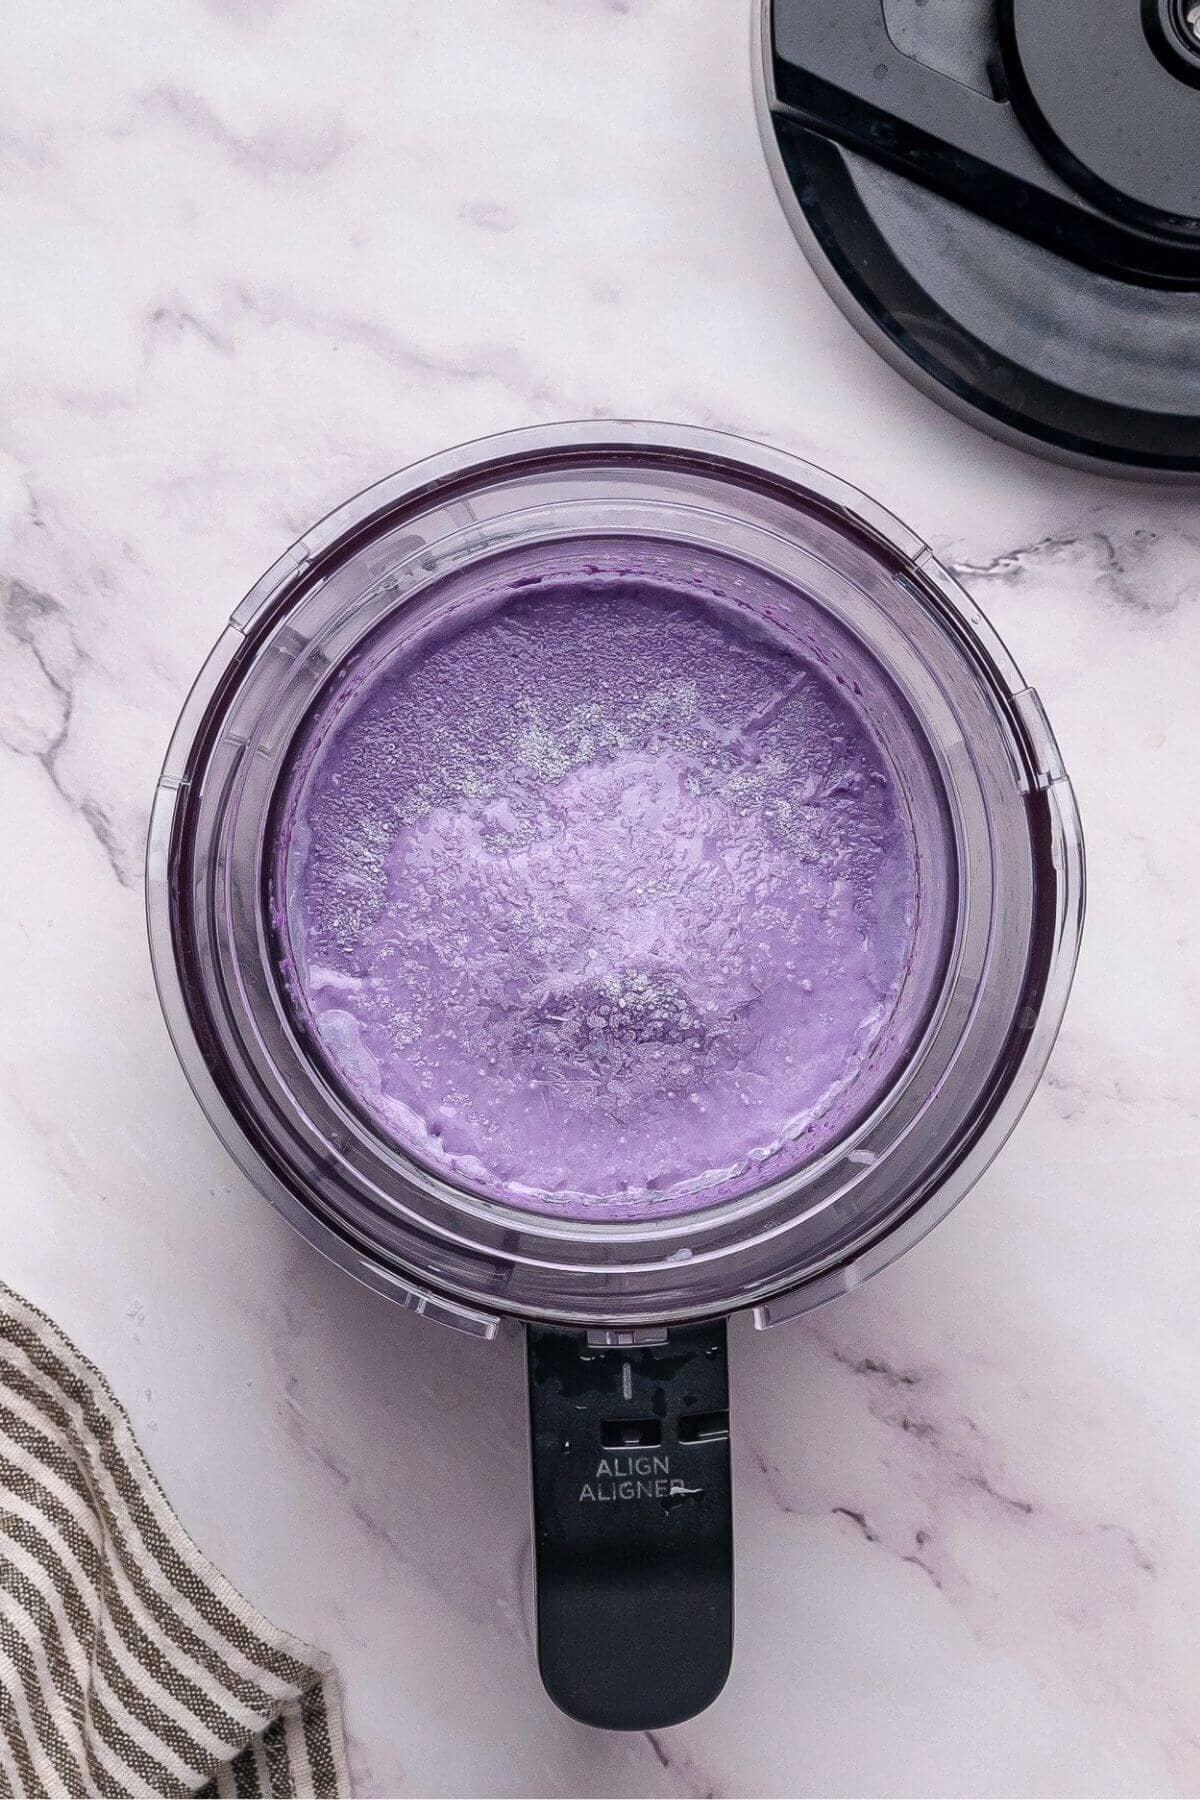
Place the pint container into the outer container of the Ninja CREAMi and lock on lid.
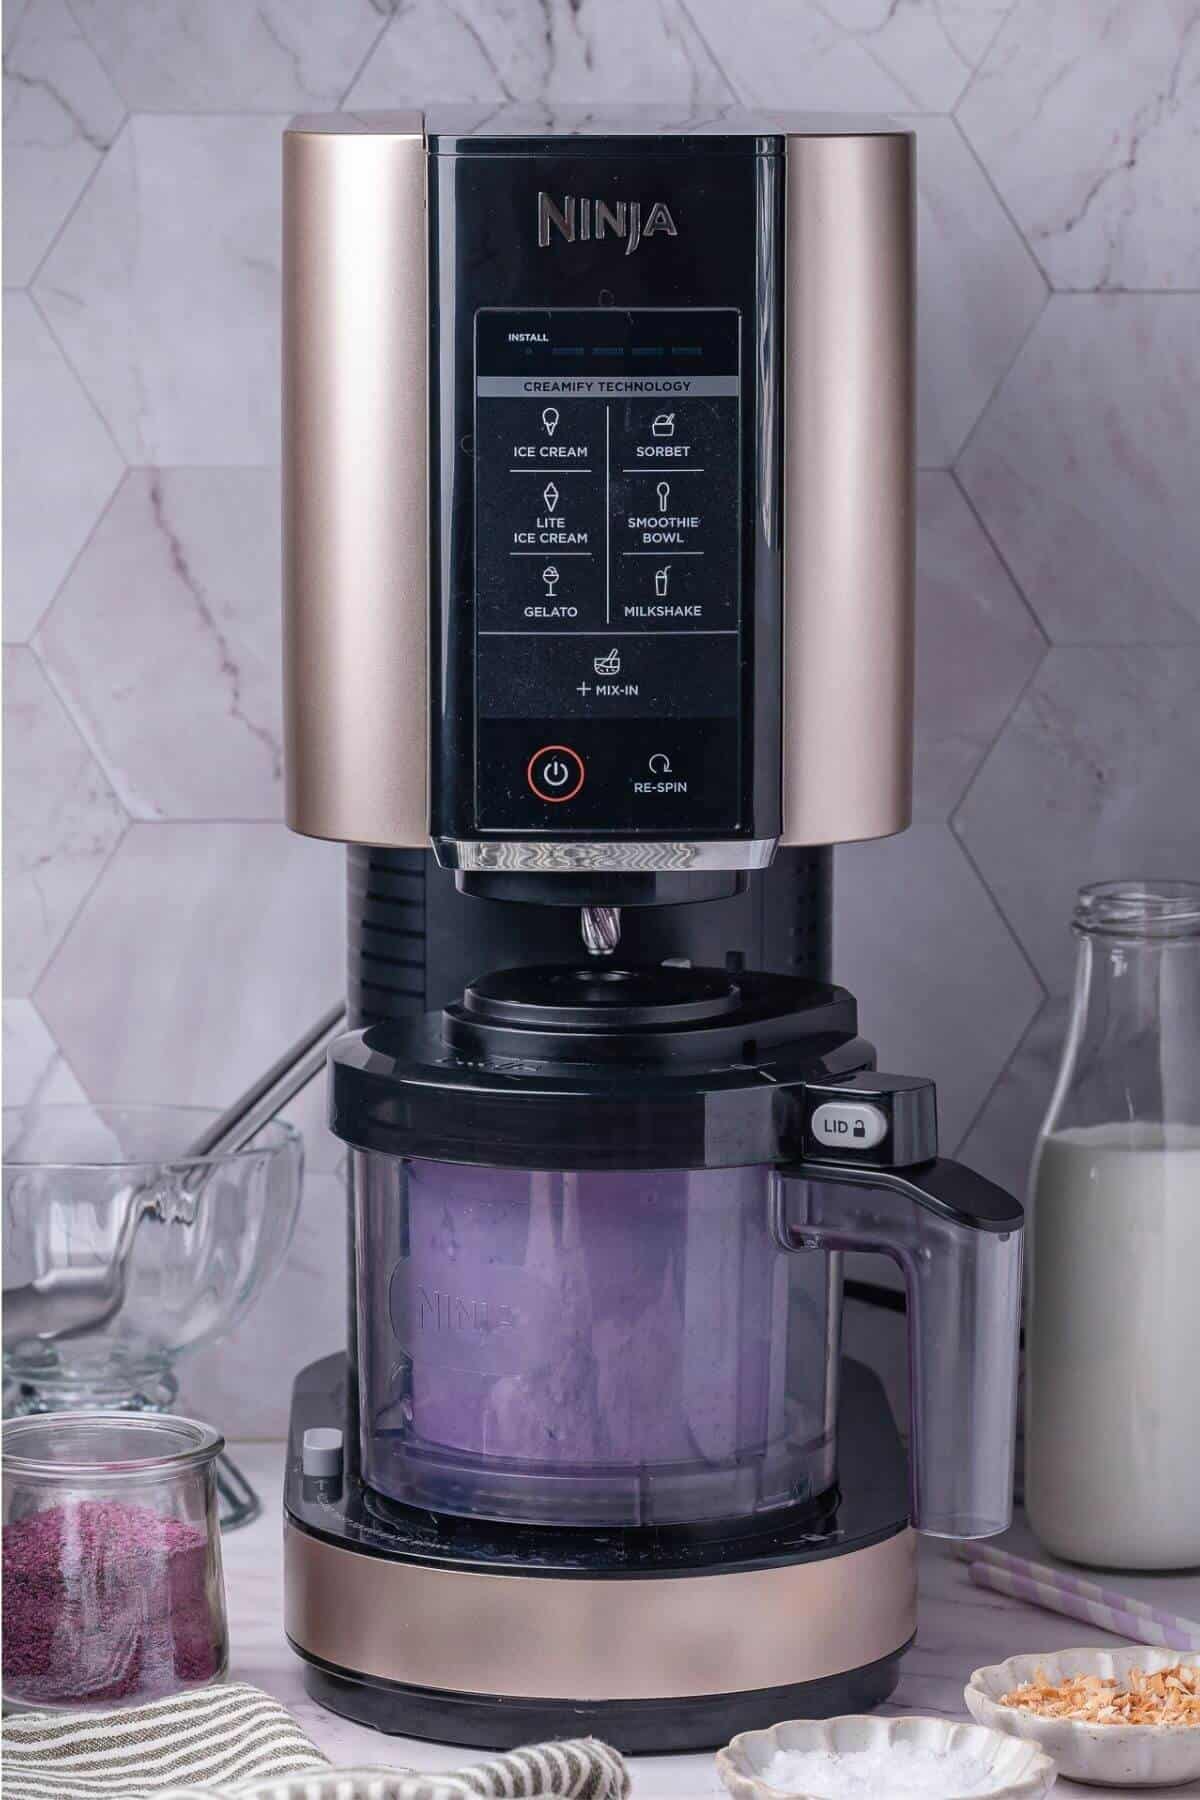
Twist and lock into place and then process on "ICE CREAM" in the Ninja ice cream maker.
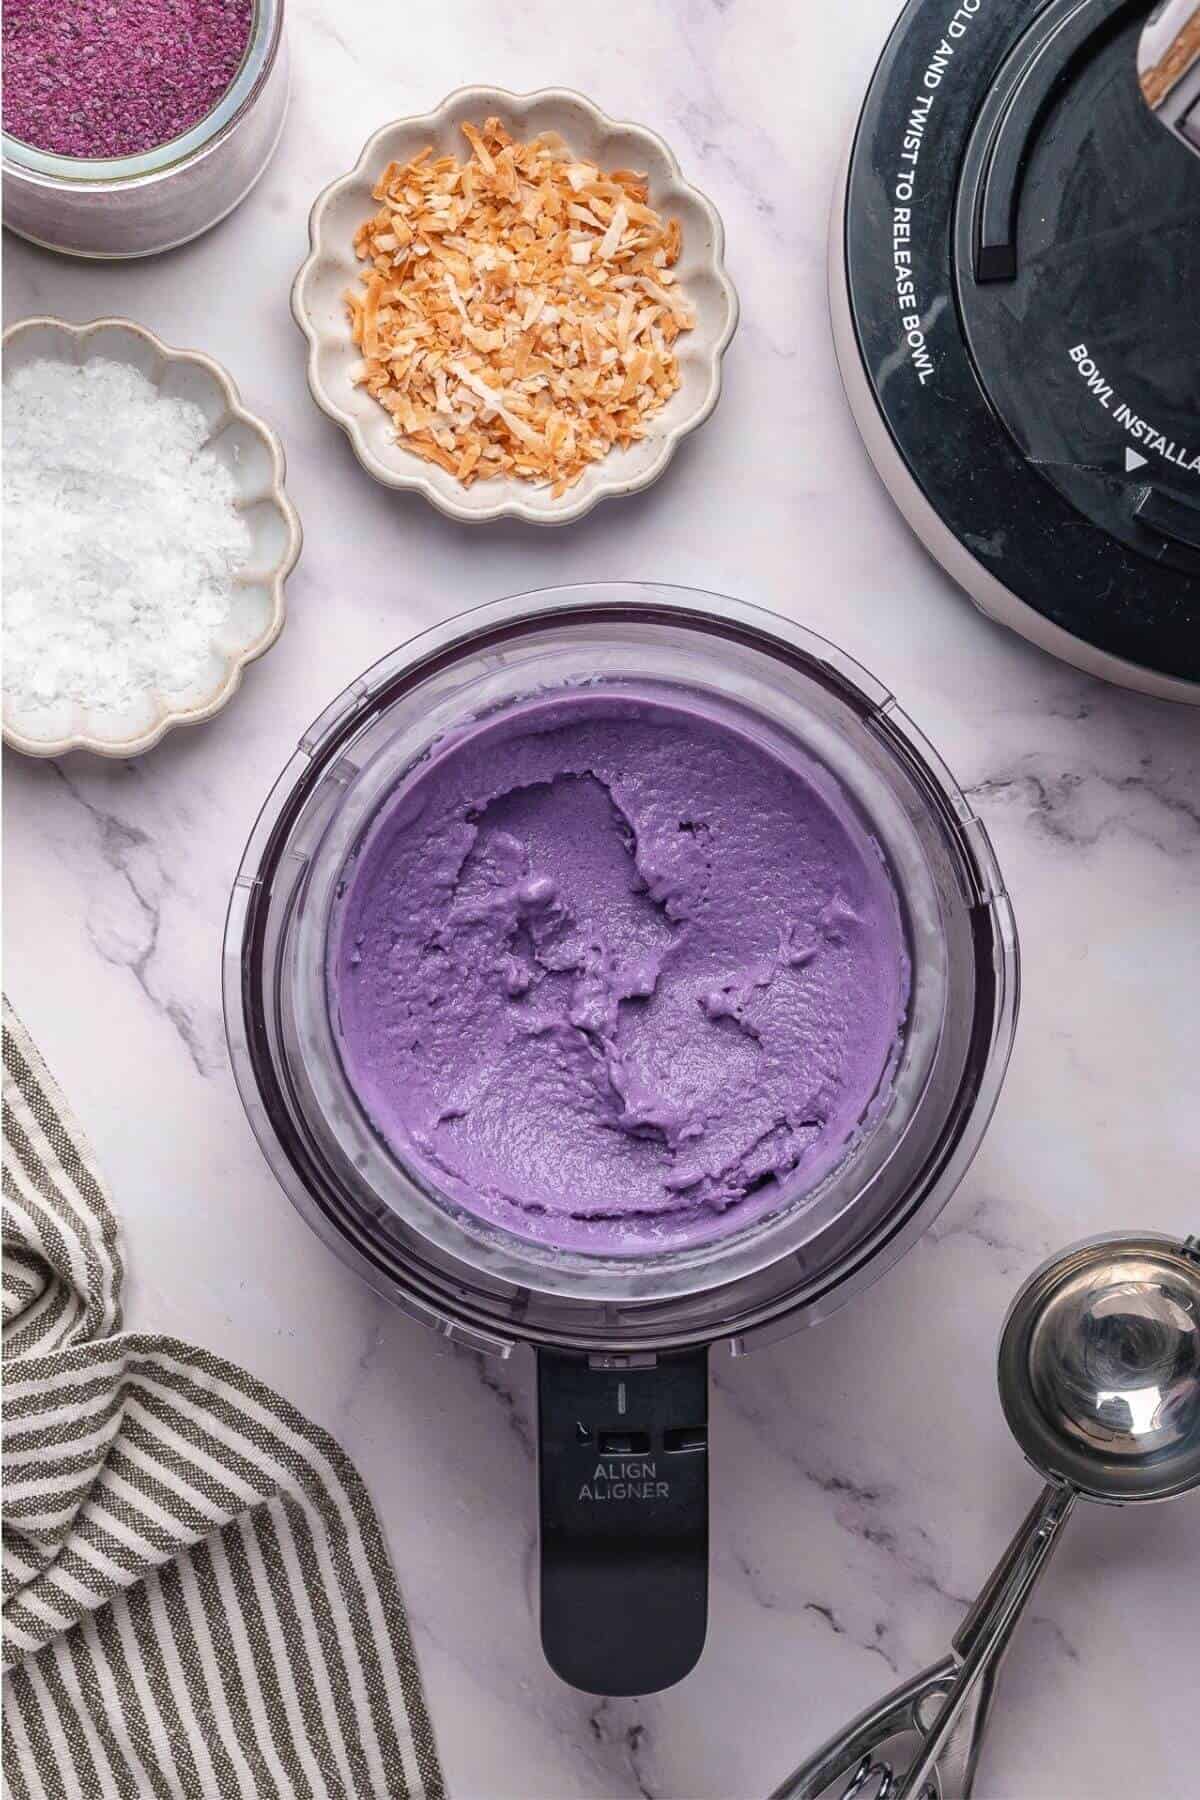
If texture is not creamy enough, you place the container back in the machine and do a RESPIN.
Hint: If you want to make the vegan ice cream, replace the egg yolks with lecithin, you can skip the cooking stop. Just blend all ingredients together in a blender and pour into the CREAMi container to freeze for 24 hours before churning.
Variations
Here are a few easy and fun ways to customize your dairy-free homemade ube ice cream recipe and make it your own:
- Mix-ins: Add sugar-free chocolate chips, crushed nuts, coconut flakes, or swirls of almond butter to give your ice cream extra flavor and texture.
- Flavor Boosters: Blend in strawberries, blueberries, or mango for a fruity twist. You can also try adding a pinch of cinnamon or cardamom for warmth and complexity.
- Milk options Swap coconut milk for oat milk or cashew cream to slightly vary the creaminess or taste. Just keep the fat content high enough for a smooth texture.
- Visual Appeal Layer or swirl in another dairy-free flavor (like almond milk ice cream or strawberry ice cream) for a beautiful contrast and a multi-flavor experience.
Tips
Top tip: Always freeze your mixture for at least 24 hours to ensure it's solid all the way through. Use the Ninja CREAMi pint container and don't exceed the max fill line.
- 🌀 Blend Before Freezing: Mix all ingredients in a blender to fully dissolve powders and emulsify fats. A smooth, lump-free base helps the CREAMi spin into a creamy texture without icy bits.
- 🧁 Use High-Fat Ingredients: Full-fat coconut milk or coconut cream works best for dairy-free recipes because it mimics the richness of traditional ice cream. Avoid watery plant-based milks unless paired with a thickener or emulsifier.
- 🧂 Balance Flavor and Texture: Add a pinch of salt to sharpen sweetness and round out flavors.: Use ube extract to boost color and taste if your powder is mild.
- 🥄 Re-Spin If Needed: If the texture is crumbly after the first spin, use the Re-Spin function to smooth it out. You can also add a splash of dairy-free milk before re-spinning for extra creaminess.
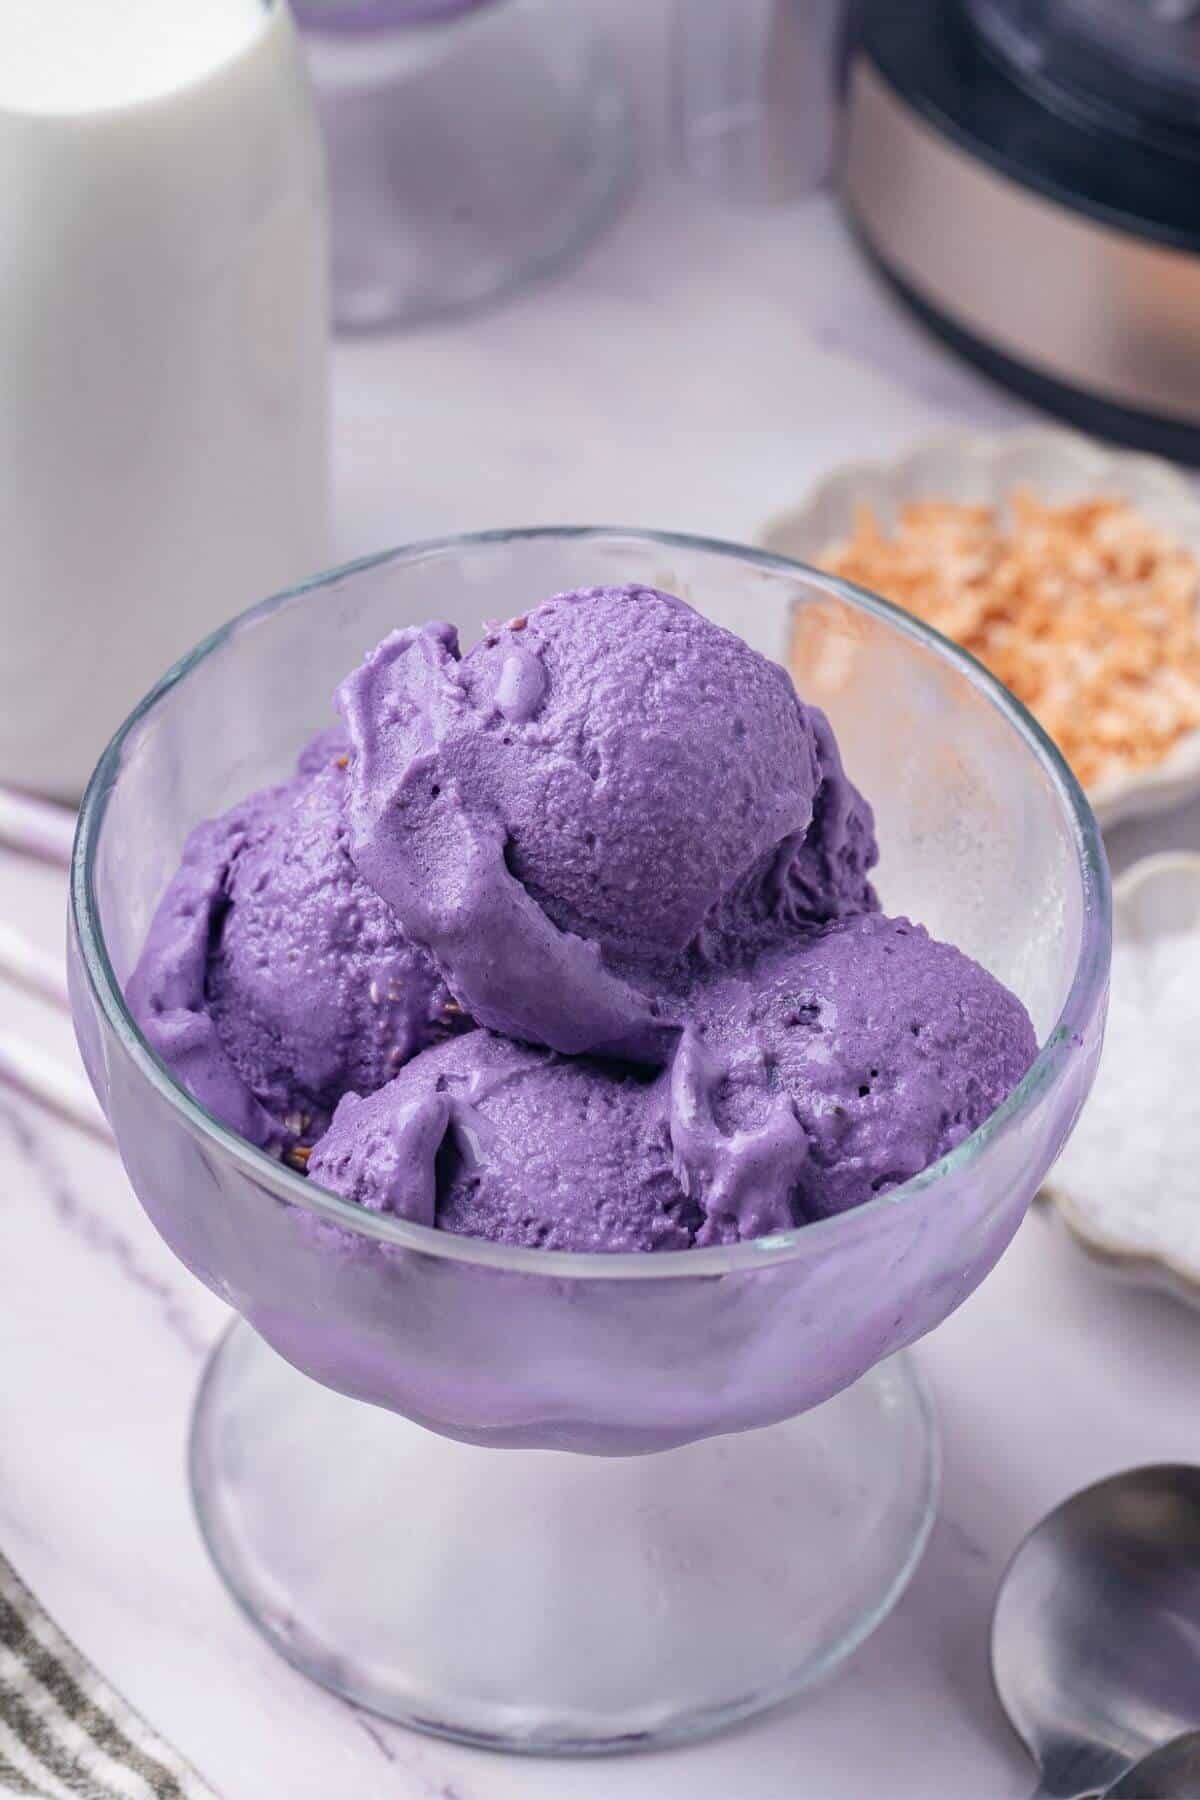
Serving suggestions
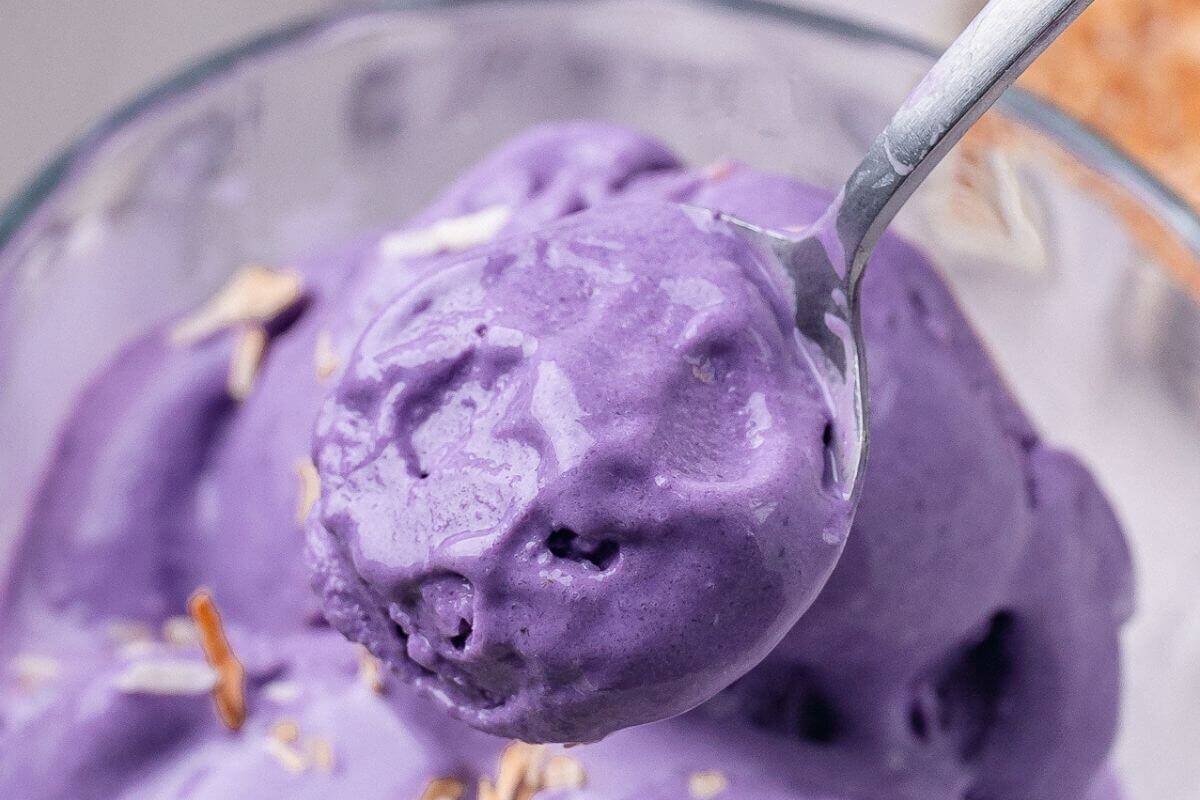
I like to serve this purple ube ice cream with dairy-free whipped cream, shaved dark chocolate, or toasted coconut on top. For a more indulgence, you can layer the ice cream in a parfait glass with sweetened red beans, mochi cubes, and dairy-free condensed milk. This Filipino-inspired variation mimics the popular halo-halo dessert. Sprinkle crushed nuts like cashews or pili nuts on top for added richness and crunch.
You can also serve the purple yam ice cream in gluten-free waffle cones or turn it into a sandwich between soft dairy-free cookies like pandan, ginger, or chocolate. It's also delicious over my waffle recipe for one drizzled with a bit of maple syrup or vegan caramel sauce.
Storage
If you have leftovers after you churn ube ice cream, smooth out the surface with a spoon and return the lid tightly to prevent freezer burn. Place the container back in the freezer promptly and store it flat to keep the texture even. It's best to consume the remaining ice cream within a week for optimal flavor and consistency, as dairy-free bases can crystallize more quickly than traditional ones.
If your spun ube ice cream becomes too hard or icy after storing, the Ninja CREAMi has a built-in solution: the Re-Spin function. You can place the container back in the machine and run a spin cycle again, optionally adding a small splash of dairy-free milk like coconut or oat milk to loosen the texture. This brings it back to its creamy, dreamy state without having to manually thaw or melt it.
FAQs
This is a common issue with lower-fat or dairy-free bases. Coconut milk or other plant-based milks may not have enough fat to create a creamy texture on the first spin. To fix this, use the Re-Spin function and add a tablespoon or two of dairy-free milk (like coconut or oat milk) before re-spinning. This helps smooth out the texture and gives it that rich, scoopable consistency.
For authentic flavor, use pure ube powder made from purple sweet potato. Avoid artificial flavorings when possible. Real ube gives a sweet, nutty, vanilla-like flavor that's hard to beat.
Absolutely! You can add a plant-based protein powder to your ice cream base for a protein boost. To keep it low in sugar, use unsweetened coconut milk and a sugar-free sweetener like monk fruit or stevia. Just be aware that the sweetness may mellow out after freezing, so taste your base before freezing and adjust accordingly.
Have a question about this recipe?
Ask AI to answer based on this specific recipe:
Follow us on Facebook, Instagram, and Pinterest to see more recipes.
Recipe

Ube Ice Cream (Dairy Free)
Ingredients
- 13.5 fluid ounces canned coconut milk or coconut cream (preferably one with just coconut and water)
- ¼ cup Monkfruit Sweetener with Allulose or equivalent sweetener
- 1 tablespoon purple yam powder ube
- ½ teaspoon vanilla extract
- ½ teaspoon ube extract optional, for added purple yam flavor
- Pinch of salt
- 4 large egg yolks or 2 to 4 tablespoons liquid lecithin (see Notes)
Instructions
- In a small saucepan, combine the coconut milk, sweetener, purple yam powder, ube extract, vanilla extract, and salt.
- Heat the mixture over medium-low heat, stirring constantly, until it begins to steam. Do not boil.
- In a separate bowl, whisk the egg yolks until smooth.
- Gradually add a few ladles of the coconut milk mixture into the egg yolks, whisking constantly, to temper the egg.
- Slowly pour the tempered egg yolk mixture into the saucepan with the remaining hot cream mixture while whisking.
- Continue to simmer over low heat, stirring constantly, until the mixture thickens enough to coat the back of the spoon. This should take about 5 minutes. Keep mixture at a simmer and do not boil.
- Remove the saucepan from the heat and strain the mixture through a fine-mesh sieve into the CREAMi container to remove any cooked egg bits. Freeze on level surface for about 24 hours.
- Place the pint container into the outer container of the Ninja CREAMi and lock on lid. Twist and lock into place and then process on "ICE CREAM". Remove container from machine and check the texture. If texture is not creamy enough, you place the container back in the machine and do a RESPIN.


Comments
No Comments