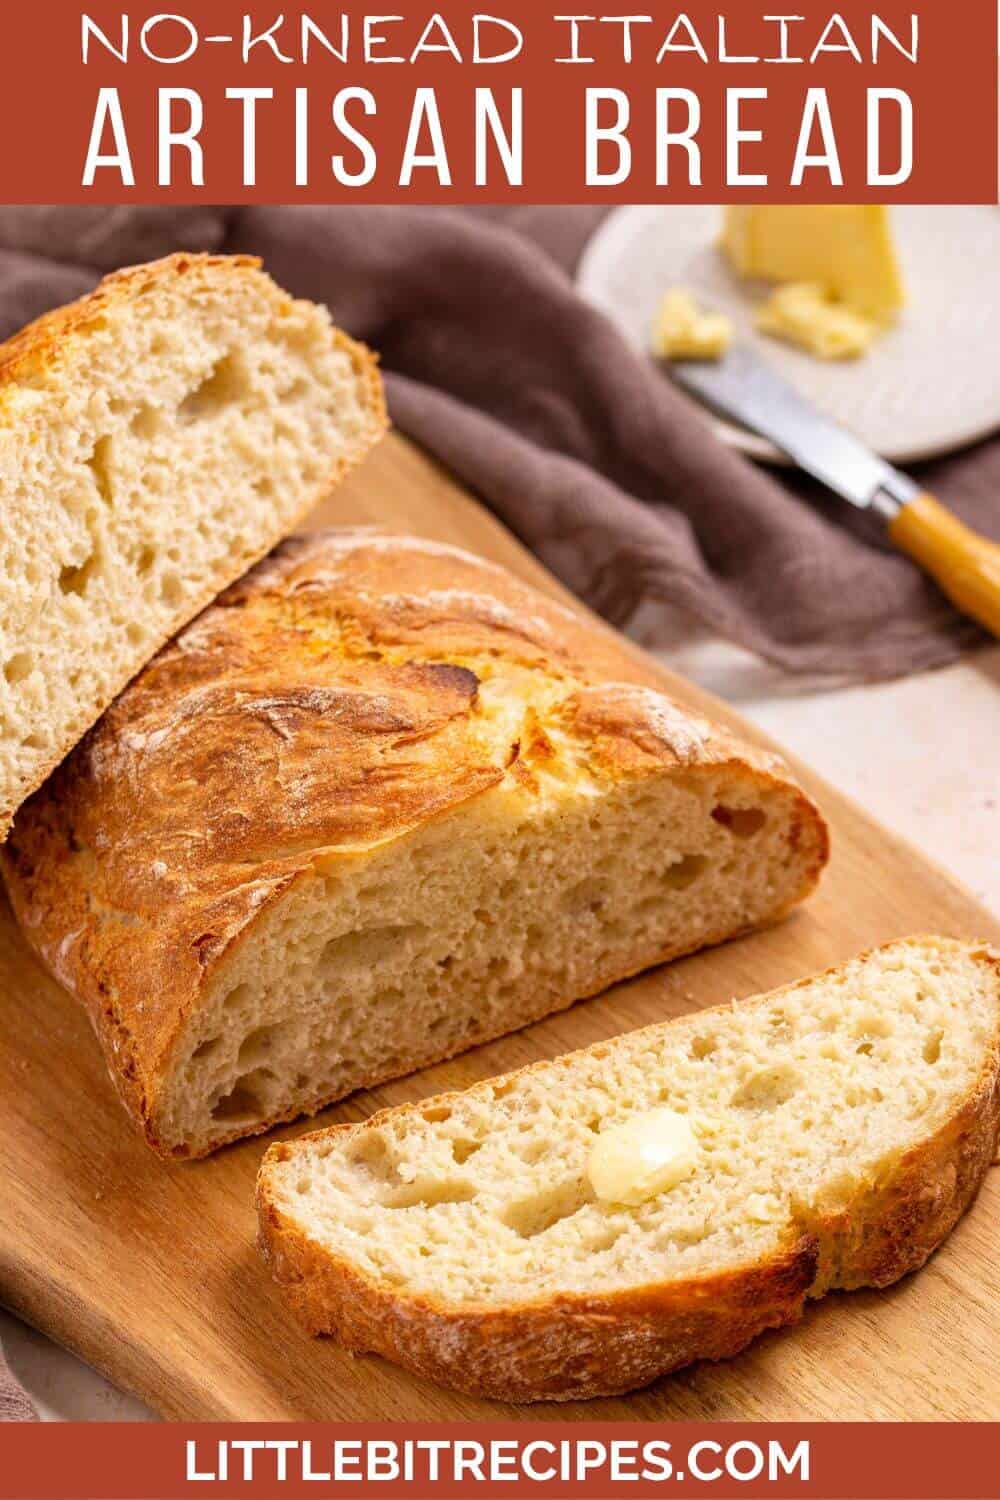
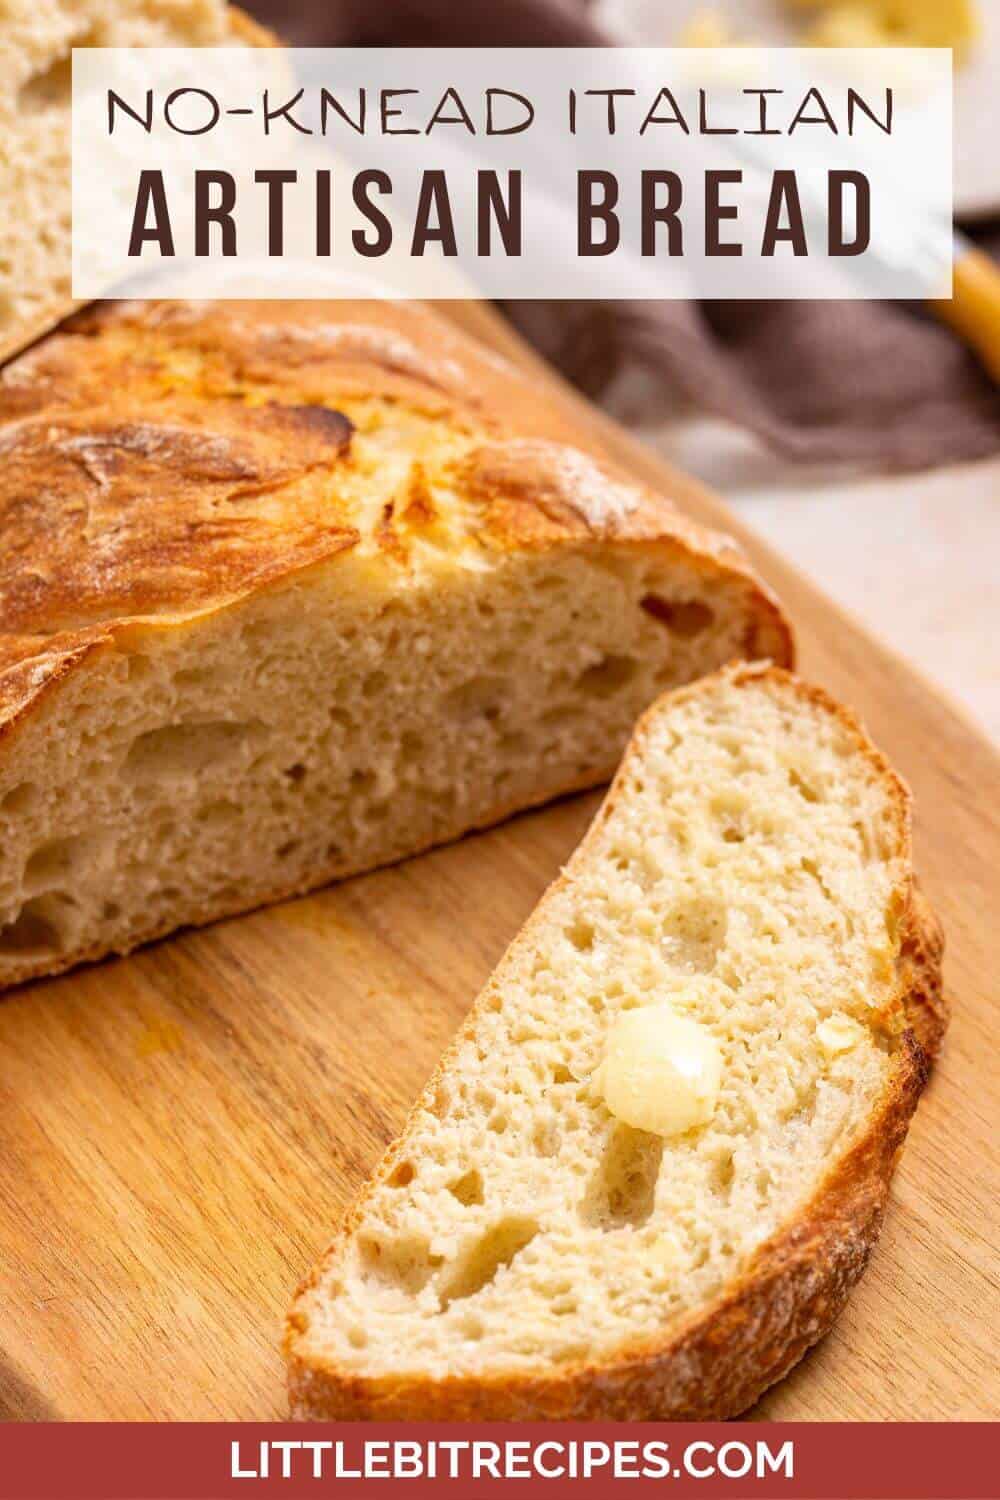
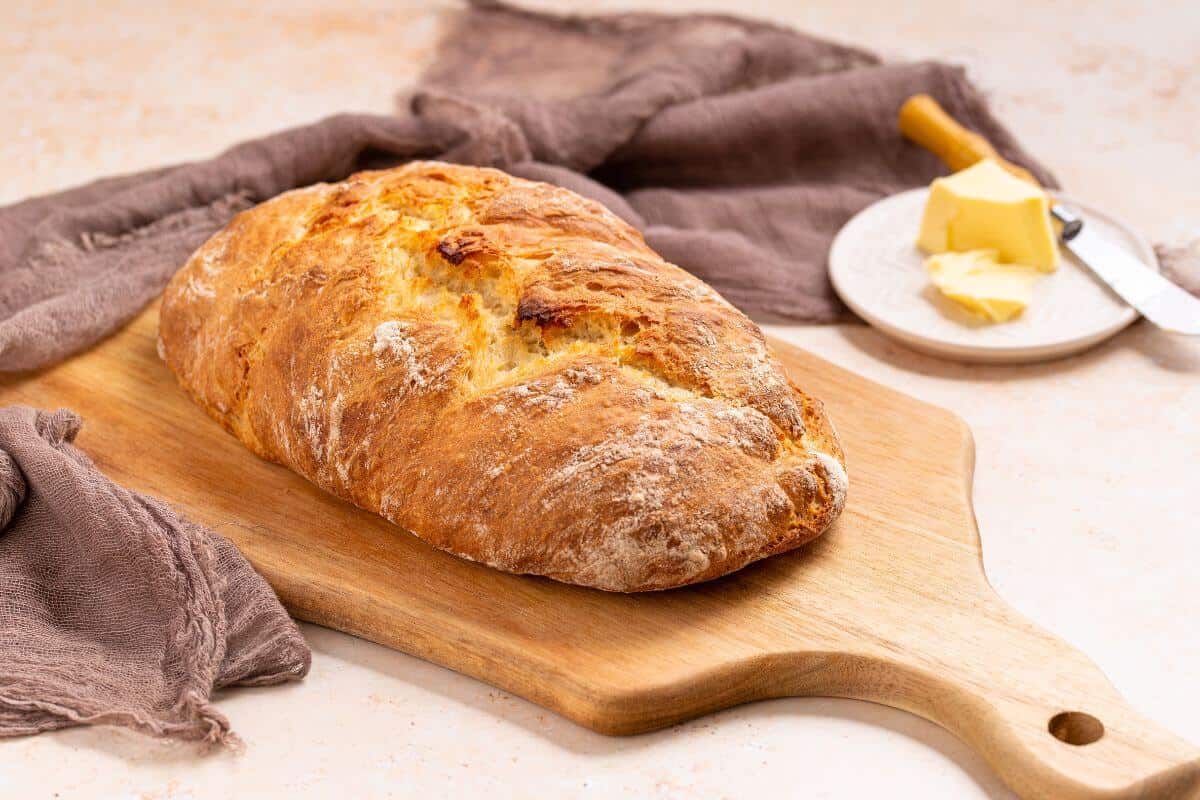
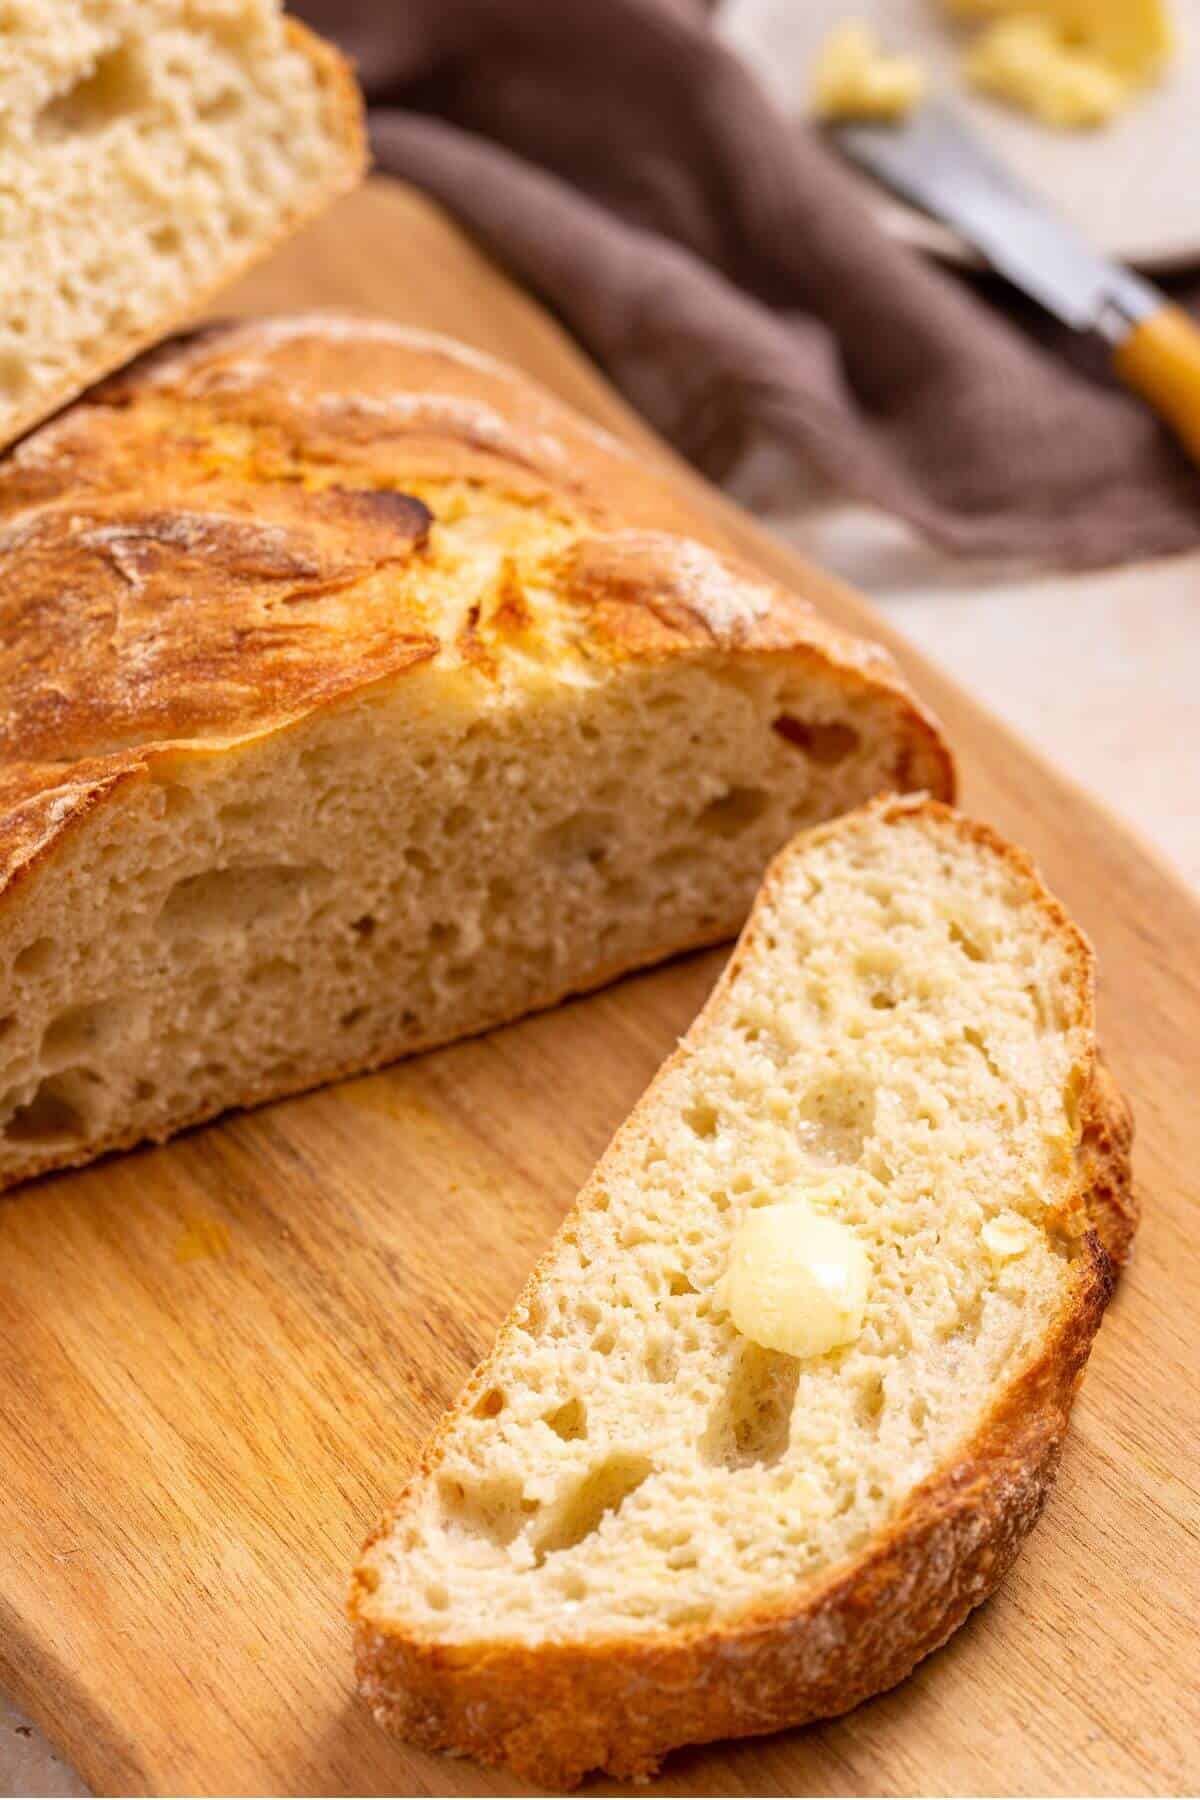
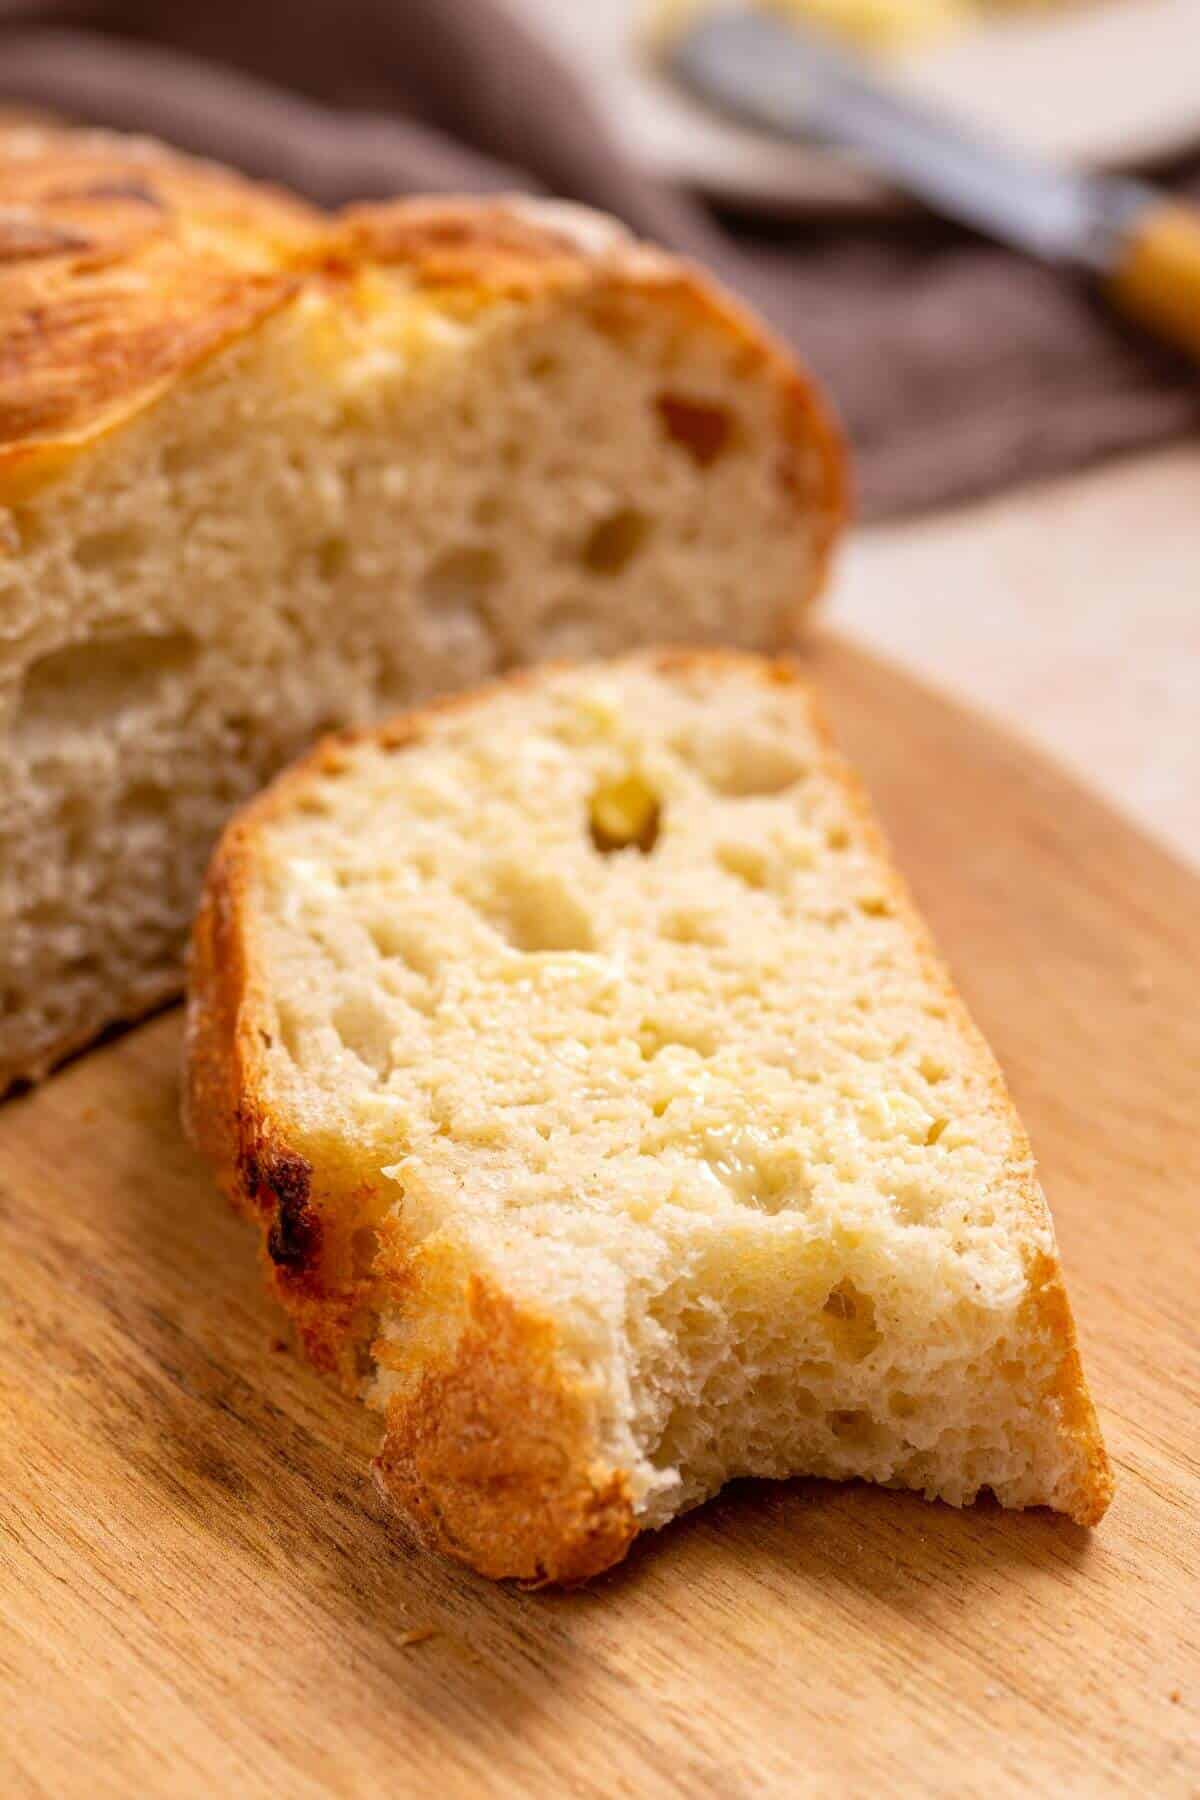
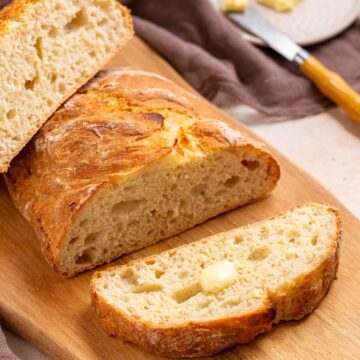
Making rustic Italian artisan bread at home is easier than it looks because the dough requires no kneading. After a quick mix to create the dough, you just need to let it rest and rise before baking. The finished loaf has a crisp crust and a tender center that slices easily once cooled.
Want to save this post?
Enter your email below and get it sent straight to your inbox. Plus, I'll send you the latest recipes and tips every week!
I make this no knead bread when I want something fresh from the oven without spending all afternoon working with dough. It comes together with simple pantry ingredients and a quick mix, then the dough does most of the work while it rises. The result is a rustic loaf with a crisp crust and soft interior that feels like something you would pick up from a small bakery.
A warm slice is perfect alongside a bowl of sausage minestrone, especially on nights when I want something simple but filling. I also love serving it toasted with toppings similar to my zucchini bruschetta when I want an easy appetizer or light lunch. Once you see how little effort it takes to make a loaf at home, it will become a habit to bake one whenever you want fresh bread on the table.
Ingredients
You only need a few simple ingredients to create authentic Italian-style crusty bread. Once you have mastered this easy recipe, there are endless possibilities for adding your own twist by experimenting with different flours or adding herbs and spices to create unique flavors.
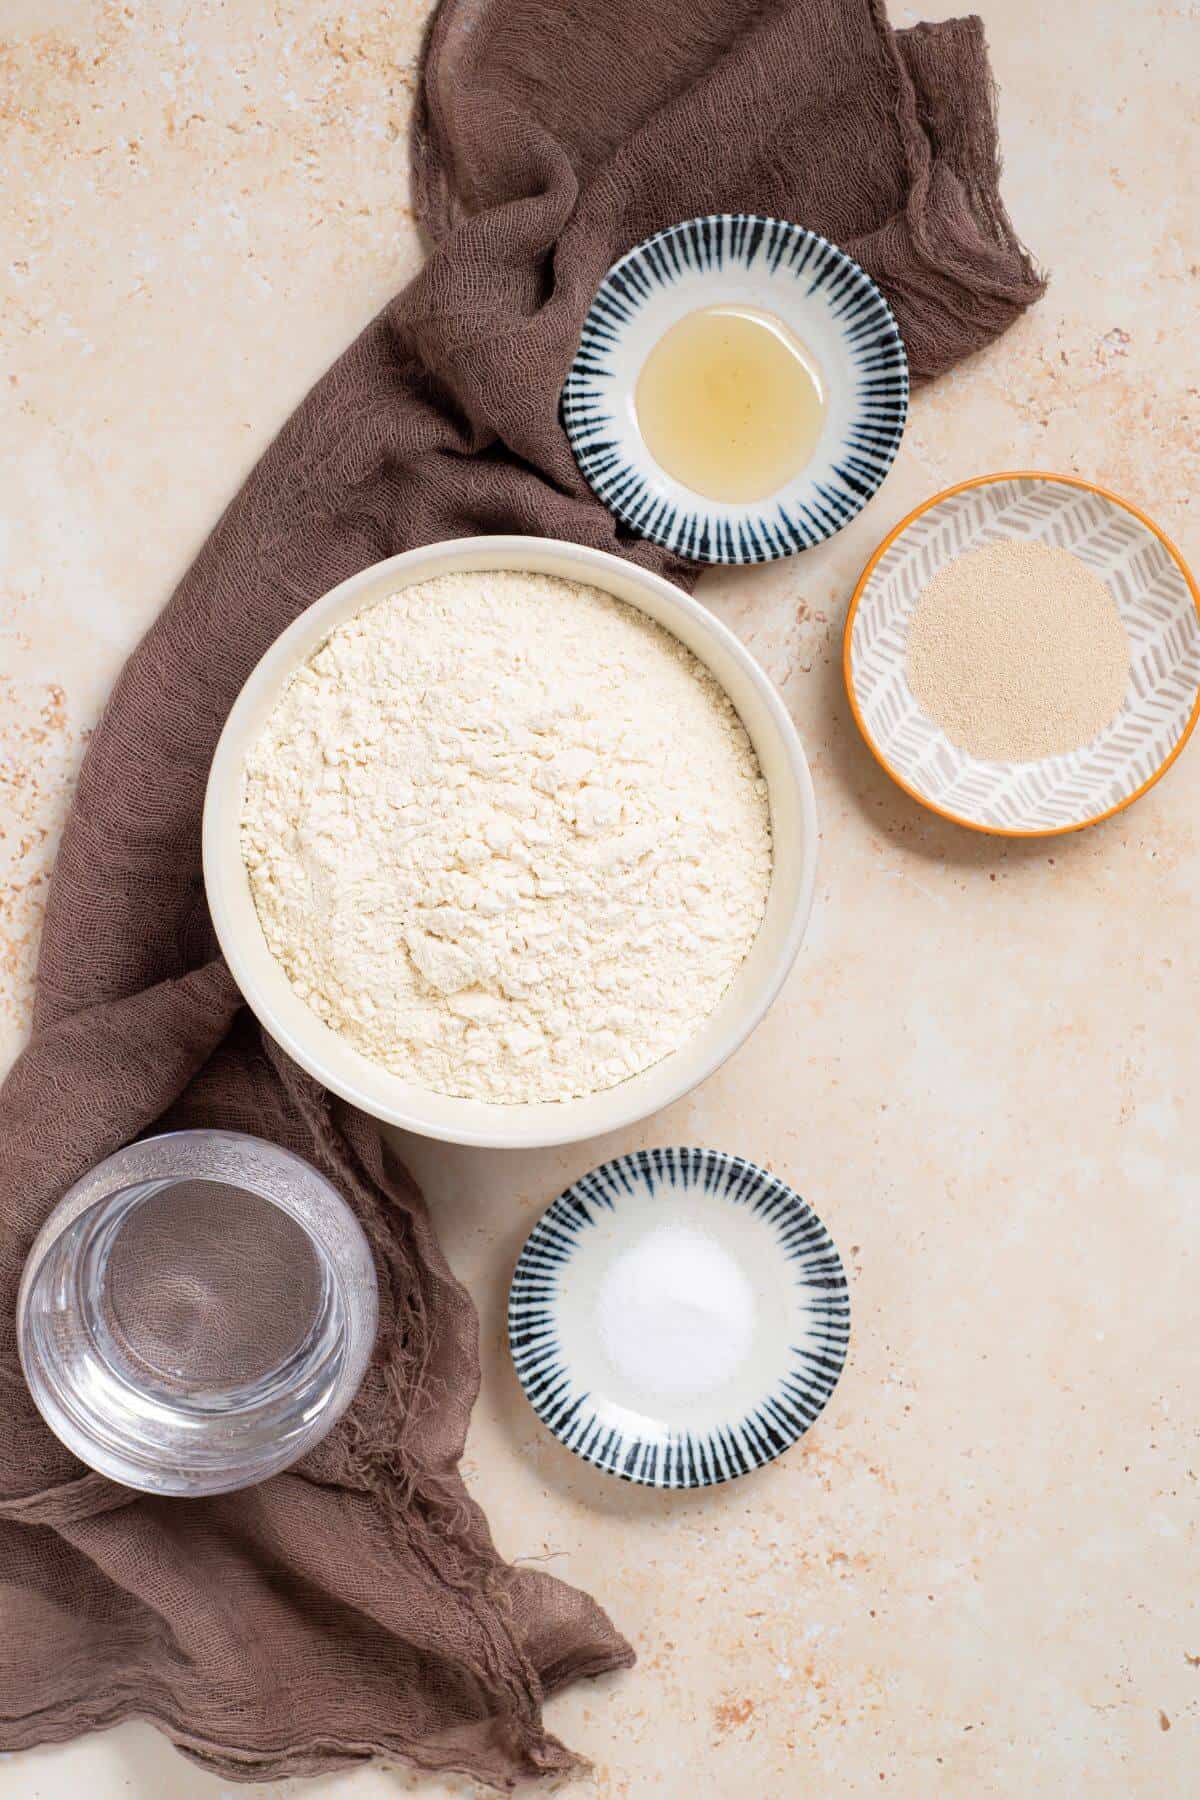
Here are the ingredients needed to make this recipe:
- all-purpose flour
- lukewarm water (100-110°F)
- instant yeast
- honey
- salt
Scroll down to the recipe card for quantities.
Instructions
To make a no-knead homemade bread, all you need to do is combine the ingredients by following the steps below. Then, cover it, and let it sit until the dough has doubled in size before forming and baking the loaf.
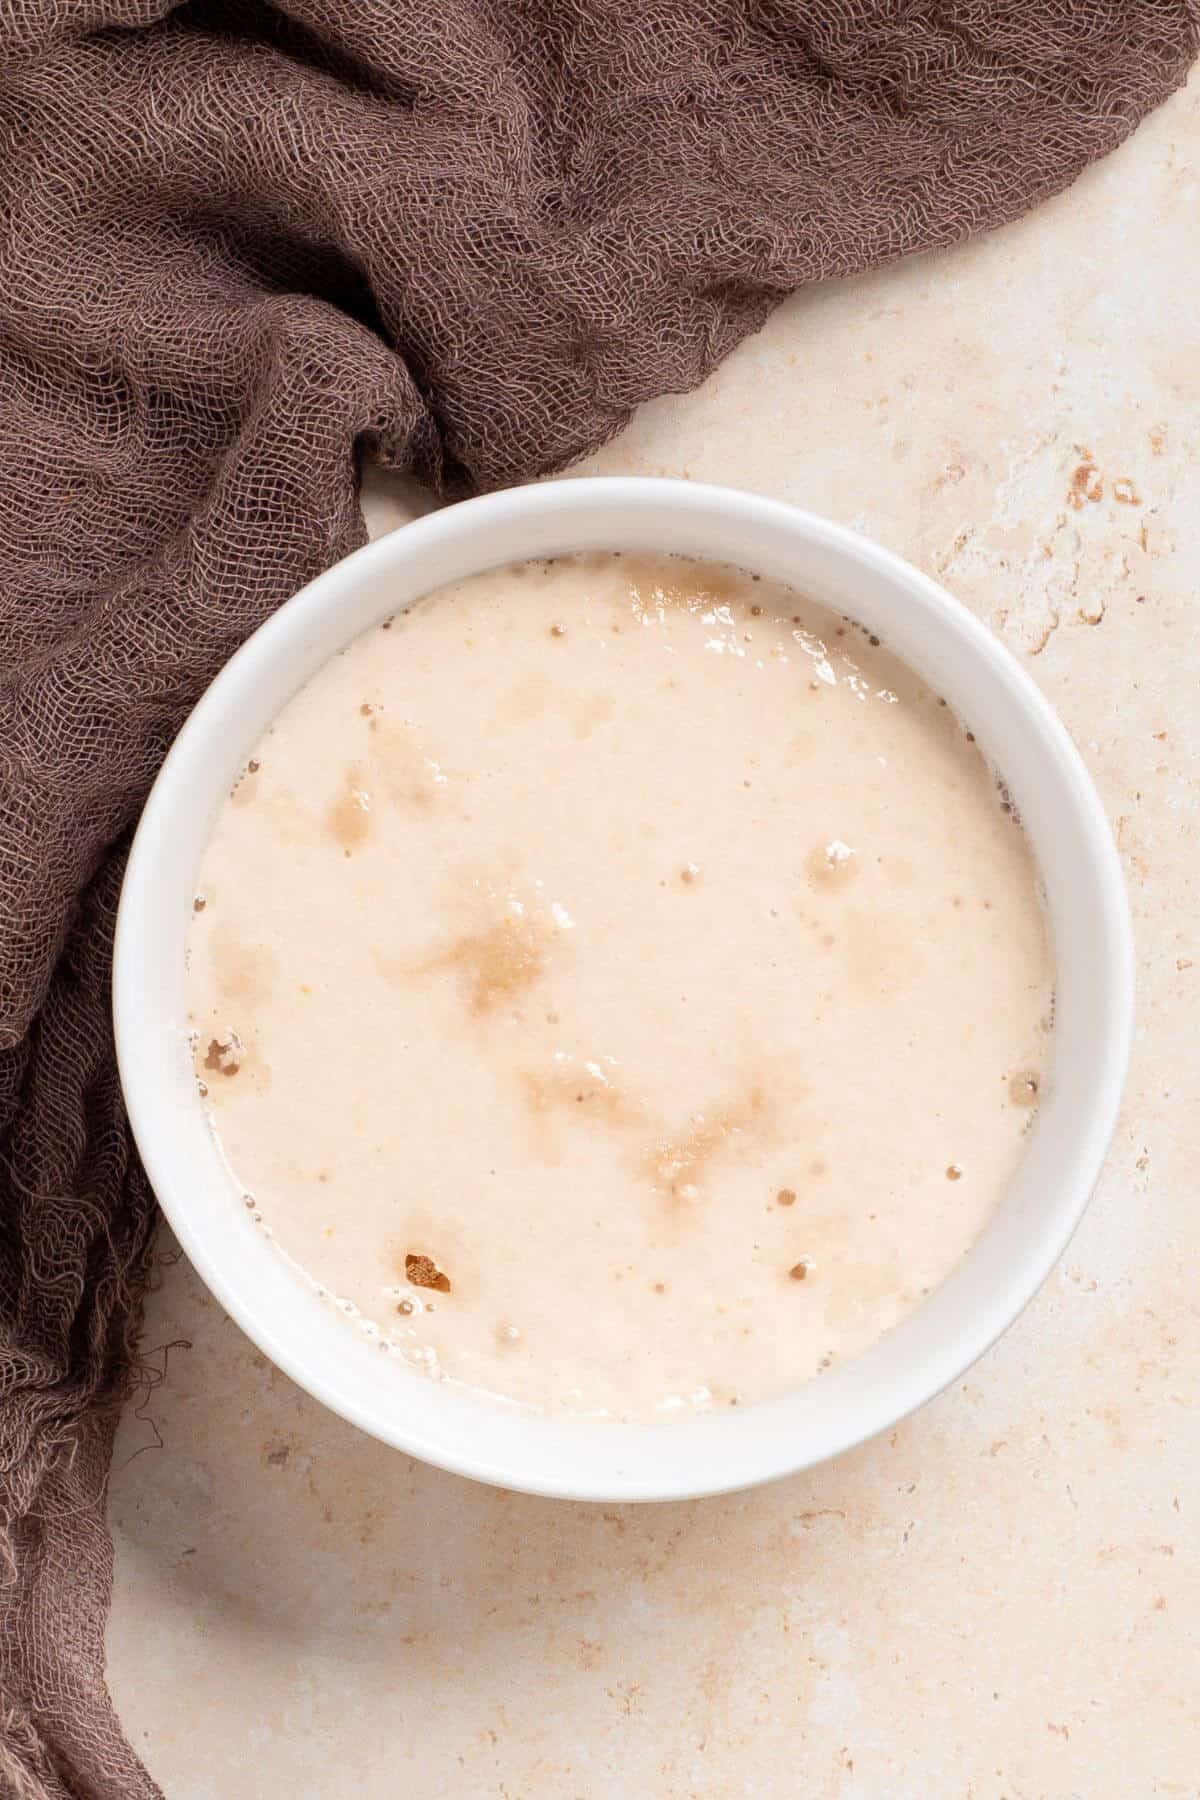
Dissolve the yeast in ¼ cup of warm water and 1 teaspoon of honey. Leave to rise for 5 minutes until bubbly.

Add flour to a mixing bowl with the remaining water.
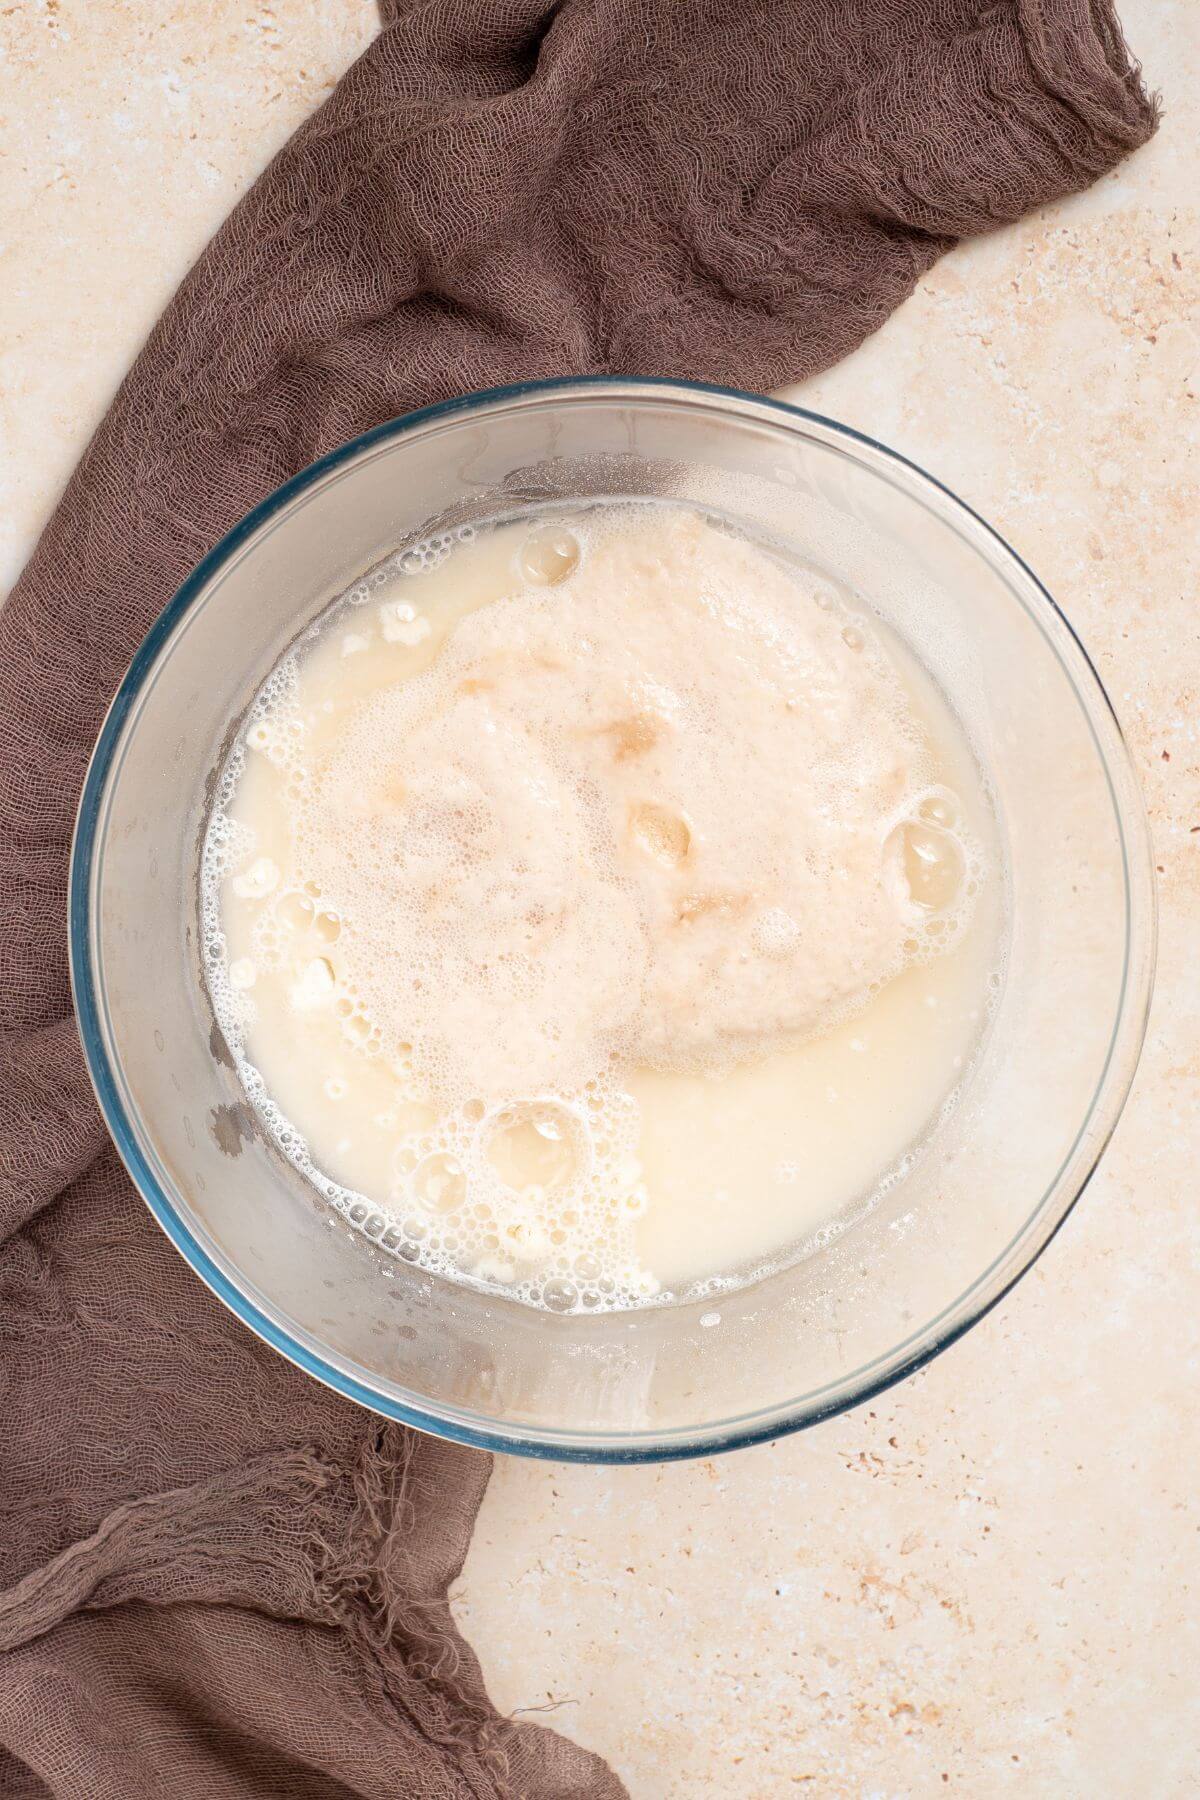
Add the dissolved yeast and use a fork to mix it quickly. Add salt to the mixture and stir.
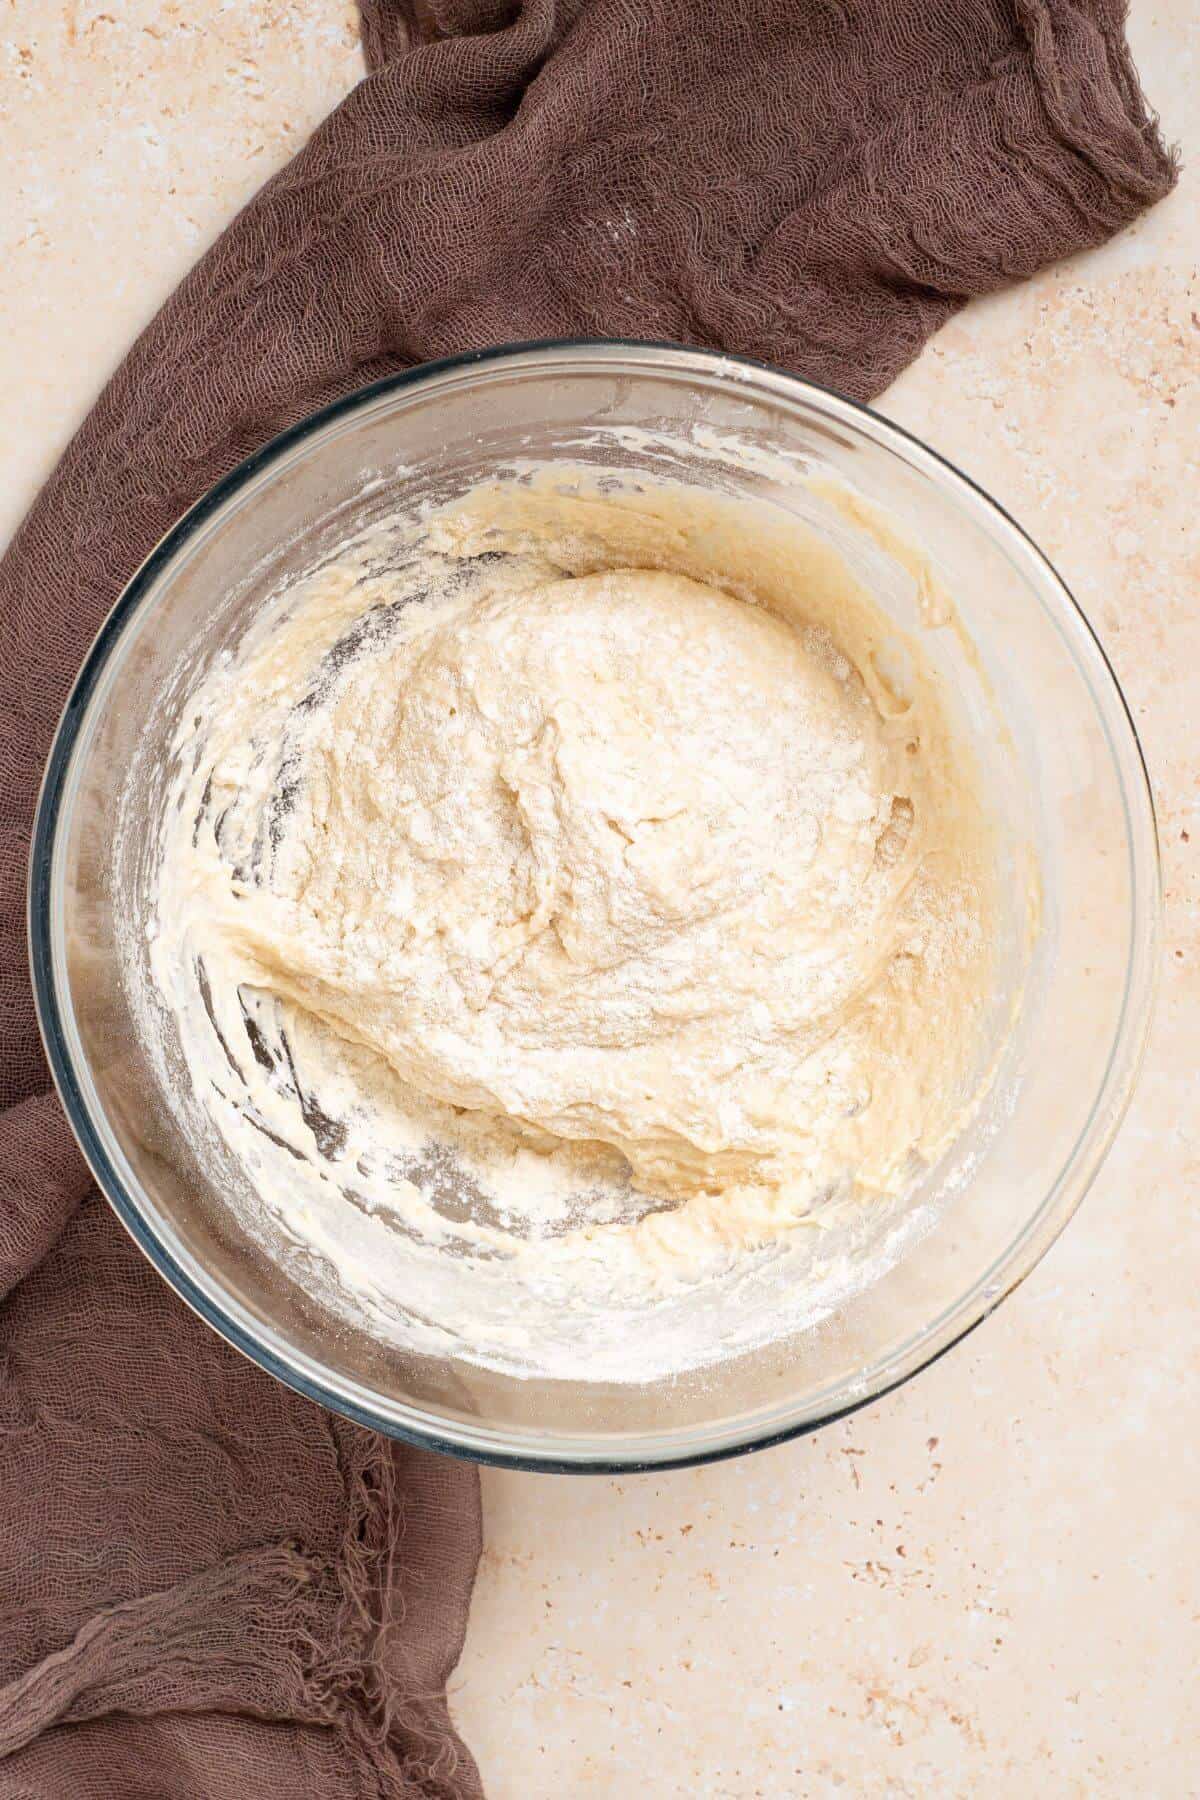
The dough should be soft, sticky, and not smooth. Cover, and let rise at room temperature or in a warm spot if it's a cool room.
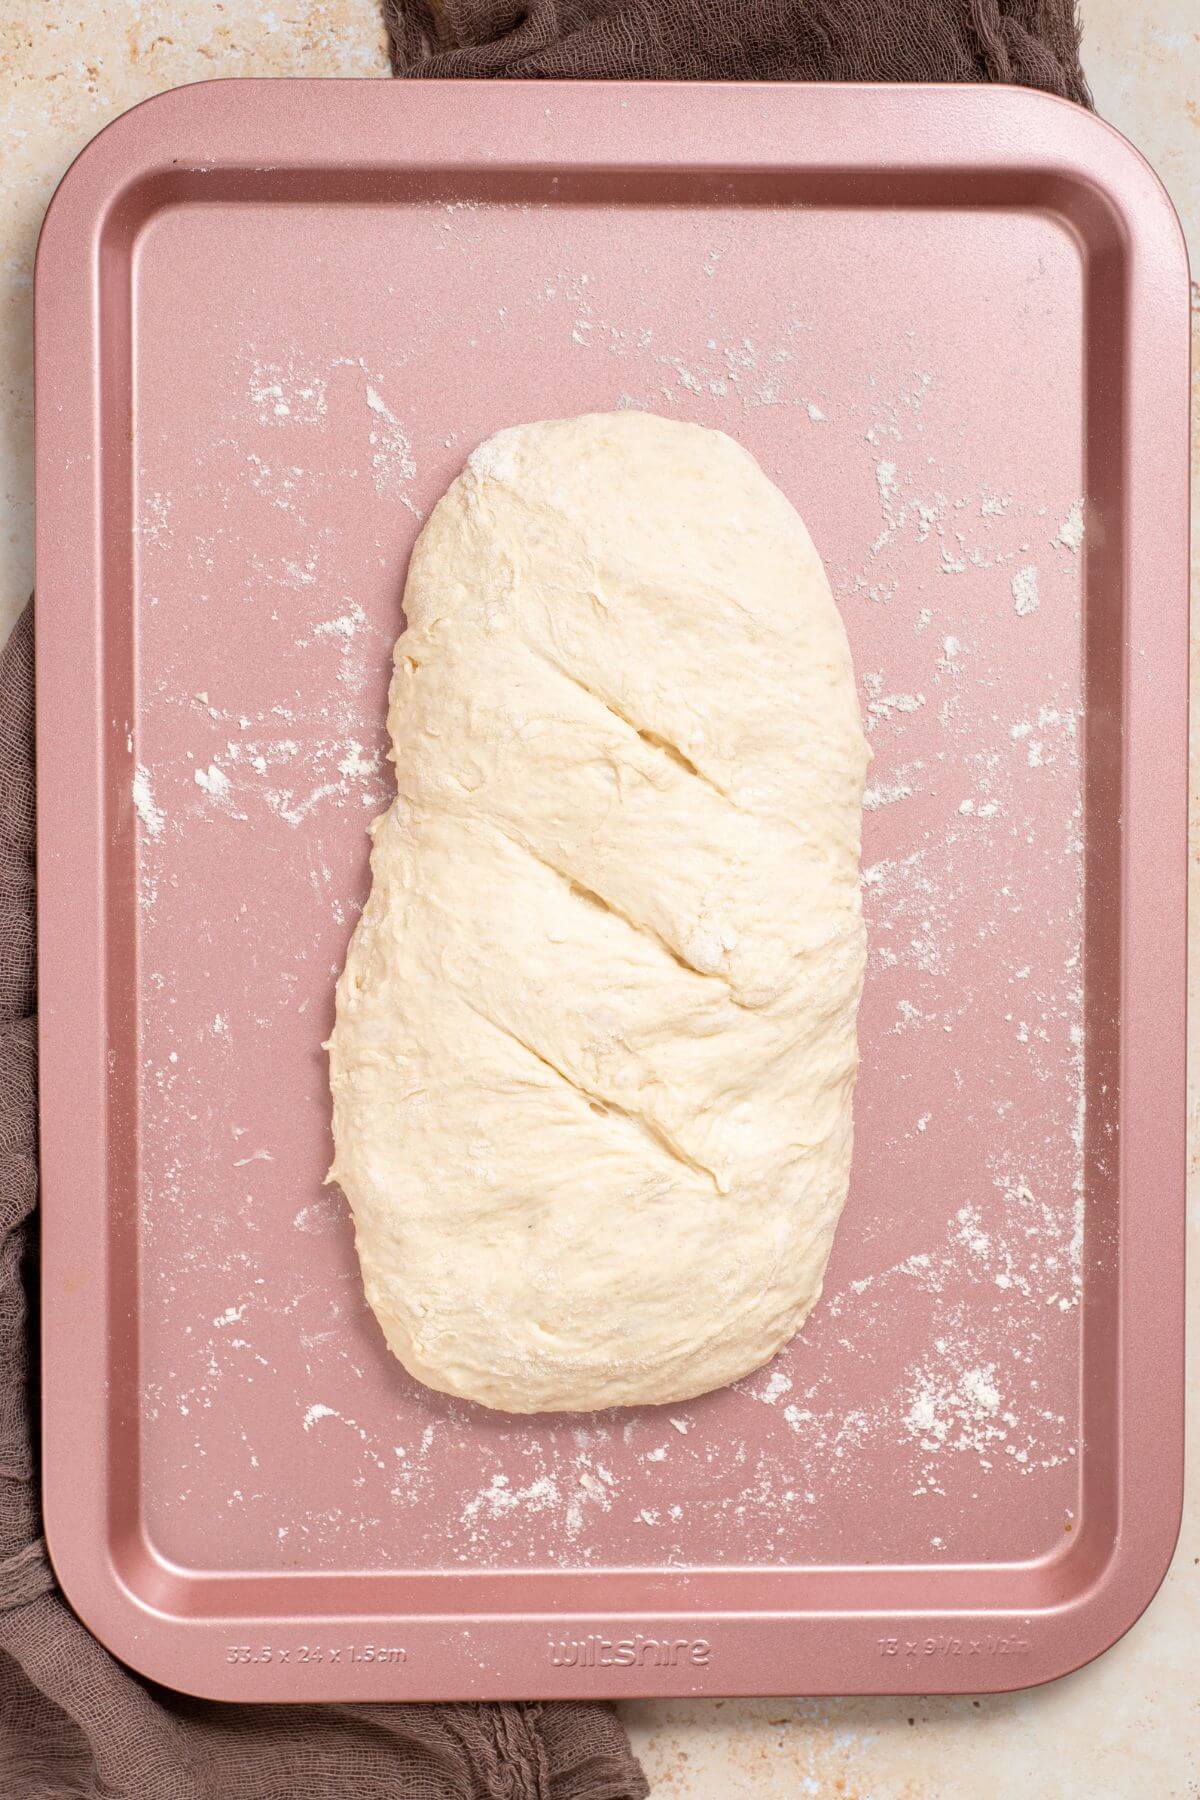
After the dough has doubled in size, gently place dough onto a non-stick baking sheet sprinkled with flour and form a loaf. Gently score the top with a sharp knife.
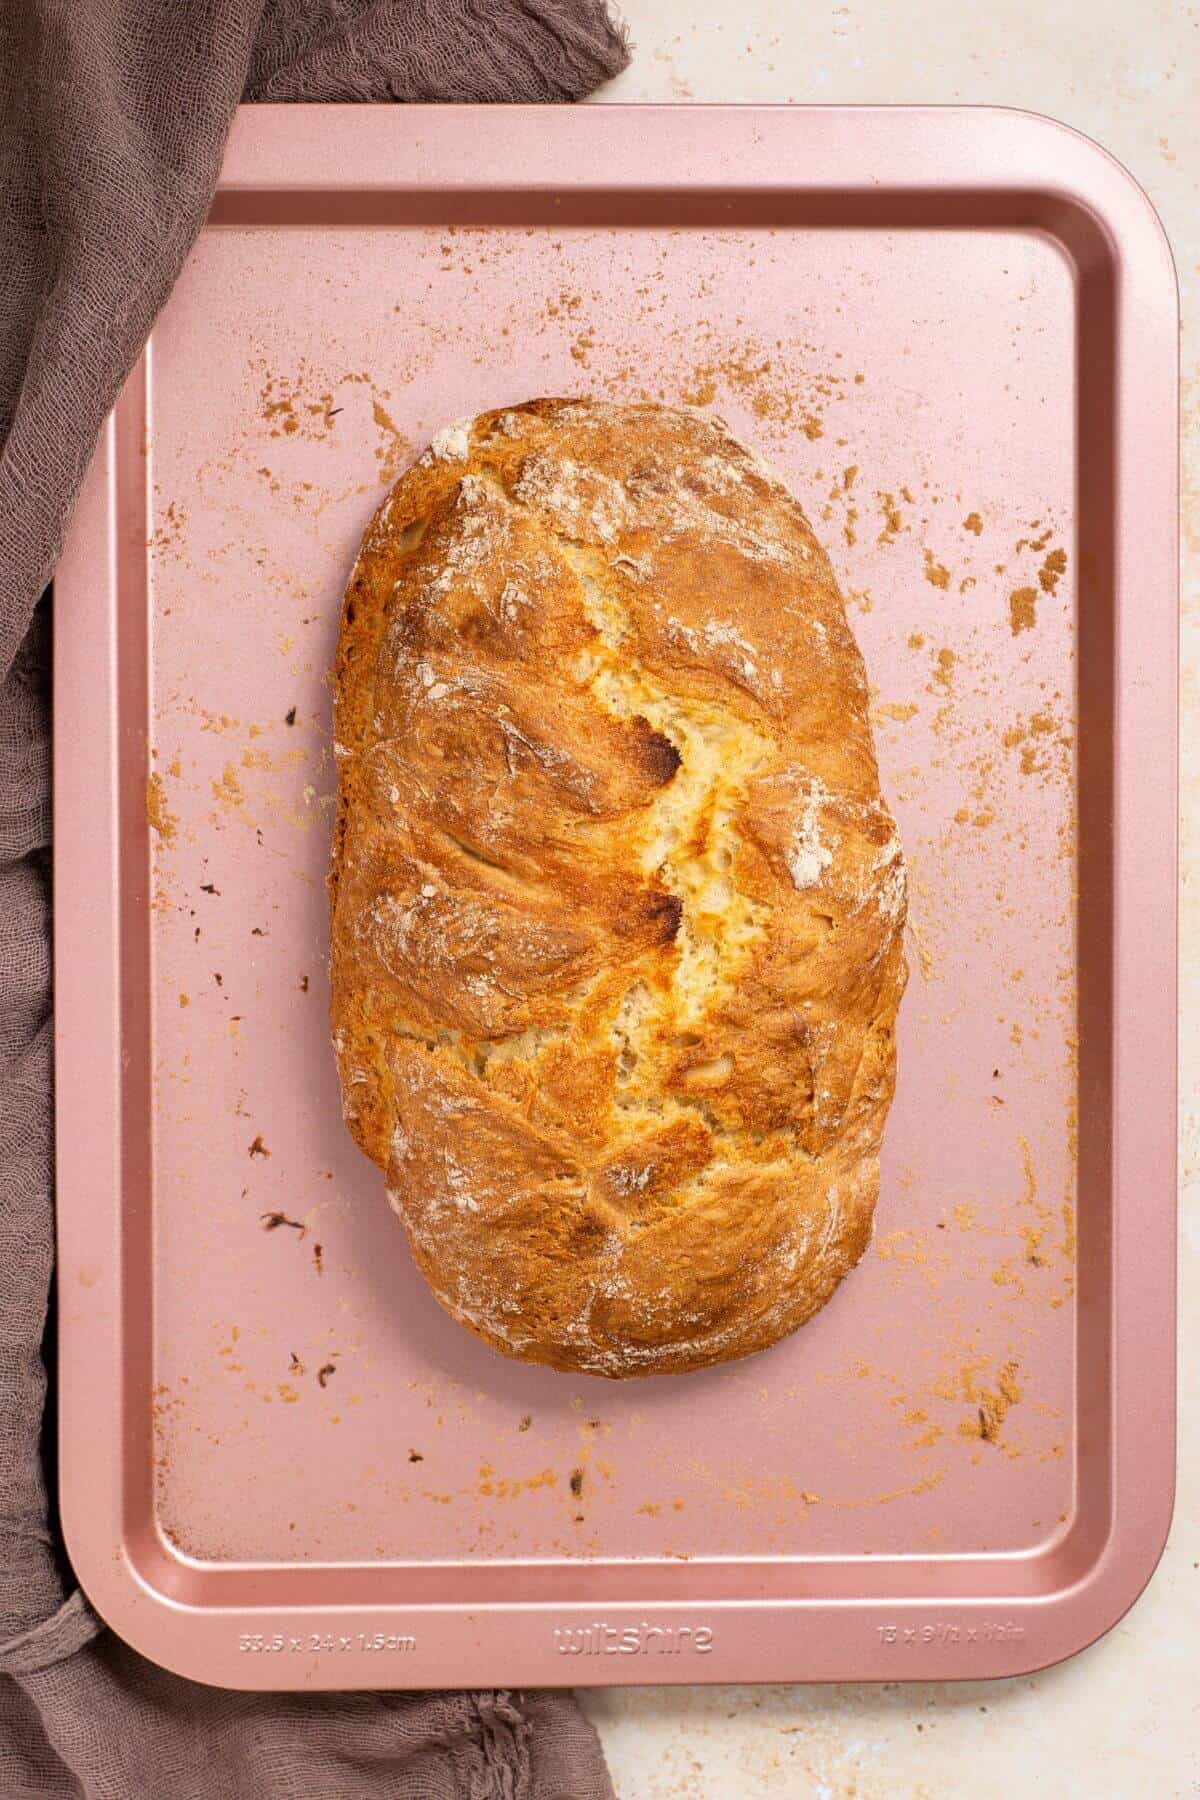
Bake bread loaf in the preheated oven for approximately 25 minutes. Then, lower the temperature and bake until it is golden brown.
After baking, let the loaf cool on a wire rack for at least 15 minutes before cutting.

Tips
Here are a few tips if you are new to making homemade bread:
- Dough texture matters: The dough should look shaggy and sticky rather than smooth like traditional bread dough. If it feels stiff or dry when mixing, add a teaspoon of water at a time until it loosens up. A wetter dough is what helps create the airy interior typical of artisan bread.
- Measure flour carefully: Too much flour can make the loaf dense. Spoon the flour into your measuring cup and level it off instead of scooping directly from the bag. If the dough feels unusually stiff, excess flour is usually the reason.
- Don't overwork the dough: When transferring the dough to the baking sheet, handle it gently so you don't knock out the air bubbles formed during rising. The rough shape and uneven texture are what give artisan bread its rustic look.
- Check for doneness: The loaf should be deep golden brown and sound hollow when tapped on the bottom. If it still feels heavy or soft underneath, return it to the oven for a few more minutes.
- Avoiding a flat loaf: You must use an adequate amount of yeast. If the yeast is not activated correctly, this can lead to an under-risen loaf. Not allowing the dough to rise long enough or at the right temperature can also cause an overly flat loaf. Homemade bread can become flat if the oven temperature is too low or too high, too.
Variations
This dough can handle small add-ins as long as the texture stays soft and sticky. Mixing in a little chopped rosemary or thyme will add flavor without interfering with the rise.
You can also lightly brush olive oil on before baking to help the crust brown evenly. During testing, the olive oil finish gave the loaf the best overall crust and flavor.
Storage
The best way to store Italian artisan bread is in a cool, dry place. If you have enough space in your kitchen, you can store it in a bread box or on a shelf. Alternatively, you can wrap the bread in aluminum foil or plastic wrap and keep it in the refrigerator for up to two days.
For longer storage, you can freeze the bread for up to three months. Be sure to wrap the bread tightly before freezing so that it doesn't get freezer burn. When you're ready to eat the frozen bread, thaw it at room temperature before serving.
Questions about this recipe
Ask in a comment or use AI to answer based on this specific recipe:
Follow us on Facebook, Instagram, and Pinterest to see more recipes.
Recipe
No Knead Italian Artisan Bread
Ingredients
- 2 ¼ cups all-purpose flour (9 oz) plus extra for topping
- ¾ cups lukewarm water about 185 ml at 100-110°F
- 1 ⅛ teaspoon instant dry yeast (0.20 oz)
- 1 teaspoon honey
- 1 teaspoon salt
Instructions
- Dissolve the yeast in ¼ cup of lukewarm water and 1 teaspoon of honey. Leave to rise for 5 minutes until bubbly.
- Add flour to a mixing bowl with the remaining water. Add the dissolved yeast and use a fork to mix it quickly.
- Add salt to the mixture and stir. The dough should be soft, sticky, and not smooth. Add additional lukewarm water if the mixture is too dry.
- Sprinkle some flour on the dough, cover the bowl with a damp cloth or plastic wrap, and let it rise in a warm place for between 45 minutes and 1 hour and 30 minutes to almost double the size. Time may vary depending on your kitchen warmth.
- Preheat the oven to 425° F (220° C).
- Gently transfer the risen dough to a non-stick baking sheet sprinkled with flour. Make sure the floured side is facing upwards.
- Score the bread with a very sharp knife, not too deep.
- Bake the loaf in the preheated oven for approximately 25 minutes. Then, lower the temperature to 325° F (160° C) and bake for an additional 10-15 minutes or until it is golden brown.
- After baking, let the loaf cool on a wire rack for at least 15 minutes before cutting.

Michelle says
Made this bread this afternoon and it turned out well! I was skeptical about not having to knead, but it worked and gave me a delicious loaf. Thanks for sharing!
Addison says
This bread came out amazingly! I love how quick, easy and straightforward this recipe is.
Bella B says
I made this homemade Italian bread recipe yesterday and it was just delicious. Will be making it again soon. Thanks so much for the detailed and easy-to-follow directions.
Rose says
This Italian bread turned out so good! I want to make it again for Easter brunch.
Patricia Kelly says
Could not print the recipe. Not sure why but made it and added thyme and garlic and it was great.
Lisa MarcAurele says
Added herbs are a great way to add some flavor. You should be able to print from this page: No Knead Artisan Bread Recipe
Rob says
If you do both the half hour rest and brush with olive oil, when do you do the oil, before or after the rest?
Lisa MarcAurele says
I find it's best to do after the rest.
smk, TOF says
I took it to mean right before placing it in the oven to bake.
Dave says
Can this be baked in a hot oven about 800 degrees? Such as a pizza oven? I have an indoor electric that goes up to 700 and an outdoor propane that I've had as hot as 800, pegging the needle. The pizza crust is awesome made in a hot oven. Please let me know. Email me please, someone! Thanks!
Lisa MarcAurele says
I'm not sure as I've never tried it. The dough would likely work as a pizza crust that way but I'm not sure how the loaf itself would do.
Brenda says
What can honey be substituted with?
Lisa MarcAurele says
You can use white sugar, maple syrup, or any other equivalent sugar like coconut sugar or turbinado sugar.
Ralf says
Any precautions for high altitude with this bread?
Lisa MarcAurele says
You may need to reduce the yeast a little and increase the water if needed.
EJ says
This is a more general question. I would like to make the bread in the am and bake for the evening meal. Is is possible to leave the dough to rise too long?
Lisa MarcAurele says
If you let the dough rise too long, it can collapse so I don't recommend letting it sit that long. I wouldn't let it go more than a few hours.
Pam King says
I did punch it down and knead it once after it had risen. It turned out amazing! Next time I'm going to add some rosemary and roasted garlic
Linda Mahoney says
I only have regular yeast not instant. What does that mean for this recipe? More wait time in rising?
Lisa MarcAurele says
Yes. It usually means the rise will take longer. But I believe you'll also want to use very warm water as well (120-130°F).
Jorad says
I left the dough rising, I made double the amount and we ate a few slices. I put the rest of the slide in the freezer to have it for next time. Once frozen, I let it thaw and toast it. Delicious with butter and jam.
Kim says
Can I make this in a bread machine?
Thank you, Kim
Lisa MarcAurele says
It's a no-knead recipe so you'd have to be able to turn off the kneading cycle. It hasn't been tested with kneading.
Jill says
Loved this! Couldn't have been easier, and the crust was out of this world! This will be my go-to bread recipe when I don't need a specific type! Thank-you!
Jo says
Can I bake this in loaf pan and how much Rosemary should I add
Lisa MarcAurele says
I've never baked it in a loaf pan, but it should be okay. You may have to adjust the baking time. I wouldn't add much rosemary. The amount depends on if it's fresh or dried.
Diane says
what happened? my bread spread out in pan, never did look like a loaf. is it because we are at 4000 ft .. ??? waste of time and ingredients.
Lisa MarcAurele says
Altitude can be a factor! I tested it at about 500ft above sea level without any issues. It could also have been too much liquid vs flour. I've never lived at higher altitudes so I don't have much experience with what adjustments have to be made.
Melanie says
This bread looks absolutely scrumptious! And mouth-watering. Do you think your recipe would work with a gluten free all-purpose flour? Thank you!
Lisa MarcAurele says
I think using a gluten-free flour would require other changes to the recipe. I'd need to test it and make adjustments as needed. If you tried subbing the regular flour with gluten-free flour, the bread would likely come out a bit hard and dense.
Sherry Christenson says
Could self rising flour be used instead?
Lisa MarcAurele says
Using self-rising flour may result in too much leavening which can cause the bread to rise too much and sink down after cooling. I don't recommend using it.
Doris Flynn says
After my bread rose and I scored it, it fell
Lisa MarcAurele says
If you score it, it needs to be done before baking.
Jim says
Somewhat of a disaster with this RECIPE. Dough was extremely sticky and would not leave the bowl it had risen in. What a sticky mess. Finally got enough dough out of the bowl and off my hands and fingers to work with, added gobs of flour just to be able to knead it a bit and shape it. Still went into the oven a bit sticky. Brushed with olive oil and scored. Browned nicely and was edible. Crust was a bit hard though. Think I'll stick to teacakes and donuts.
Lisa MarcAurele says
I'm sorry the recipe didn't work out for you. The dough is supposed to be sticky and it isn't intended to work with your hands. That is why it has "No Knead" in the name. I do believe it would have come out just fine if you had not tried to "work with" it. If needed, you could put a little flour on your hands if you wanted to shape or touch the dough with your hands. Flour is sprinkled on the outside and on the pan to keep it from sticking. I have made this recipe several times without issue.
Martha says
Super easy and delicious. However, the printed recipe says to bake 25 minutes and then lower the temperature and continue baking. But mine was completely done at the end of the 25 minutes! It’s perfect but what makes the bottom crust so hard that it’s difficult to slice? I have never had that happen before in bread making.
Lisa MarcAurele says
You might want to reduce the baking temperature next time. It can get hard on the bottom just because a thicker crust forms there due to the weight of the loaf.
Rose says
sorry Lisa iforgot to say that I'm gluten free so can I use my gf all purpose flour in your baking please. please reply.
Lisa MarcAurele says
I have not tested the recipe with a flour alternative, but if the gluten-free flour is a good one-for-one substitute for all-purpose flour, it should work. You may just need to adjust the flour amount so you get the right consistency.
Karen says
Can raisins be added to this recipe?
Lisa MarcAurele says
Yes, raisins can be added, but a small adjustment helps them work better in this dough.
- Use ⅓ to ½ cup raisins for this size loaf.
- Soak the raisins in warm water for 10 minutes, then drain and pat dry. This keeps them from pulling moisture from the dough.
- Fold them in after you mix the dough (when adding the salt step) so they distribute evenly.
One small tip:
Lightly dust the raisins with a little flour before mixing them in. This helps keep them from sinking or clumping during the rise.