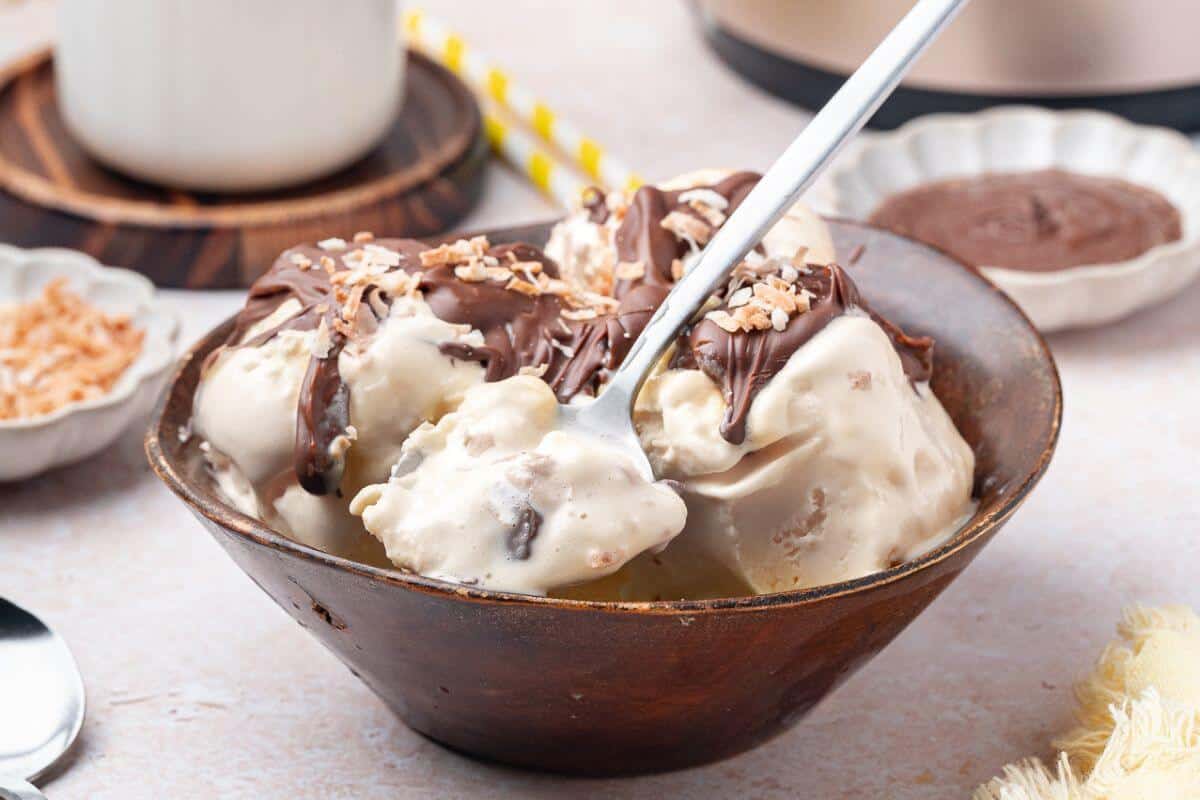
This coconut milk ice cream blends creamy coconut, vanilla, and a lightly sweetened custard base for a rich, smooth treat. Simply chill and freeze the mixture for a refreshing homemade dessert.
Want to save this post?
Enter your email below and get it sent straight to your inbox. Plus, I'll send you the latest recipes and tips every week!
I've always loved cold treats, especially during summer, so homemade ice cream quickly became a staple in my kitchen. Using coconut milk creates a dessert that's both creamy and refreshing without needing dairy. I find myself making it often, especially when I want something light but still indulgent.
This dairy free ice cream is perfect for small gatherings and holidays when I want a dessert that everyone can enjoy. Coconut-based desserts tend to feel festive and comforting, so this recipe fits right in whether it's a simple weekend treat or part of a holiday spread. It's also the perfect topping for a single-serve apple pie or a mixed berry crumble.
Ingredients
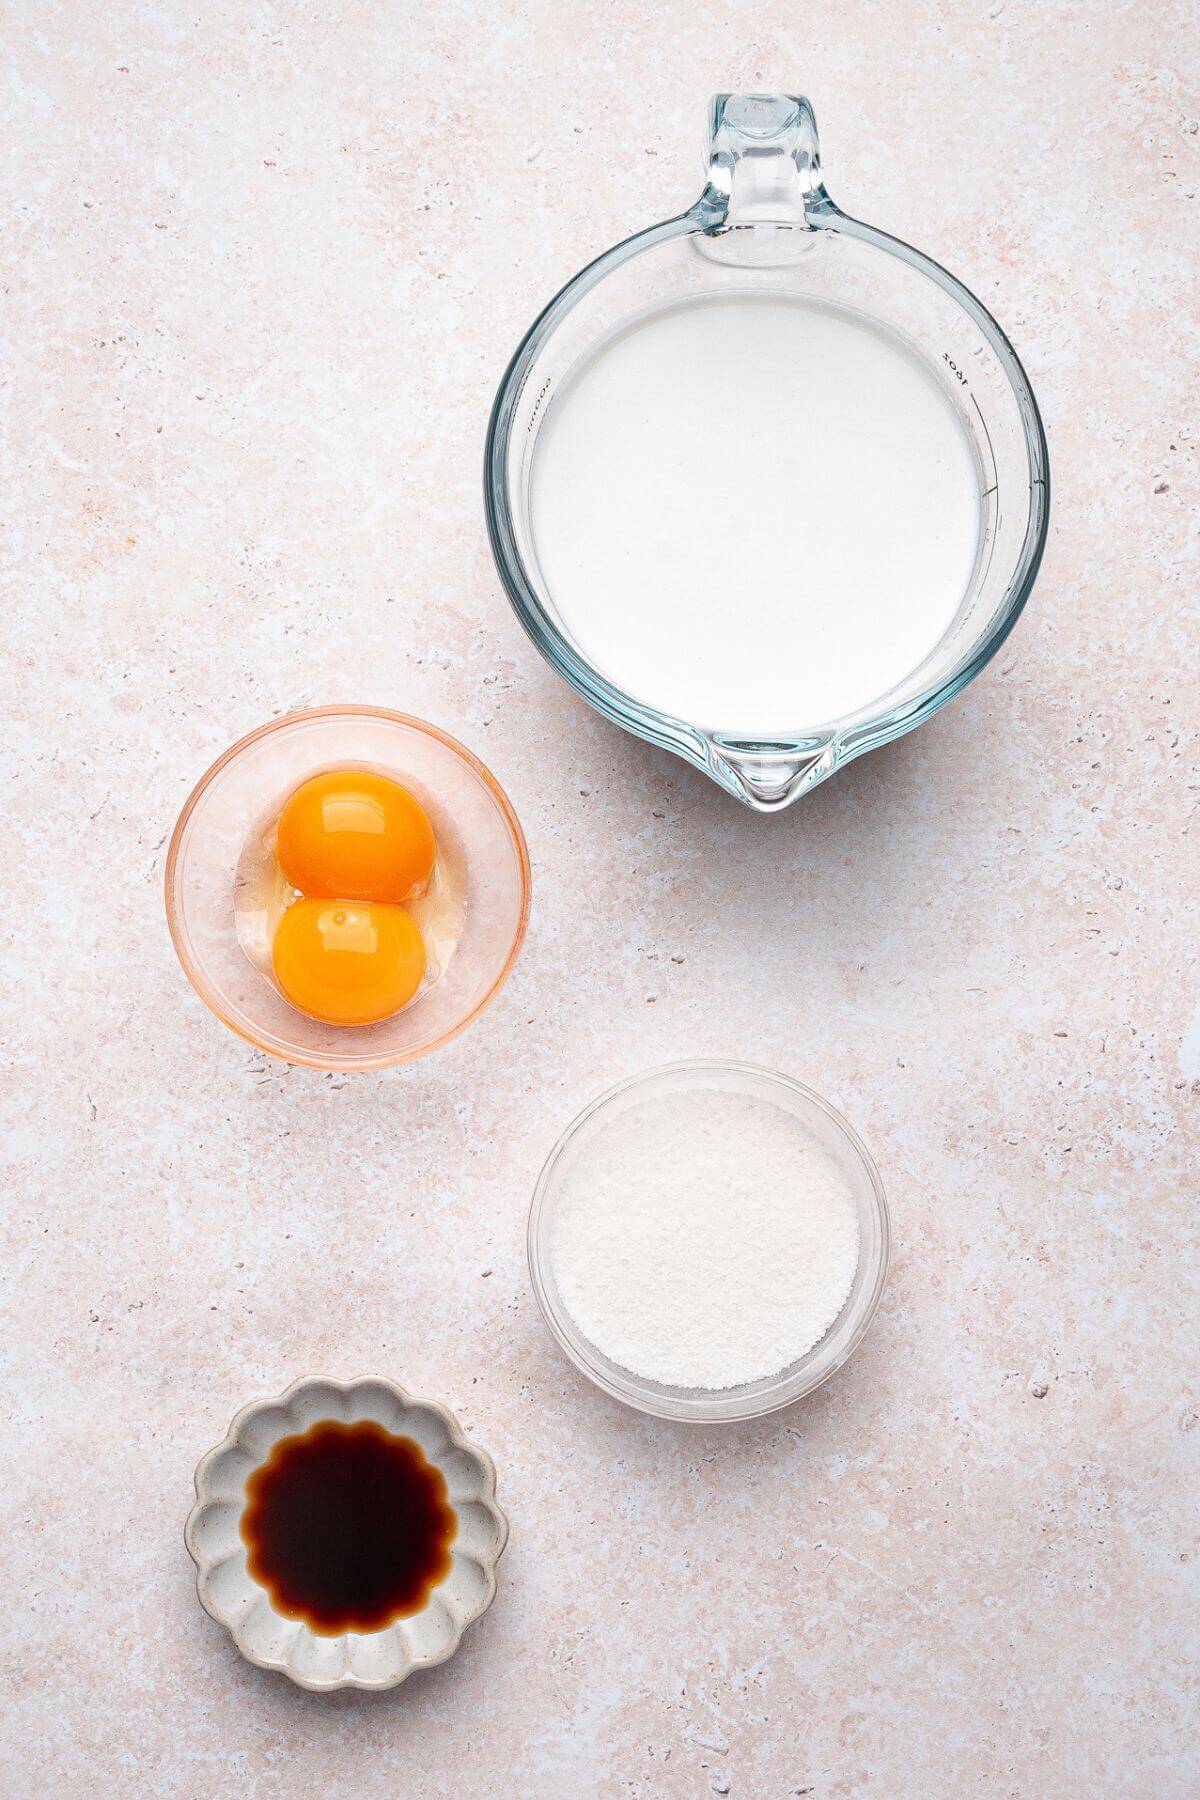
- Full-fat can of coconut milk provides the rich, creamy ice cream base that gives the frozen treat its smooth texture.
- Monk fruit sweetener with allulose adds sweetness without sugar while helping the mixture stay soft and scoopable.
- Vanilla extract enhances the coconut flavor and adds a warm, sweet aroma.
- Egg yolks create a custard base that thickens the mixture and gives the ice cream a silky, luxurious texture.
Scroll down to the recipe card for quantities used.
Instructions
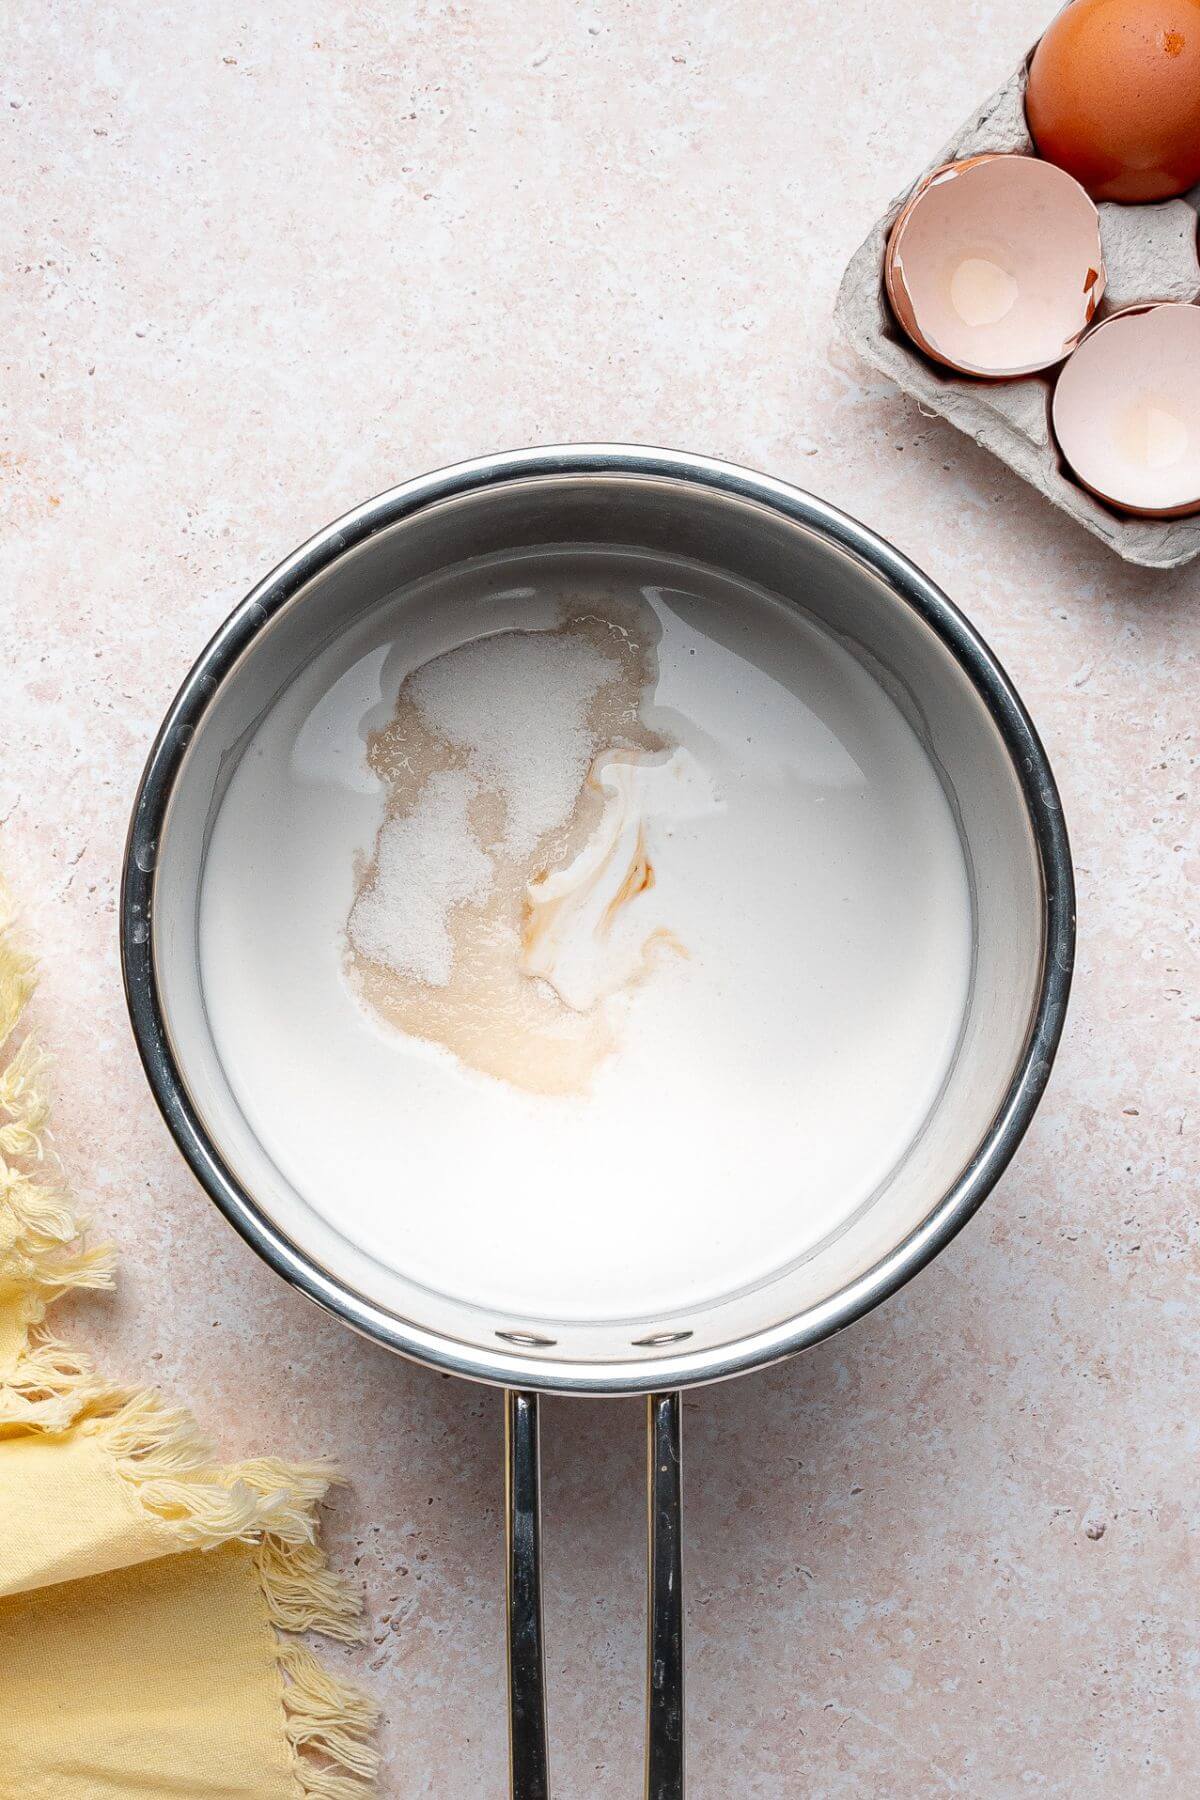
Combine canned coconut milk, sweetener, and vanilla extract in a medium saucepan. Bring to a simmer over medium-low heat, stirring frequently.
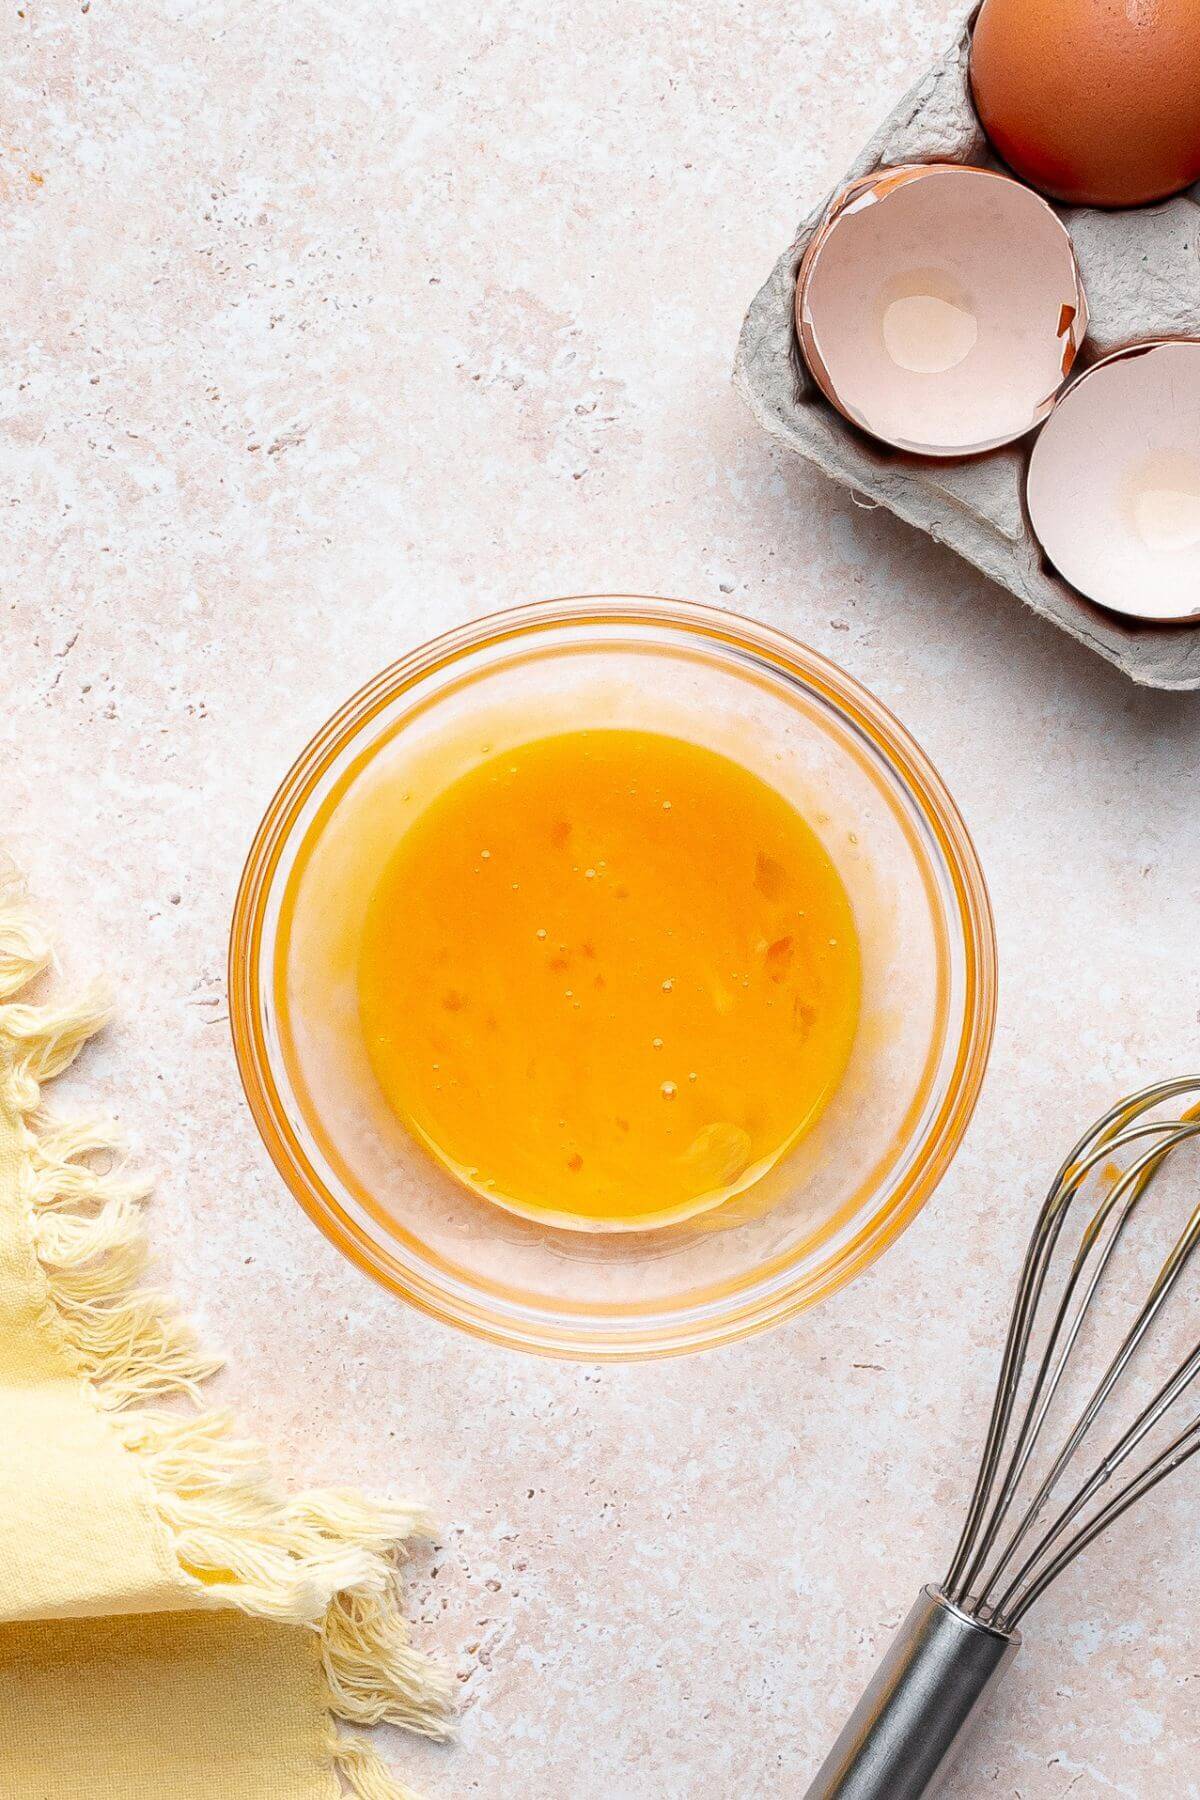
Place egg yolks in a small bowl and whisk together.
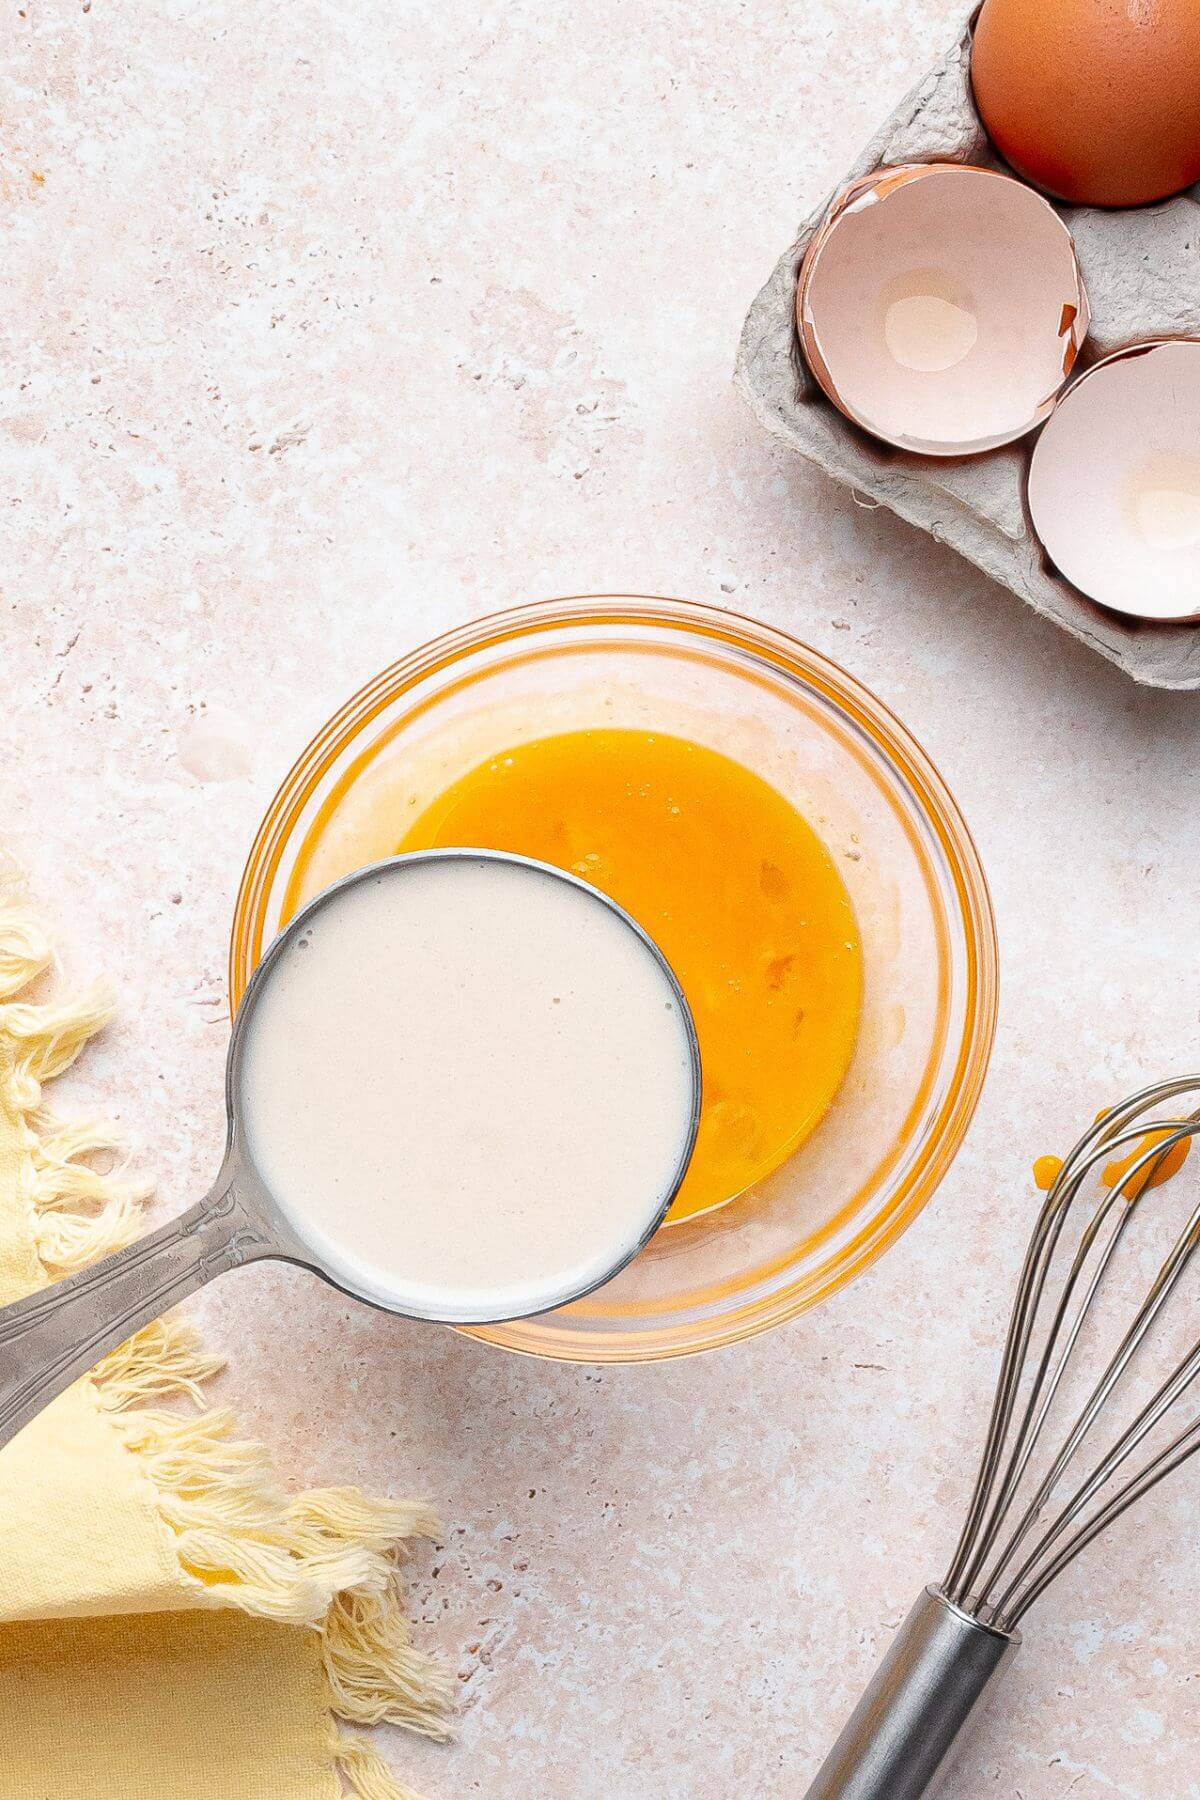
Temper eggs by slowly adding some of the heated coconut mixture to egg yolks with a ladle while whisking until eggs reach the desired temperature.
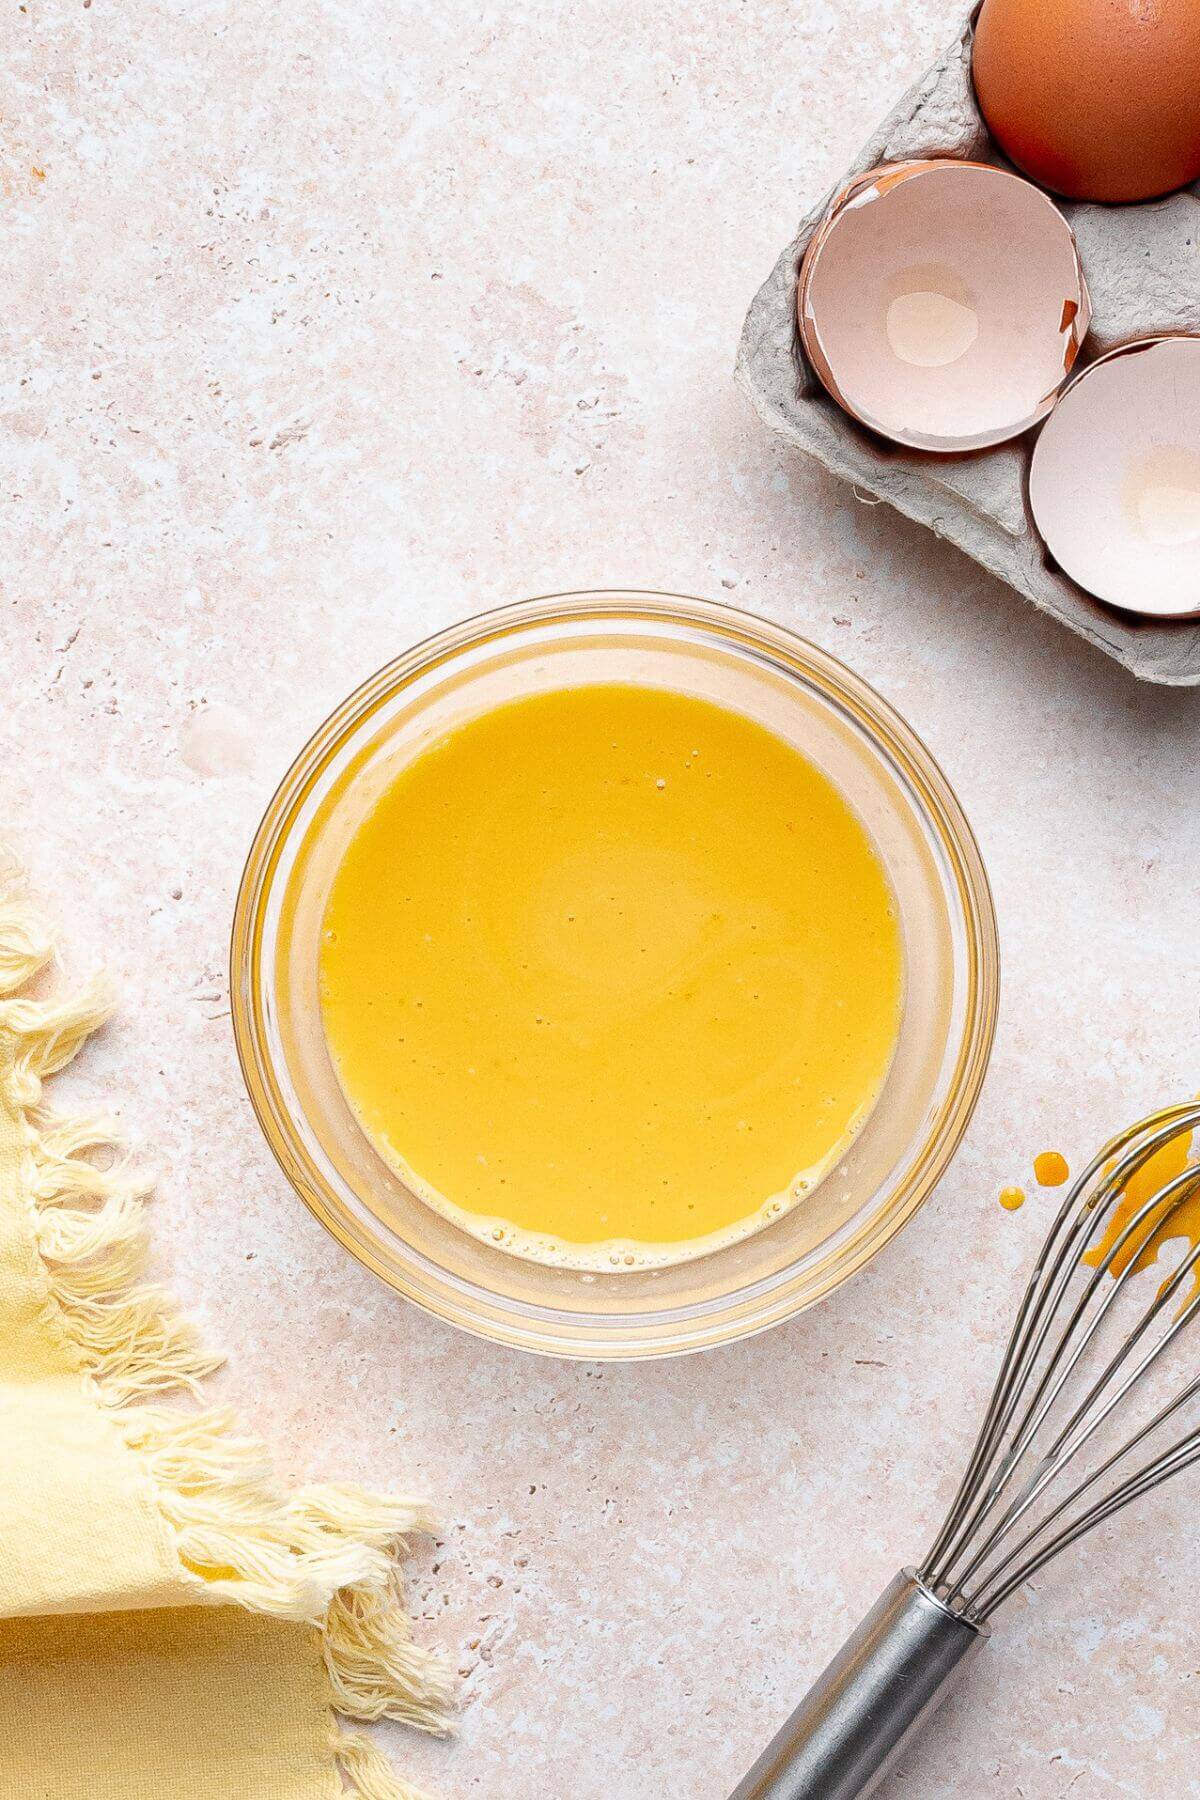
Once the eggs have been warmed, slowly stream the tempered eggs into the simmering coconut mixture while whisking to combine. Continue to stir and simmer the mixture until it coats the back of a wooden spoon, about 5 minutes.
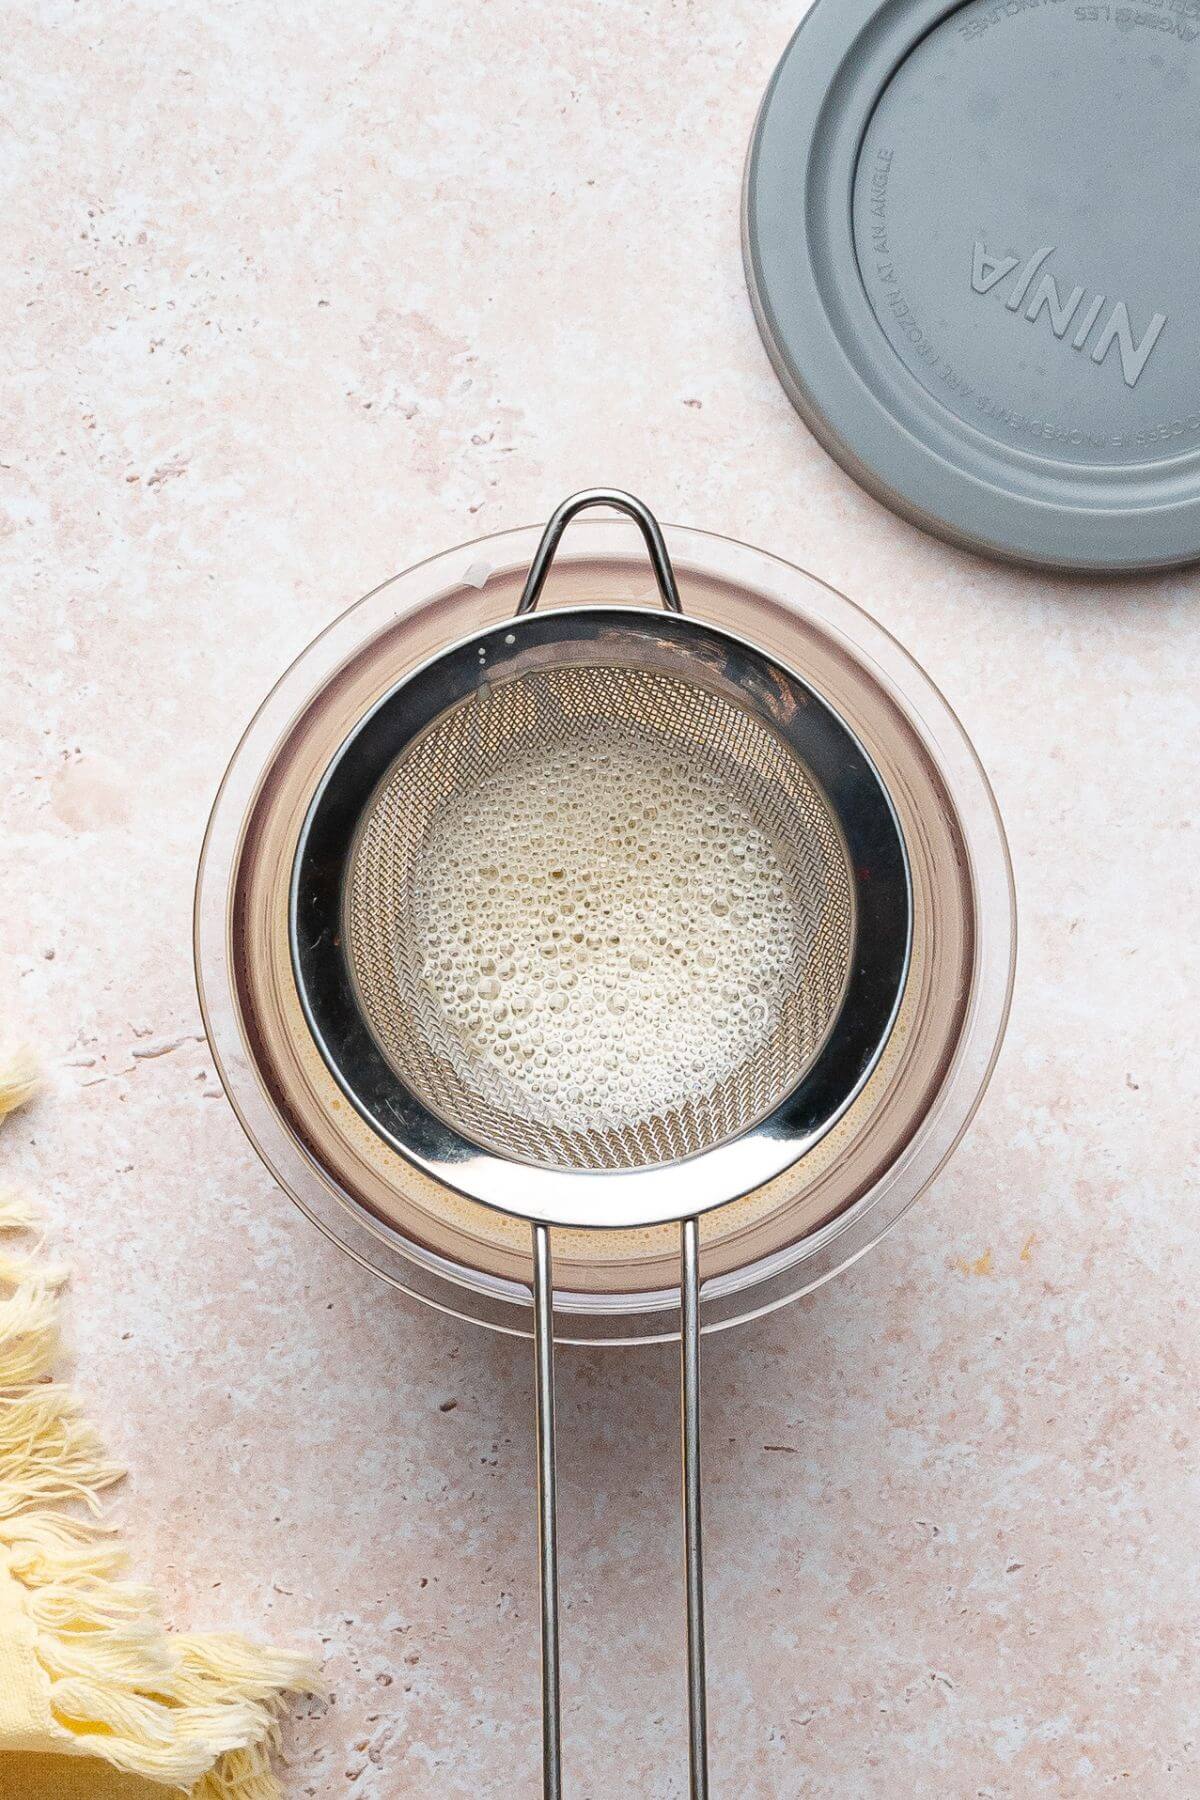
Strain the mixture into a CREAMi container to remove any scrambled eggs. Let cool in fridge uncovered for about 15 minutes. Remove from the refrigerator and churn in an ice cream maker, or freeze 24 hours for a Ninja CREAMi.
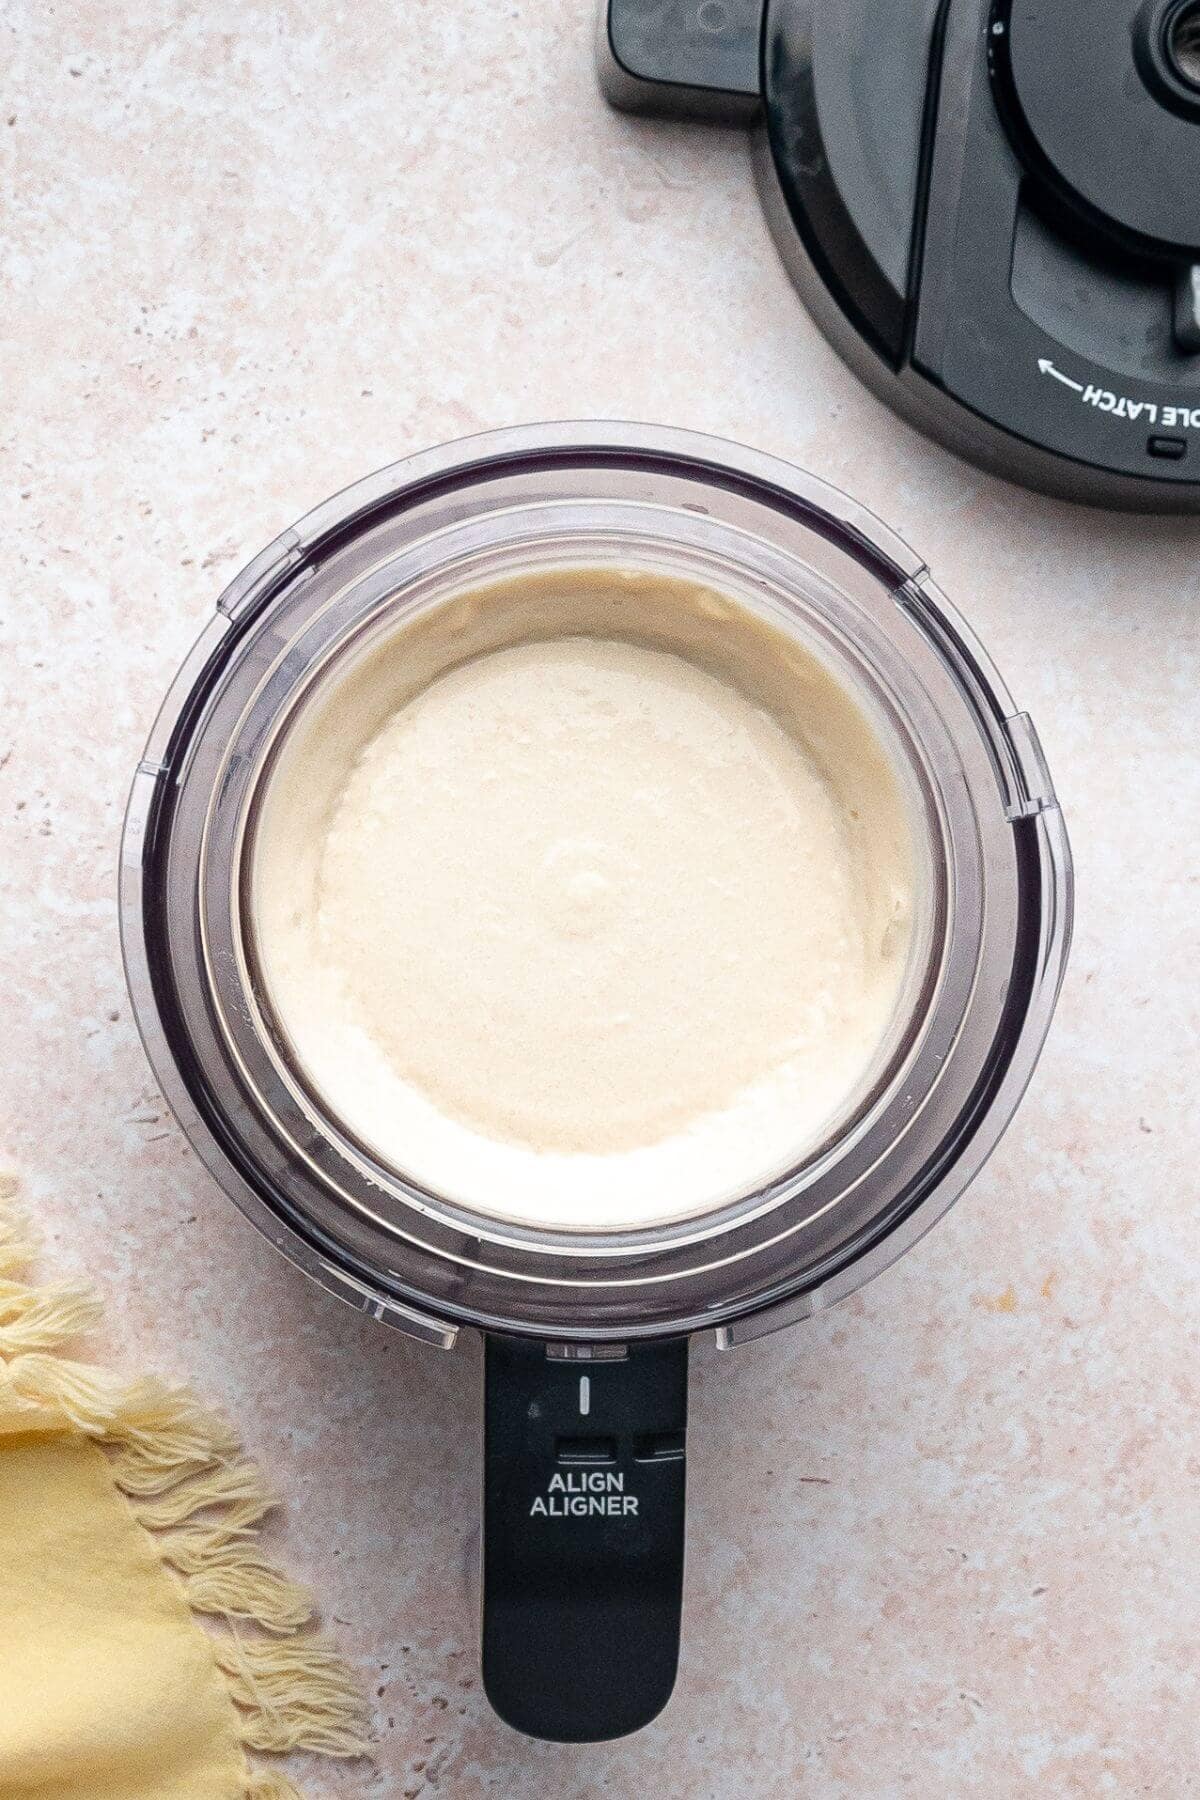
To make ice cream in a Ninja CREAMi, place the pint container into the outer container and lock on lid after freezing. Twist and lock into place, and then process on "LITE ICE CREAM".
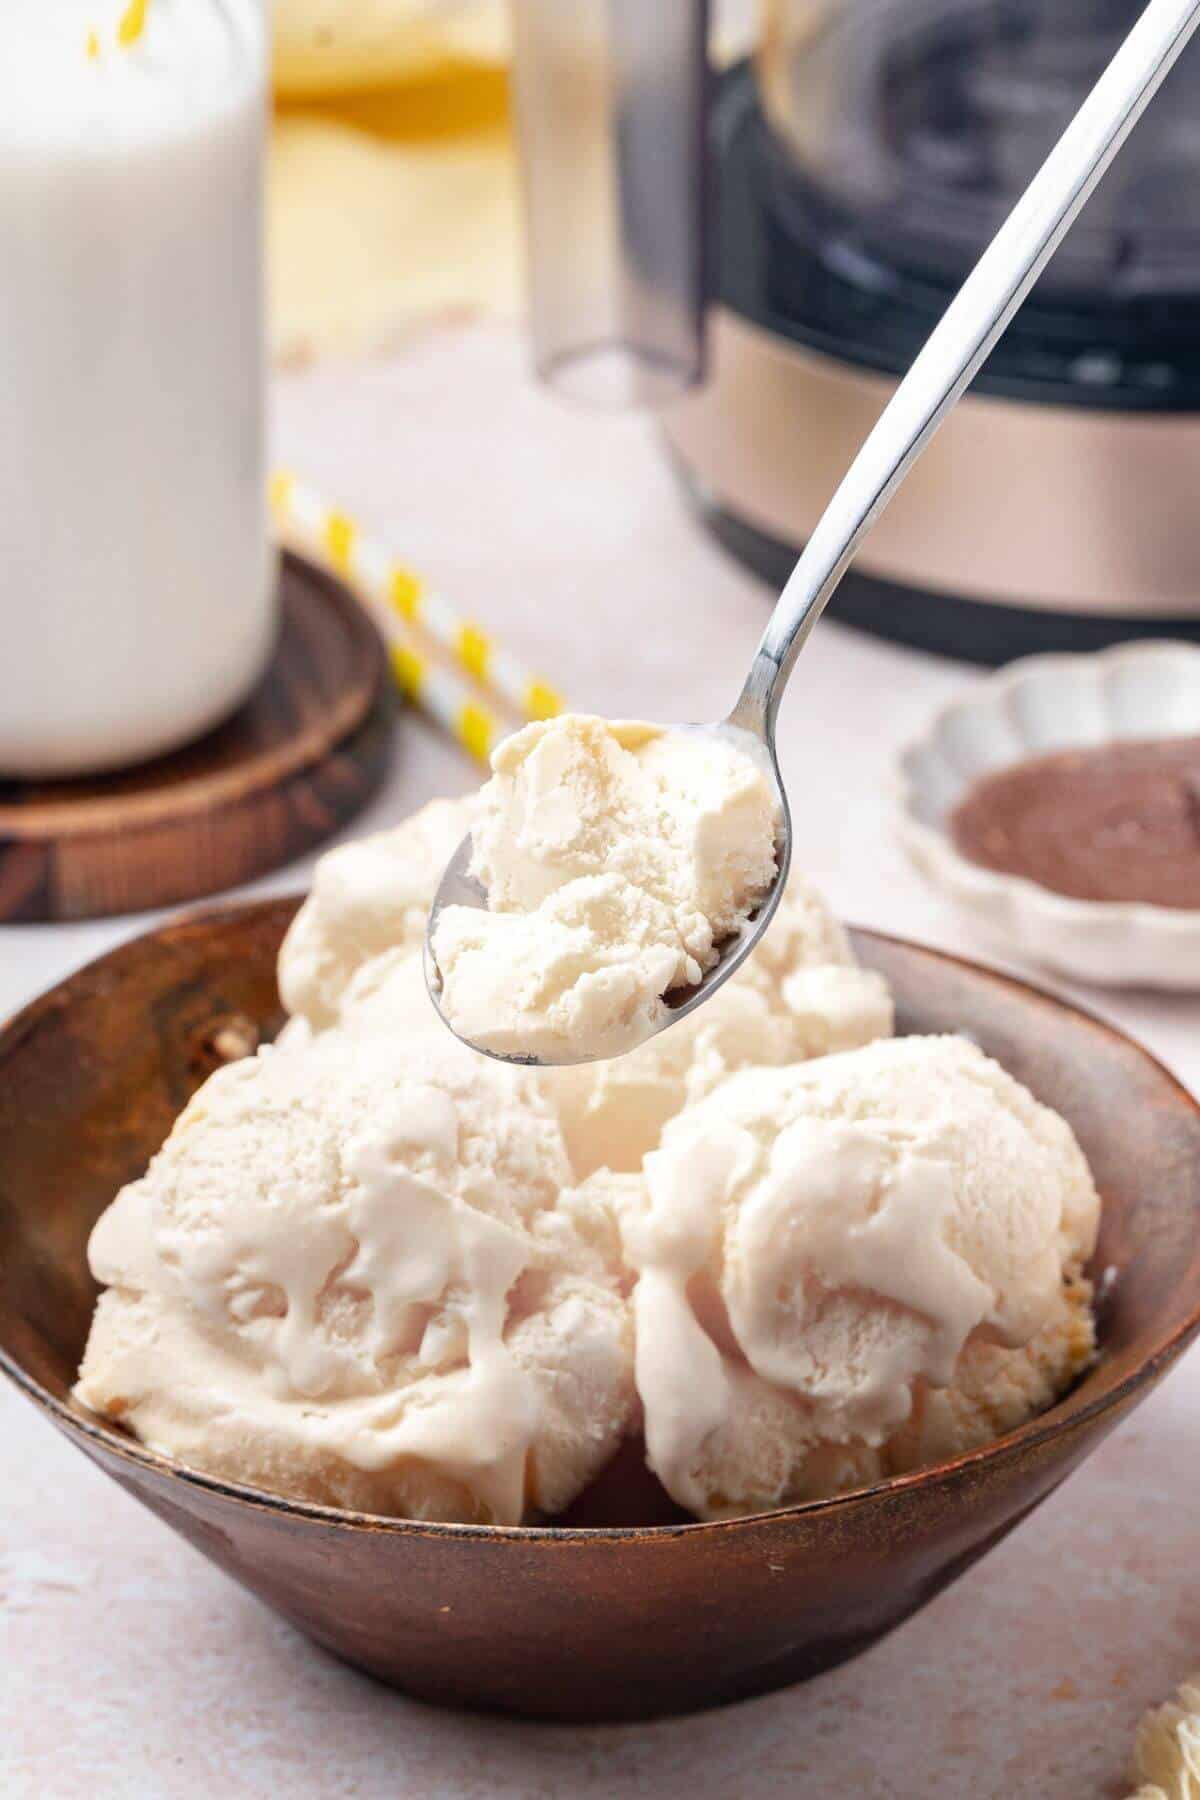
Remove the container from the machine and check the texture. If the texture is not creamy enough, you place the container back in the machine and do a respin.
Hint: Chill the custard thoroughly before freezing. A well-cooled base helps the ice cream freeze evenly and results in a smoother, creamier texture.
Variations
Here are some easy ways to customize the coconut ice cream recipe:
- Add mix-ins like toasted coconut flakes, chopped nuts, sugar-free chocolate chips, or fresh fruit pieces for extra texture.
- Swirl in sauces such as sugar-free caramel, chocolate, strawberry purée, or mango puree for added flavor and color.
- Infuse the coconut milk with flavors like ginger, pandan, lemongrass, or cinnamon sticks to match cultural or seasonal preferences.
- Blend in fruit like blueberries, strawberries, pineapple, or banana before freezing for a naturally flavored ice cream.
- Make it tropical by adding lime zest, passion fruit pulp, or crushed pineapple for a bright, refreshing twist.
- Go richer by mixing in a spoonful of nut butter (almond, cashew, or peanut) or using coconut cream for a creamy, indulgent variation.
- Create a coffee version by adding a small amount of cooled espresso or instant coffee dissolved in the mixture.
- Add a chocolate variation by whisking in unsweetened cocoa powder or melted sugar-free chocolate before cooking the custard.
Tips
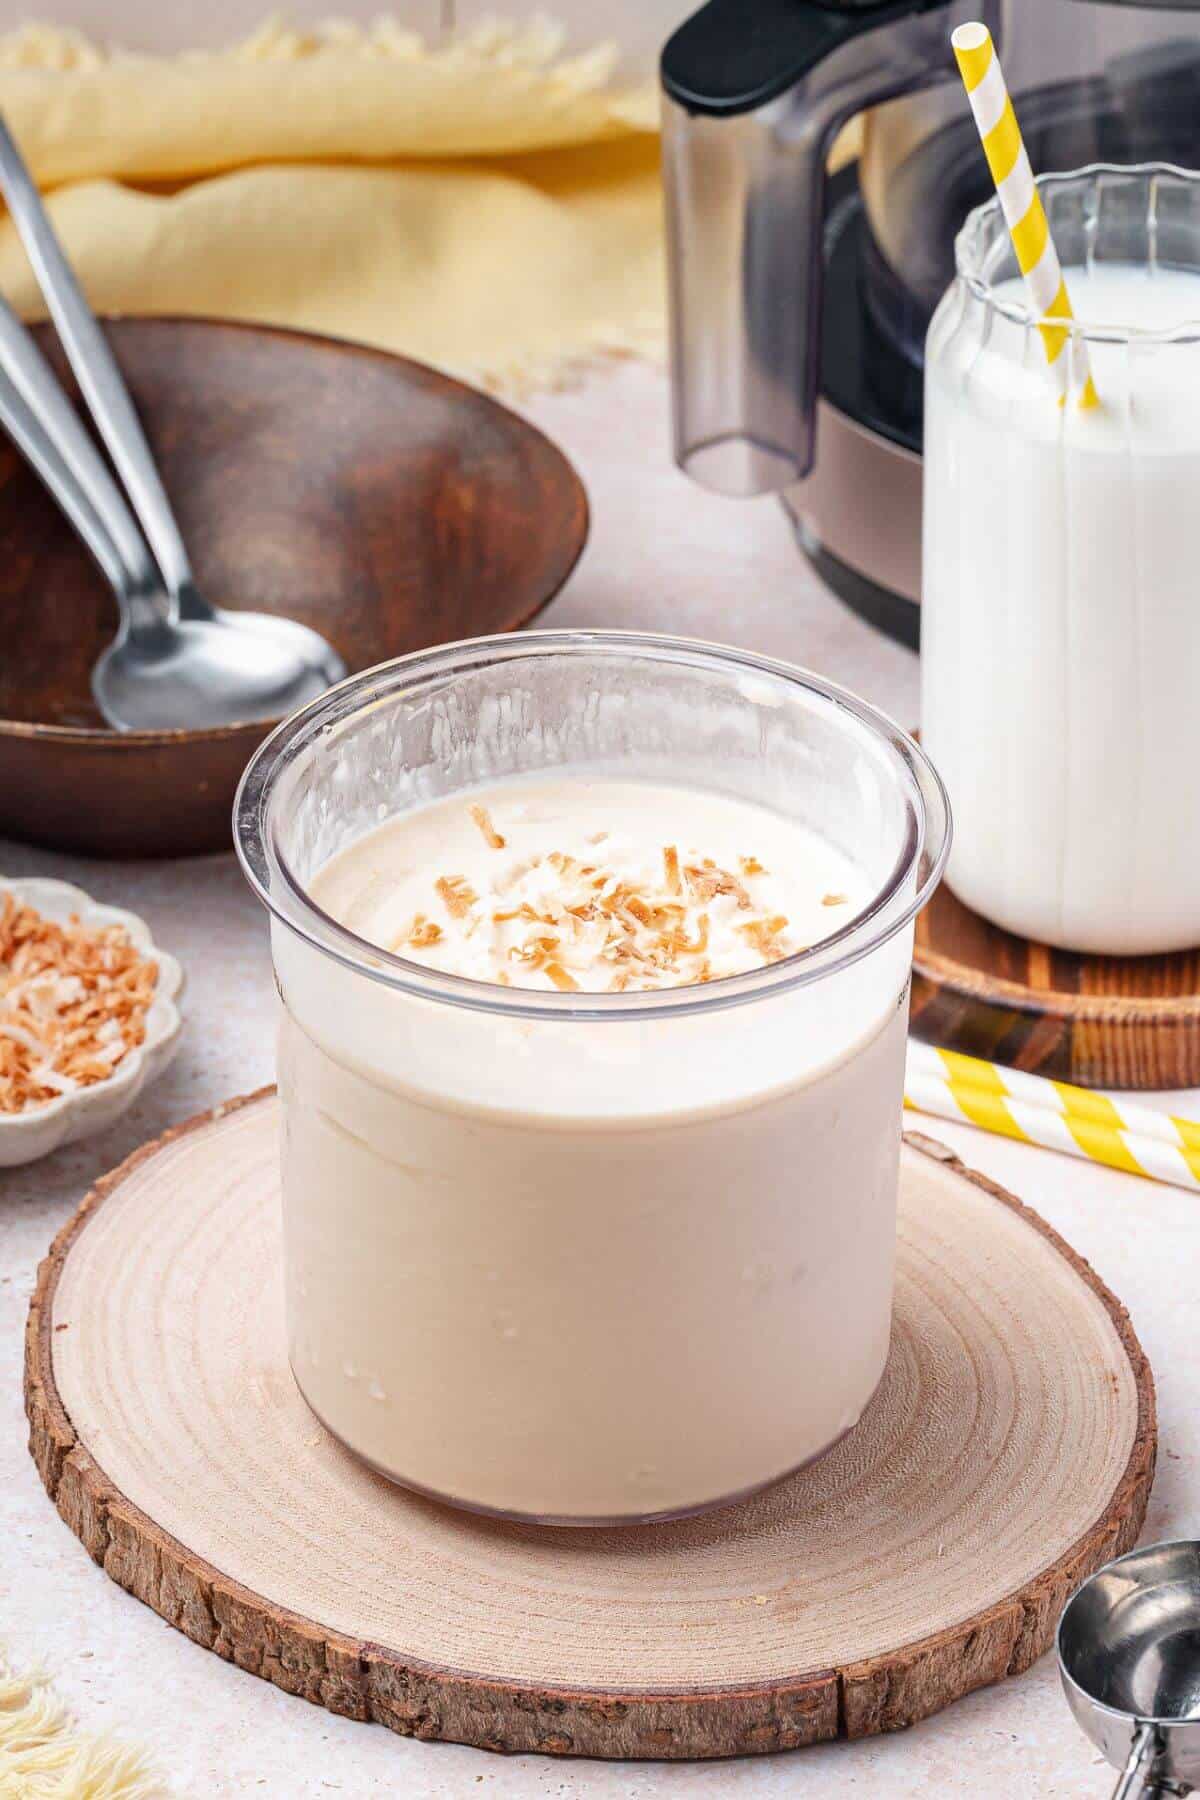
Top tip: Strain the custard before chilling. This removes any tiny bits of cooked egg and guarantees an ultra-smooth, creamy ice cream every time.
- Temper the eggs slowly to prevent curdling and keep the custard silky.
- Stir constantly while simmering so the mixture thickens evenly without sticking to the pot.
- Chill the base fully before freezing for the best texture and faster freezing.
- Use full-fat coconut milk only; light versions make the ice cream icy instead of creamy.
- Let the finished ice cream soften for a few minutes at room temperature before scooping for the smoothest texture.
- Add mix-ins after the ice cream has thickened, not before, so they stay evenly distributed.
- Store the ice cream in an airtight container to prevent ice crystals and keep the flavor fresh.
Serving suggestions
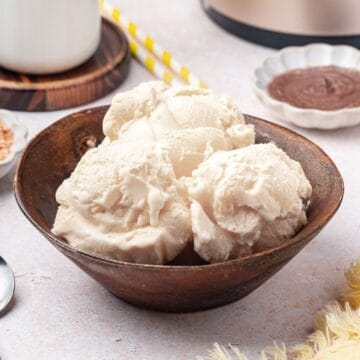
A scoop of this coconut milk ice cream is perfect on its own, but it also shines when paired with fresh fruit. I love serving it with sliced mangoes, pineapple, or berries because the natural sweetness balances the creamy coconut base. If you're keeping things dairy-free or gluten-free, this recipe already fits both diets, making it an easy dessert to serve to a variety of guests. It's also light enough to enjoy after a heavy meal when you still want something sweet but not too rich.
For a more indulgent presentation, try topping your bowl with toasted coconut flakes, chopped nuts, or a drizzle of sugar-free chocolate or caramel sauce. These additions add texture and flavor while keeping the recipe keto-friendly if you're using low-carb toppings. You can even turn it into a layered dessert by alternating scoops with fresh fruit or a keto-friendly crumble. This makes a beautiful, customizable treat for dinner parties or family gatherings.
If you want to create a fun ice cream spread, serve this alongside other homemade flavors like my Ube Ice Cream or Almond Butter Ice Cream. The combination of flavors feels special and gives guests options depending on their tastes. Plus, all three recipes can be made dairy-free or low-carb with the right ingredients, so they fit a variety of diets without feeling restrictive. Mixing and matching flavors like these turns a simple dessert night into something memorable and personal.
Storage
To store this coconut milk ice cream, keep it in an airtight, freezer-safe container to prevent ice crystals from forming and to maintain its smooth texture. Press a piece of parchment paper directly onto the surface before sealing the lid-this helps protect it from freezer burn. It will keep well in the freezer for about 1-2 weeks, though it's usually at its best within the first few days. When you're ready to serve it, let it sit at room temperature for a few minutes to soften slightly for easier scooping.
FAQs
Light coconut milk won't give you the same creamy texture and will make the ice cream more icy, so full-fat coconut milk is strongly recommended.
The egg yolks help create a rich custard base, but you can omit them if needed-just note the texture will be less creamy and slightly more icy.
It typically needs about 24 hours to freeze fully, and letting it sit at room temperature for a few minutes before scooping makes it easier to serve.
Have a question about this recipe?
Ask AI to answer based on this specific recipe:
Follow us on Facebook, Instagram, and Pinterest to see more recipes.
Recipe
Coconut Milk Ice Cream
Ingredients
- 13.5 fluid ounces full fat canned coconut milk
- ¼ cup Monk Fruit Sweetener with Allulose or equivalent keto-friendly sweetener
- 1 teaspoon vanilla extract
- 2 large egg yolks see note
Instructions
- Combine coconut milk, sweetener, and vanilla extract in medium saucepan. Bring to a simmer over medium-low heat, stirring frequently.
- Place egg yolks in a small bowl and whisk together. Temper eggs by slowly adding some of the heated coconut mixture to egg yolks with a ladle while whisking until eggs reach desired temperature.
- Once the eggs have been warmed, slowly stream the tempered eggs into the simmering coconut mixture while whisking to combine. Continue to stir and simmer the mixture until it coats the back of a wooden spoon, about 5 minutes.
- Strain the mixture into a CREAMi container to remove any scrambled eggs. Let cool in fridge uncovered for about 15 minutes. Remove from refrigerator and cover. Freeze on level surface for about 24 hours
- Place the pint container into the outer container of the Ninja CREAMi and lock on lid. Twist and lock into place and then process on "LITE ICE CREAM". Remove container from machine and check the texture. If texture is not creamy enough, you place the container back in the machine and do a respin.


Comments
No Comments